What to Check Before Buying a Used Car: A Mechanic's Checklist
Quick Answer
Inspect a used car in this order: confirm the VIN and title match, walk the exterior for paint mismatch and rust, check tire date codes and even wear, lift the hood cold to read fluid colors and look for leaks, look under the car for CV boot tears and exhaust damage, test every interior accessory and dashboard light, then road test on a mix of roads while listening for noises and feeling for pull. Finish with an OBD2 scan for stored codes. If anything fails, walk away or negotiate the repair cost off the price.
Buying a used car can save you thousands compared to new, but only if you avoid the units that hide expensive problems. The good news is that most red flags show up in a 30-minute inspection if you know what to look at and in what order.
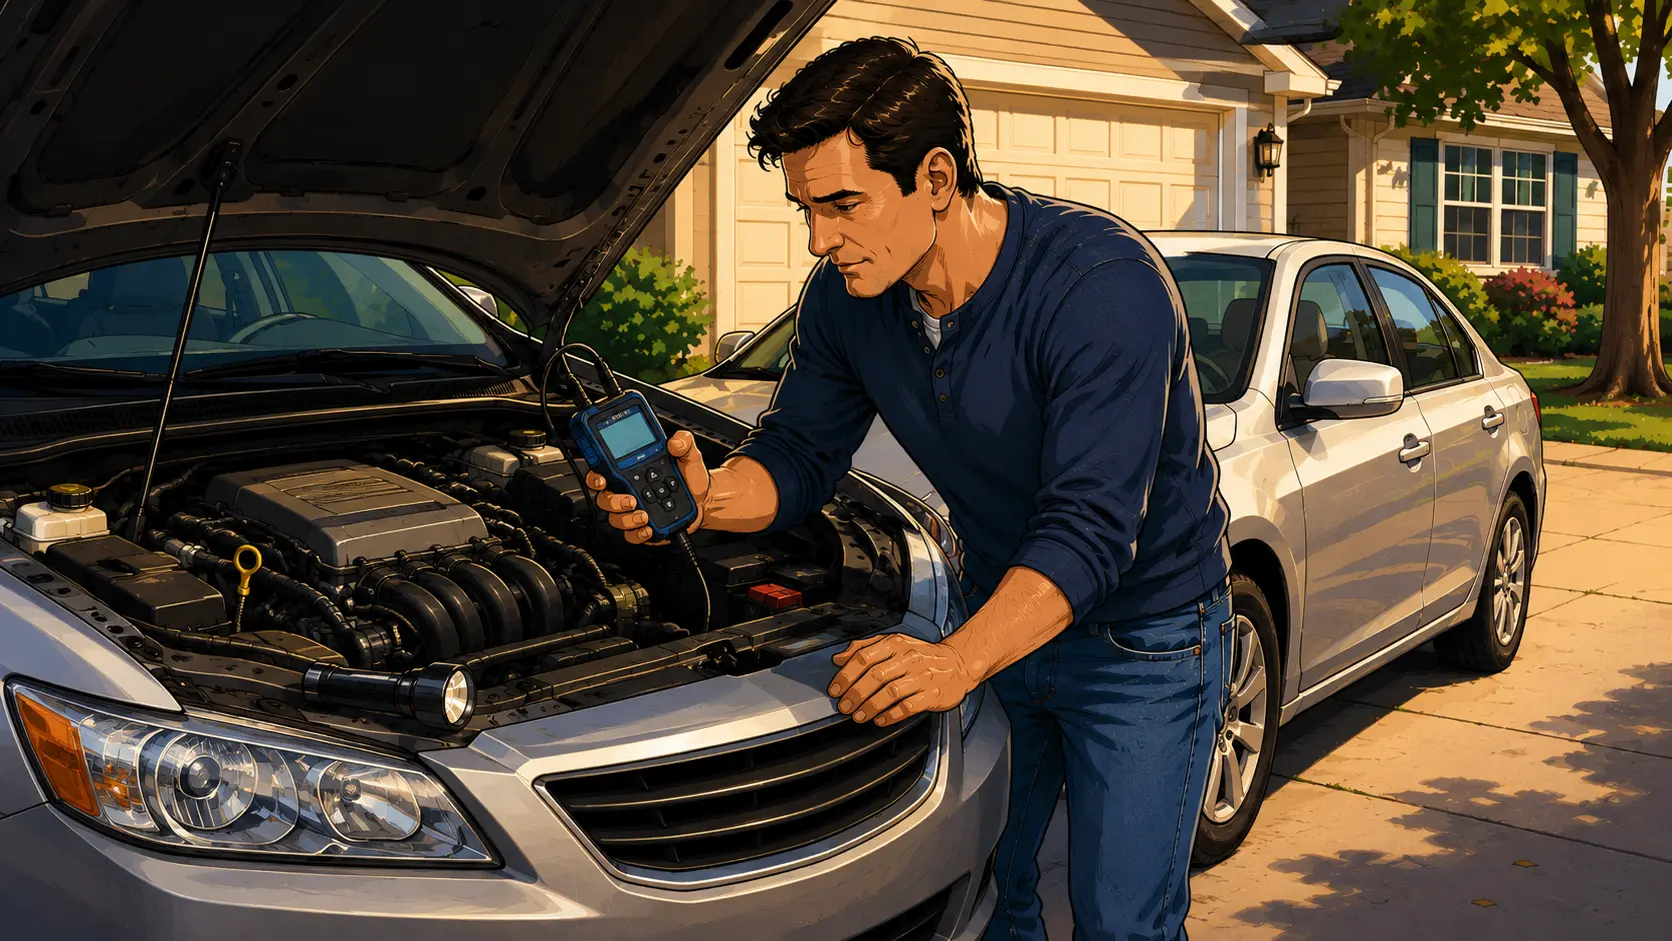
This is the same walk-around a working mechanic does, broken into 10 simple stages. Bring a flashlight, a tire tread gauge, an OBD2 scanner, and this checklist. By the end you will know whether the car is a fair deal, a negotiation target, or a hard pass.
Step 1. Verify the Paperwork and VIN First
Before you touch the car, verify the seller is allowed to sell it. Compare the VIN stamped on the dashboard near the windshield to the VIN on the driver's door jamb and the title. All three must match exactly.
Run the VIN through the free NHTSA recall lookup and a paid history report like Carfax or AutoCheck. Confirm the title is clean, not salvage, rebuilt, or flood, and that the name on the title matches the seller's ID.
Confirm these documents before you go any further:
- Clean title in the seller's name
- Current registration that matches the seller's address
- Service records or a verifiable maintenance history
- Open recalls list from NHTSA's free recall lookup
- A vehicle history report showing no accidents or mileage rollback flags
If any document is missing or fuzzy, stop here. The FTC's used car buyer's guide is a great primer on your rights at this stage.
Step 2. Walk the Exterior in Daylight
Always inspect in dry, well-lit conditions. Wet paint and shadows hide a lot of sins.
Stand back about 10 feet and look down the side of the car. The reflection should be smooth. Then move closer and check:
- Paint mismatch: Look at the color and orange-peel texture from panel to panel. A different shade or texture suggests prior collision repair.
- Panel gaps: Even gaps around doors, hood, trunk, and fenders. Uneven gaps mean the car has been hit and reassembled.
- Rust: Check the rocker panels, wheel wells, around the fuel door, and the bottoms of the doors. Surface rust is okay, bubbling paint and flaking are not.
- Glass: Look for cracks, chips, and date codes that match the rest of the car. A single newer windshield means a chip, multiple newer windows can mean theft recovery.
- Lights: Both headlights, both taillights, and the brake lights should match in clarity and color.
Step 3. Inspect the Tires Carefully
Tires tell two stories: how the car is being maintained, and whether the alignment, suspension, or frame is bent.
- Tread depth: 4/32 inch or more is healthy. Below 2/32 is unsafe and legally bald.
- Even wear: Run your hand across the tread. Cupping, feathering, or one shoulder more worn than the other points to alignment or suspension problems.
- Date codes: The 4-digit DOT code on the sidewall shows week and year of manufacture. Anything older than 6 years should be replaced regardless of tread.
- Matching set: All four tires should ideally be the same brand and model. Mismatched tires can mean cheap repairs or hidden damage.
Need a refresher on what those sidewall numbers mean? Our tire sidewall numbers guide decodes them, and our tire pressure guide covers the cold-PSI check you should also do.
Step 4. Open the Hood While the Engine is Cold
This is the single biggest reason to inspect a car at the seller's home, not at a meeting spot where the engine has already been warmed up. A cold engine reveals hard starts, oil sludge, and coolant leaks that a warm engine hides.
With the engine off and cold, check each fluid:
- Engine oil: Should be amber to light brown. Black is overdue. Milky or foamy means coolant is mixing with oil, which is a 2,000 dollar problem.
- Coolant: Bright green, orange, pink, or blue depending on the spec. Rusty brown or oily film floating on top is bad news.
- Brake fluid: Pale yellow to amber. Dark brown means moisture and overdue service.
- Transmission fluid (if equipped with a dipstick): Bright pink or red on most cars. Brown and burnt-smelling means the transmission is on borrowed time.
- Power steering fluid: Clear or amber. Foamy means air in the system or a leak.
Our complete car fluids guide shows photos of healthy versus failed fluid colors. Also scan the engine bay for:
- Cracked or glazed serpentine belt and visibly worn hoses
- Wet residue under the valve cover, oil pan, or timing cover
- Corrosion on the battery terminals and frayed wiring
- Aftermarket parts that signal performance modifications
- Fresh degreaser or shiny clean components, often a sign someone is hiding a leak
Step 5. Look Under the Car
You do not need a lift. Crouch down at each corner with a flashlight and check for:
- CV axle boots: Black rubber accordion-shaped covers near each front wheel. Tears or grease splatter mean a CV axle replacement is coming.
- Exhaust: Loose hangers, rust holes, or aftermarket sections welded in. Listen for a deeper-than-stock note at idle.
- Suspension components: Check for leaking shock or strut bodies. Our suspension problems guide shows the patterns to look for.
- Frame and subframe rust: Surface rust is normal, flaking layers and holes are a deal breaker.
- Fresh fluid drips: Mark where you parked. After the test drive, check the same spot for new puddles.
Step 6. Test the Interior and Electronics
Sit in the driver's seat and turn the key to the run position without starting the engine. Every dashboard warning light should illuminate briefly, then turn off once the car starts. If any stay on, take notes.
Common dashboard lights and what they signal are covered in our dashboard warning lights guide. Pay special attention to the check engine light, ABS, airbag, and oil pressure lights.
Then run through every accessory:
- AC blowing cold within 60 seconds, heat blowing hot within 2 minutes
- All power windows up and down without sticking
- Power locks, mirrors, and seats
- Every interior light, courtesy light, and dome light
- Infotainment, Bluetooth pairing, and backup camera
- Wipers on every speed including washer fluid spray
- Sunroof if equipped, slides and tilts smoothly
Step 7. Start the Engine and Listen
From the driver's seat, start the car and immediately note:
- Cranking: Should be quick and steady. Long cranks point to a weak battery, bad starter, or fuel issue. Our car won't start diagnosis guide covers what each symptom means.
- Engine note: Even and smooth, no rattles or knocks. Our diagnosing car noises guide matches sounds to causes.
- Exhaust smoke: Brief white vapor on a cold morning is normal. Continuous blue (oil), white (coolant), or thick black (rich fuel) smoke all signal trouble.
- Vibration: A shaky idle suggests worn motor mounts, misfires, or vacuum leaks.
- Charging system: The battery light should turn off and headlights should not dim at idle. Otherwise inspect the alternator.
Step 8. Take a Real Road Test
A 10-minute test loop tells you more than any history report. Drive a mix of slow streets, a stretch of highway, and a parking lot for low-speed maneuvers.
What to feel for:
- Steering pull: On a flat straight road with hands relaxed, the car should track straight. Pulling left or right means alignment or worse.
- Brake feel: Pedal should be firm, stop should be straight, and you should not feel pulsing through the pedal. Pulsing indicates warped rotors. See our squeaky brakes guide and brake rotor replacement guide.
- Transmission shifts: Automatic should shift smoothly without flares or harsh slams. Manual should not grind or pop out of gear. If you suspect slipping, read our transmission slipping symptoms guide.
- Wheel bearing growl: A humming that changes pitch when you turn at 40 mph is a classic wheel bearing symptom.
- Highway stability: The car should feel planted at 65 mph. Wandering or floating suggests tired suspension or alignment.
During the drive, briefly turn the radio off at 25, 45, and 65 mph and just listen. Most expensive problems announce themselves through sound first.
Step 9. Run an OBD2 Scan
Plug a basic OBD2 scanner into the port under the dashboard and pull both stored and pending trouble codes. Also check that the readiness monitors have completed. If they were recently cleared, someone may have hidden a check engine light right before your visit.
Need a scanner? Our OBD2 scanner guide and best OBD2 scanners of 2026 roundup both cover affordable picks under 40 dollars.
Red flags from a scan:
- Any stored or pending P0300-series misfire codes
- P0420 or P0430 catalytic converter codes (often a 1,000 to 2,000 dollar repair)
- Transmission codes in the P07xx range
- All readiness monitors showing "not ready" right before sale
Step 10. Use Findings to Negotiate or Walk Away
You now have a documented list of every issue. Use it to:
- Negotiate price down: Quote real repair costs for each item. Tires, brake pads, and CV axles are easy line items to push back on.
- Require repairs before purchase: Ask the seller to fix anything safety related, get a receipt.
- Walk away: Flood title, salvage history, frame damage, milky oil, or transmission slipping are all hard passes regardless of price.
As a final safety net, pay 100 to 175 dollars for a pre-purchase inspection from an independent shop, especially on cars over 5,000 dollars. They have lifts and tools you do not, and the AAA auto repair network lists vetted shops nationwide.
Final Thoughts
Most lemon stories start the same way: the buyer was in a rush, the seller seemed honest, and nobody opened the hood while the engine was cold. Following the 10-step checklist above takes less than an hour and routinely saves buyers 1,000 to 5,000 dollars on the price, plus a much larger amount in avoided repairs.
Keep this page bookmarked on your phone. When you pull up to view a used car, work through it in order, take notes, and trust the process. A great used car deal is out there, the checklist just helps you spot it from across the driveway.
What to Read Next
Frequently Asked Questions: Used Car Inspection
Don't Miss Critical Car Care Tips
Get exclusive guides, money-saving maintenance tips, and early warning signs delivered straight to your inbox.