How to Check and Maintain Tire Pressure
Quick Answer
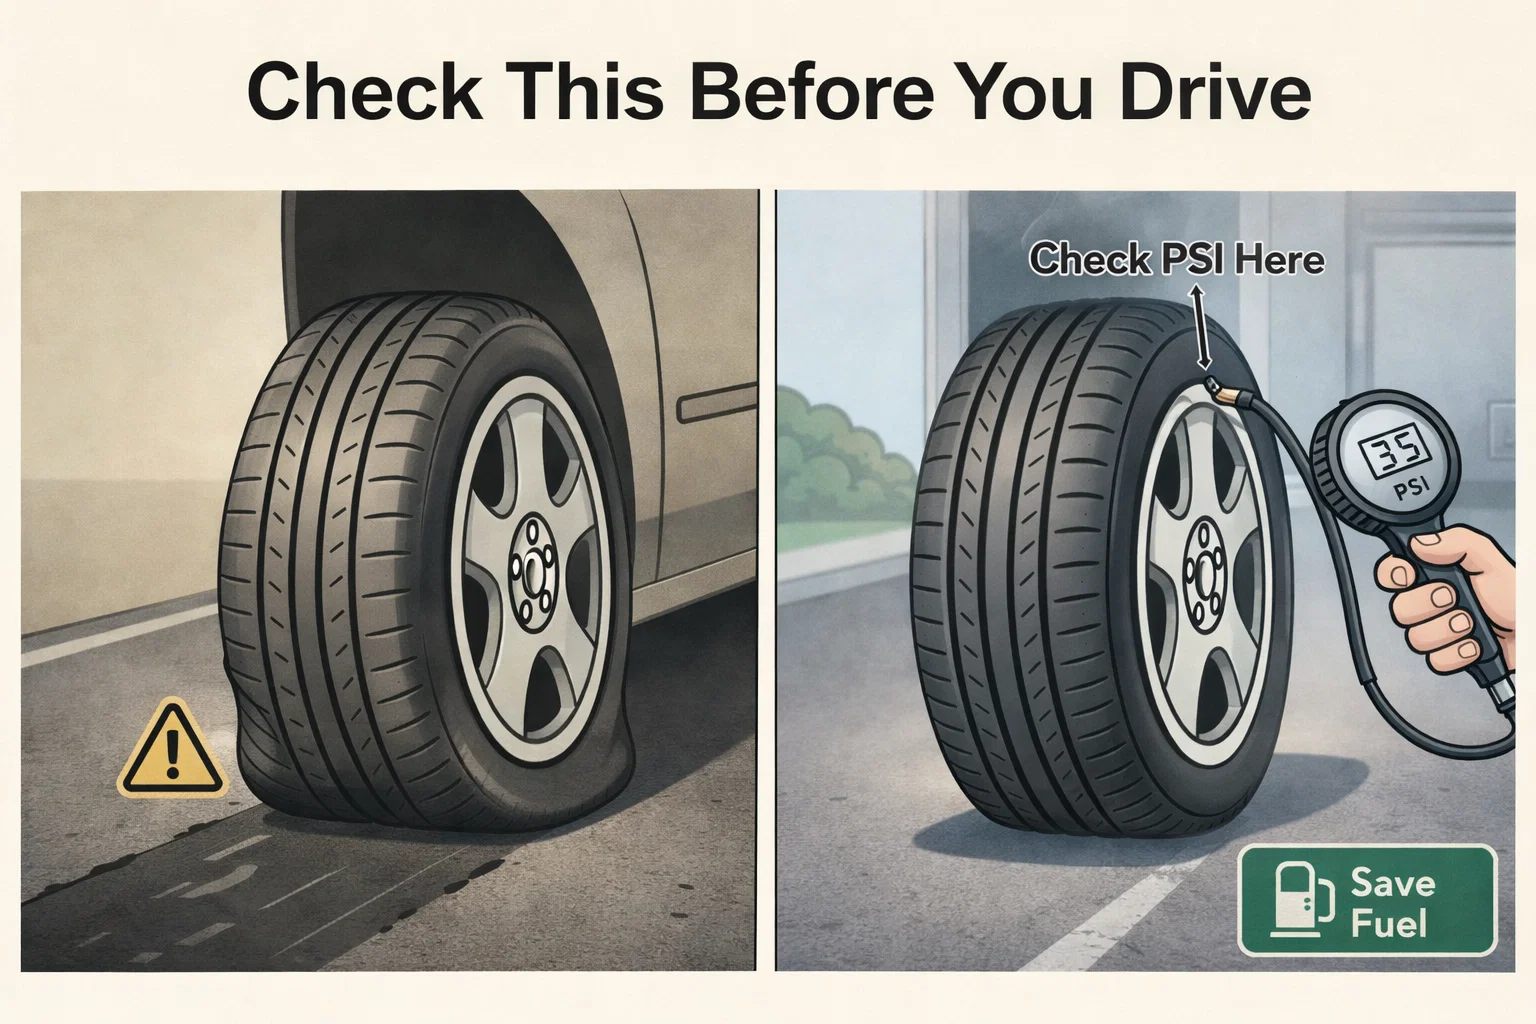
Check tire pressure monthly when tires are cold (before driving). Find the recommended PSI on the driver's door jamb sticker, not on the tire sidewall. Underinflated tires waste fuel, wear faster, and increase blowout risk. A basic tire gauge costs $5 and the check takes under 5 minutes for all four tires.
The 5-Minute Check That Saves Gas, Tires, and Lives
Tire pressure is the single most neglected safety item on most vehicles. According to the National Highway Traffic Safety Administration, underinflated tires cause about 11,000 crashes every year in the United States. They also waste fuel, wear out faster, and handle worse in emergencies.
Checking your tire pressure takes less than five minutes and costs nothing if you have a basic gauge. Even if you rely on your car's TPMS (Tire Pressure Monitoring System), those sensors only warn you when pressure drops 25% below the recommended level. By that point, you have already been driving on dangerously low tires.
Summer is when tire pressure matters most. Hot pavement increases tire temperatures, which raises pressure. A tire that reads perfect in the morning can become overinflated by afternoon. And if you are starting with low pressure, the heat accelerates tread wear and blowout risk dramatically.
Here is everything you need to know about finding the right PSI, checking pressure correctly, and keeping your tires safe all year.
Proper tire pressure affects every aspect of your driving experience. It determines how your car handles, how quickly it stops, how much fuel it burns, and how long your tires last. The U.S. Department of Energy estimates that properly inflated tires improve gas mileage by up to 3%, which translates to roughly $0.11 per gallon at current prices. Over a year, that adds up to $50 to $100 in fuel savings alone.
Why Tire Pressure Matters More Than You Think
Tires are the only part of your car that touches the road. The contact patch (the area of tire actually touching pavement at any moment) is roughly the size of your hand. Everything your car does, accelerating, braking, turning, is happening through those four small patches of rubber.
When a tire is underinflated, the contact patch deforms. The edges of the tire carry more weight than the center, which causes uneven wear, increased rolling resistance, and reduced grip. In extreme cases, the sidewall flexes so much that it overheats and fails catastrophically. That is what causes a blowout.
Overinflation is also a problem. An overinflated tire rides on a smaller contact patch (just the center of the tread), reducing grip, making the ride harsher, and wearing the center of the tire faster than the edges.
Finding Your Correct Tire Pressure
Your recommended tire pressure is NOT printed on the tire sidewall. The number on the sidewall (for example, "Max 44 PSI") is the maximum pressure the tire can safely hold, not the pressure you should run. Running at max pressure gives you a harsh ride and reduced traction.
COMMON MISTAKE
Never inflate your tires to the pressure listed on the sidewall. That number is the tire's maximum safe pressure, not your vehicle's recommended operating pressure. The correct PSI for your vehicle is on the driver's door placard.
Your correct tire pressure is listed in three places:
- Driver's door jamb sticker: Open the driver's door and look for a yellow or white sticker on the door frame or the edge of the door. This is the most reliable source.
- Owner's manual: The tire and loading information section lists recommended pressures for different loads.
- Gas cap door: Some vehicles print the recommended PSI on the inside of the fuel door.
Most passenger cars recommend between 30 and 35 PSI. Some trucks and SUVs may call for 35 to 45 PSI. Front and rear tires may have different recommended pressures, especially on rear-wheel-drive vehicles or trucks that carry heavy loads.
How to Check Tire Pressure: Step by Step
Always check tire pressure when the tires are cold (before driving or at least three hours after your last drive). Driving heats up the tires and increases the pressure reading, which will give you an inaccurate result.
Get a Tire Pressure Gauge
A basic digital tire pressure gauge costs $5 to $15 at any auto parts store. Digital gauges are easier to read and more accurate than pencil-style or dial gauges. Keep one in your glove box so it is always available.
Find the Recommended PSI
Check the driver's door jamb sticker for your vehicle's recommended tire pressure. Note whether the front and rear pressures are different. Write it down or take a photo for reference.
Remove the Valve Cap
Unscrew the valve cap from the tire's valve stem. Put it in your pocket so you do not lose it. The valve stem is the small rubber or metal nub poking through the wheel.
Press the Gauge Firmly
Press the gauge straight onto the valve stem. You may hear a brief hiss of air as you connect. Hold firmly until the gauge gives a stable reading. If air keeps hissing, you are not pressing straight enough.
Read and Compare
Compare the reading to the recommended PSI from the door jamb sticker. If the pressure is low, add air. If it is high, press the small pin inside the valve stem briefly to release air, then recheck.
Add or Release Air
Use a tire inflator at a gas station or a portable air compressor at home. Add air in short bursts, checking the pressure between each burst. When you hit the target PSI, replace the valve cap securely. Repeat for all four tires plus your spare.
Check the Spare Tire
Most people forget their spare tire. A flat spare is useless in an emergency. Check the pressure on your spare at least once every three months. Compact spares (donuts) usually require 60 PSI, which is higher than your regular tires.
Understanding Your TPMS Light
Every vehicle sold in the United States since 2008 is required to have a Tire Pressure Monitoring System. When the yellow TPMS warning light appears on your dashboard (it looks like a horseshoe with an exclamation mark), at least one tire is 25% or more below the recommended pressure.
There are two types of TPMS systems:
- Direct TPMS: Uses pressure sensors inside each tire that transmit real-time PSI data to your dashboard. More accurate but sensors need battery replacement every 5 to 10 years (usually during tire changes).
- Indirect TPMS: Uses the ABS wheel speed sensors to detect differences in tire rotation speed (a low tire has a smaller effective diameter and spins faster). Less expensive but less precise.
TPMS RESET AFTER INFLATION
After inflating your tires, drive for 10 to 20 minutes at speeds above 25 mph for the TPMS to recalibrate and turn off the warning light. Some vehicles require a manual reset using a button near the steering column or through the infotainment system. Check your owner's manual for your specific reset procedure.
If your TPMS light comes on and the tires look fine, do not ignore it. Even a slow leak that loses 1 to 2 PSI per week will trigger the sensor eventually. Check all four tires with a gauge. If the light stays on after inflating to the correct pressure, there may be a sensor issue or a slow leak that needs repair. Learn more about interpreting warning indicators in our dashboard warning lights guide.
Seasonal Pressure Changes
Tire pressure changes by about 1 PSI for every 10 degree Fahrenheit change in temperature. This means a tire inflated to 32 PSI on a 70 degree day in September could read 26 PSI on a 10 degree morning in January. That is a 6 PSI drop, enough to trigger the TPMS light and significantly affect handling.
| Season | Typical Effect | What to Do |
|---|---|---|
| Summer | Pressure rises 3-5 PSI due to hot pavement | Check in the morning before driving |
| Fall | Pressure drops as temperatures fall | Top off and recheck weekly |
| Winter | Pressure drops 3-6 PSI below summer levels | Check monthly, inflate to cold spec |
| Spring | Pressure rises, may need deflating | Verify and adjust to recommended PSI |
For a full seasonal maintenance plan, check out our summer car prep guide and winter car prep guide.
Nitrogen vs. Regular Air
Some tire shops offer nitrogen inflation (identified by green valve caps). Nitrogen molecules are larger than oxygen molecules, which means nitrogen seeps through the rubber slightly slower than regular air. This results in more stable pressure over time.
For most everyday drivers, regular air works just fine. Nitrogen offers a marginal benefit, but it is not worth paying extra if you are already checking your pressure monthly. Race cars and aircraft use nitrogen because temperature stability matters at extreme speeds and altitudes, but your daily commuter does not operate in those conditions.
What to Read Next
Tire Rotation Guide
Even out wear and extend tire life by thousands of miles
Tire Sidewall Numbers Explained
Decode size, speed rating, and age from your tire code
Road Trip Prep Checklist
Complete pre-trip inspection for safe highway driving
Suspension Problems Guide
Diagnose vibrations, pulling, and uneven tire wear
Tire Tread Depth Check
Penny test, quarter test, and exactly when a tire is worn out
Frequently Asked Questions
Don't Miss Critical Car Care Tips
Get exclusive guides, money-saving maintenance tips, and early warning signs delivered straight to your inbox.