Car Battery Maintenance: How to Extend Battery Life
Quick Answer
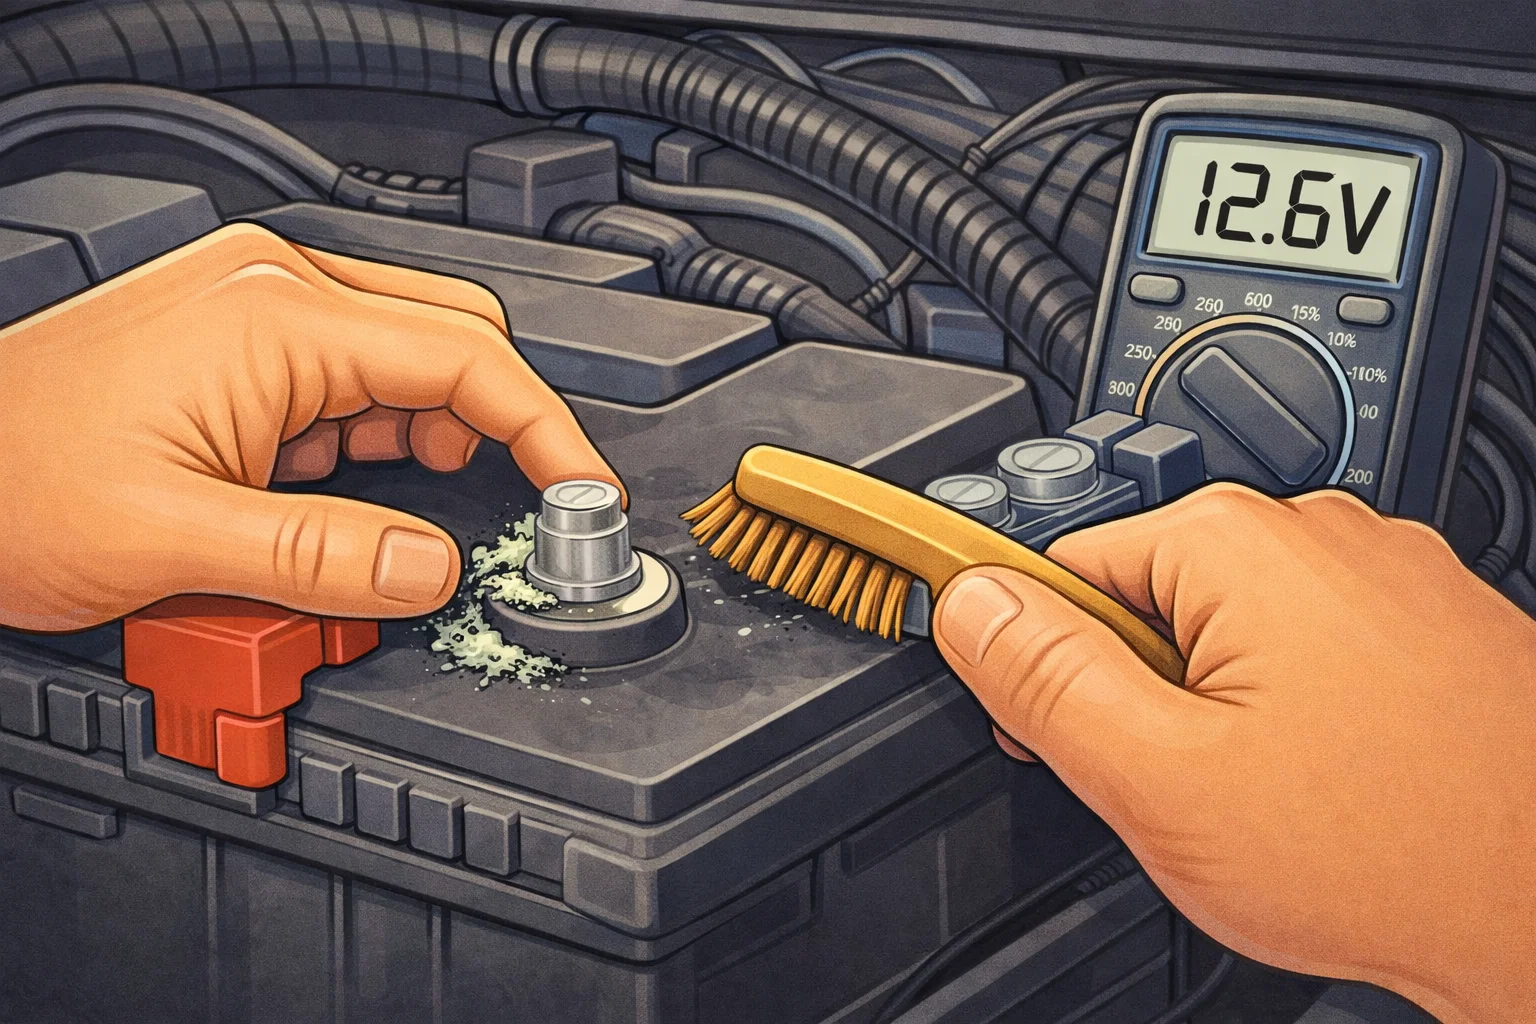
Basic car battery maintenance takes about 30 minutes and costs under $15 in supplies. Clean the terminals with a wire brush and baking soda solution every 6 months, check the voltage with a multimeter (a healthy battery reads 12.6 volts or higher with the engine off), and ensure the battery is securely mounted. These simple steps can extend your battery life by 1 to 2 years beyond the typical 3 to 5 year lifespan.
Your Battery Is Dying Slowly and You Probably Do Not Know It
Most drivers never think about their car battery until the morning it refuses to start. By then, you are stranded, late, and facing an emergency replacement at full price. The truth is that car batteries give warning signs for weeks or months before they fail, and a few minutes of basic maintenance twice a year can add 1 to 2 years to the battery lifespan. That is $100 to $200 you keep in your pocket by delaying a replacement.
Battery maintenance is one of the easiest and cheapest preventive tasks you can do. All you need is a wire brush, some baking soda, water, and a $15 multimeter. No jack stands, no special tools, no experience required. This guide walks you through everything from terminal cleaning to voltage testing, parasitic drain checks, and seasonal care strategies that actually work.
This guide covers how batteries work, signs of a weakening battery, step-by-step maintenance, voltage testing, parasitic drain diagnosis, and when to replace versus maintain.
A car battery is a 12-volt lead-acid storage device that provides the electrical energy needed to start your engine and power accessories when the engine is off. Inside the battery, lead plates are submerged in a sulfuric acid electrolyte solution. When you turn the key, a chemical reaction between the plates and acid produces electricity. The alternator recharges the battery while the engine runs, but the battery still degrades over time as the plates corrode, the electrolyte weakens, and internal resistance increases.
Signs Your Battery Is Weakening
Batteries rarely fail without warning. Watch for these signs that your battery is losing its ability to hold a charge:
- Slow cranking: The engine turns over more slowly than usual when you start the car. This is the most common early sign. The starter motor is not getting enough current to spin at full speed.
- Dim headlights at idle: If your headlights are noticeably dimmer when the engine is idling but brighten when you rev the engine, the battery is not holding charge well enough to maintain voltage at low RPM.
- Battery warning light: The battery or charging system light on the dashboard indicates the charging voltage is outside the normal 13.5 to 14.5 volt range. This could be the battery, alternator, or wiring.
- Electrical gremlins: Flickering interior lights, radio presets resetting, or power windows moving slowly can all indicate low battery voltage.
- Swollen battery case: A bulging or bloated battery case means the battery has been overcharged or exposed to excessive heat. This battery needs immediate replacement.
- Rotten egg smell: The smell of sulfur near the battery indicates the electrolyte is boiling off, usually from overcharging. This is a safety concern and the battery should be replaced.
THE 3-YEAR RULE
Most car batteries last 3 to 5 years, with the average being about 4 years. After the 3-year mark, have your battery tested at least once a year (most auto parts stores do this for free). If it tests below 80% capacity, plan a replacement before winter when cold temperatures put the most stress on the battery.
Step-by-Step Terminal Cleaning
Corroded terminals are the number one cause of preventable battery problems. The white, green, or blue buildup on battery posts increases resistance, which reduces the current flowing to the starter and electrical system. Cleaning takes about 15 minutes and should be done every 6 months.
Safety First: Prepare the Workspace
Turn off the engine and remove the key from the ignition. Put on safety glasses and gloves. Battery acid is corrosive and the residue on corroded terminals can irritate skin. Keep baking soda nearby to neutralize any acid spills. Work in a well-ventilated area, as batteries can release hydrogen gas.
Disconnect the Negative Terminal First
Always disconnect the negative (black, marked with a minus sign) terminal first. Use a wrench (usually 10mm or 8mm) to loosen the terminal clamp bolt. Twist and lift the clamp off the post. Tuck the cable away so it cannot accidentally contact the post. Disconnecting the negative first prevents short circuits if your wrench touches any metal while removing the positive terminal.
Disconnect the Positive Terminal
Loosen and remove the positive (red, marked with a plus sign) terminal clamp the same way. Now both terminals are disconnected and you can safely clean without risk of sparks or short circuits.
Mix the Cleaning Solution
Mix one tablespoon of baking soda into one cup of warm water. Stir until dissolved. This solution neutralizes the acid in the corrosion and makes it easy to scrub away. You can also use a commercial battery terminal cleaner spray, which works the same way.
Scrub the Posts and Clamps
Dip a wire brush or battery terminal cleaning brush into the baking soda solution and scrub the battery posts thoroughly. The corrosion will fizz as the baking soda neutralizes the acid. Scrub the inside of the terminal clamps as well. Continue until the metal is shiny and clean. For heavy corrosion, pour the solution directly onto the posts and let it soak for 2 to 3 minutes before scrubbing.
Rinse, Dry, and Protect
Rinse the posts and clamps with clean water. Dry everything with a clean rag. Apply a thin layer of petroleum jelly or battery terminal protector spray to the posts before reconnecting. This creates a barrier that slows future corrosion. Some people use felt anti-corrosion washers that sit between the post and clamp.
Reconnect in Reverse Order
Connect the positive (red) terminal first, then the negative (black) terminal. Tighten both clamp bolts snugly. They should not spin on the post. Wiggle each clamp to verify it is secure. A loose connection creates the same problems as corrosion: poor current flow and hard starting.
How to Test Battery Voltage with a Multimeter
A digital multimeter is the simplest way to check battery health at home. You can buy one for $10 to $20 at any auto parts or hardware store. Here is what the readings mean:
| Voltage (Engine Off) | Charge Level | Action Needed |
|---|---|---|
| 12.6V or higher | Fully charged | Battery is healthy. No action needed. |
| 12.4V to 12.5V | 75% charged | Acceptable but not full. Drive for 30+ minutes or use a charger. |
| 12.0V to 12.3V | 25-50% charged | Low. Charge immediately. May indicate a parasitic drain or weak battery. |
| Below 12.0V | Discharged | Battery is dead or dying. Charge and retest. If it will not hold 12.4V+, replace it. |
To test, set your multimeter to DC voltage (the V with a straight line, not the wavy line). Touch the red probe to the positive post and the black probe to the negative post. Read the voltage. For an accurate reading, the car should have been sitting for at least 2 hours without running.
With the engine running, the voltage should read 13.5 to 14.5 volts. This confirms the alternator is charging the battery. If the running voltage is below 13.5V, the alternator may be failing. See our alternator replacement guide for diagnosis and replacement steps.
How to Check for Parasitic Battery Drain
A parasitic drain is an electrical component that continues drawing power when the car is off. Normal parasitic draw (for the clock, alarm, and computer memory) is 25 to 50 milliamps. Anything over 75 milliamps is excessive and will drain a battery overnight or over a few days of sitting.
To test for parasitic drain:
- Turn off everything in the car (lights, radio, accessories). Close all doors.
- Disconnect the negative battery cable.
- Set your multimeter to the milliamp (mA) or 10A DC setting.
- Connect the multimeter in series between the negative battery post and the negative cable clamp (red probe on the post, black probe on the cable).
- Wait 10 to 15 minutes for all modules to go to sleep.
- Read the current draw. Under 50 milliamps is normal. Over 75 milliamps indicates a problem.
- To find the culprit, pull fuses one at a time while watching the meter. When the reading drops to normal, the circuit on that fuse is the source of the drain.
For more on fuse identification and electrical troubleshooting, see our fuses and relays guide.
SAFETY WITH BATTERY WORK
Always wear safety glasses when working around batteries. Lead-acid batteries contain sulfuric acid that can cause chemical burns. Never smoke or create sparks near a battery, as hydrogen gas released during charging is flammable. If acid contacts your skin, flush immediately with large amounts of water. If you see a cracked or leaking battery, do not attempt to charge it. Replace it immediately and dispose of the old battery at an auto parts store or recycling center.
Seasonal Battery Care
Most people assume cold weather is the biggest threat to batteries. The reality is that heat kills batteries faster than cold. High temperatures accelerate the chemical degradation of the lead plates and cause the electrolyte to evaporate. Cold weather simply exposes the damage by demanding more power from an already weakened battery.
Summer Care
- Check the electrolyte level on non-sealed batteries and top off with distilled water if needed.
- Ensure the heat shield (if equipped) is in place around the battery. Many vehicles have a thermal wrap or shield designed to protect the battery from engine heat.
- Park in shade or a garage when possible. Under-hood temperatures in direct sun can exceed 200 degrees Fahrenheit.
- Test the battery voltage after summer to catch heat-related degradation early.
Winter Care
- A fully charged battery will not freeze until roughly minus 76 degrees Fahrenheit. A discharged battery can freeze at 32 degrees Fahrenheit. Keeping the battery charged is your best freeze protection.
- If you do not drive daily, use a battery maintainer (trickle charger) to keep the battery at full charge.
- Clean the terminals before winter. Corrosion increases resistance, and cold weather already reduces available power.
- Check the Cold Cranking Amps (CCA) rating when buying a replacement. Choose a battery that meets or exceeds the manufacturer specification for your vehicle.
For complete seasonal prep checklists, see our winter car prep guide and summer car prep guide.
Battery Tenders and Maintainers
If your car sits for more than a week at a time (a second vehicle, seasonal car, or stored classic), a battery maintainer is the single best investment you can make. These devices plug into a wall outlet and connect to the battery terminals with alligator clips. They monitor the voltage and deliver a small charge only when needed, keeping the battery at 100% without overcharging.
A quality battery maintainer costs $25 to $50 and pays for itself by extending battery life 1 to 2 years. Look for features like automatic float mode (stops charging at full), reverse polarity protection (will not spark if connected backward), and compatibility with your battery type (flooded, AGM, or gel).
When to Replace vs. Maintain
Maintenance can extend battery life, but every battery eventually reaches the end of its useful life. Replace the battery if any of the following are true:
- The battery is more than 5 years old, regardless of current performance.
- It tests below 80% capacity on a load test (free at most auto parts stores).
- It will not hold a charge above 12.4 volts after a full charge cycle.
- The case is cracked, swollen, or leaking.
- It has needed a jump start more than once in the past 3 months.
If you need a jump start right now, our jump start guide covers the safe connection sequence. For understanding battery-related dashboard warnings, check our dashboard warning lights guide.
Choosing the Right Replacement Battery
When it is time for a new battery, match these specifications to your vehicle:
- Group size: The physical dimensions of the battery (length, width, height). Your owner's manual or the sticker on the old battery will list the correct group size (e.g., Group 24, Group 35, Group 48).
- Cold Cranking Amps (CCA): The amount of current the battery can deliver at 0 degrees Fahrenheit for 30 seconds. Meet or exceed the manufacturer specification. Higher CCA is fine; lower is not.
- Battery type: Standard flooded (most common, cheapest), AGM (absorbed glass mat, more expensive, better for vehicles with high electrical loads or start-stop systems), or gel cell (rare, used in specialty applications).
- Warranty: Most batteries come with a free replacement period (typically 2 to 3 years) followed by a prorated period. A longer warranty usually indicates higher quality.
FREE BATTERY TESTING
Most auto parts stores (AutoZone, O'Reilly, Advance Auto Parts, NAPA) will test your battery for free, both in the car and on the counter. They test cranking amps, voltage, and internal resistance. This is the fastest way to determine if your battery is still good or needs replacing. They will also install a new battery for free if you buy it from them.
What to Read Next
Frequently Asked Questions
Don't Miss Critical Car Care Tips
Get exclusive guides, money-saving maintenance tips, and early warning signs delivered straight to your inbox.