CV Axle Replacement: DIY Guide to Fix Clicking Noises
Quick Answer
A CV axle replacement costs $50 to $150 per axle in parts and takes about 2 hours per side. Shops charge $300 to $700 for the same job. The most common symptom of a failing CV axle is a clicking or popping noise when turning, caused by a torn boot that lets grease escape and dirt enter the joint. Most DIYers with intermediate experience can handle this job with basic hand tools, a torque wrench, and a pry bar.
That Clicking Noise Is Your CV Axle Begging for Help
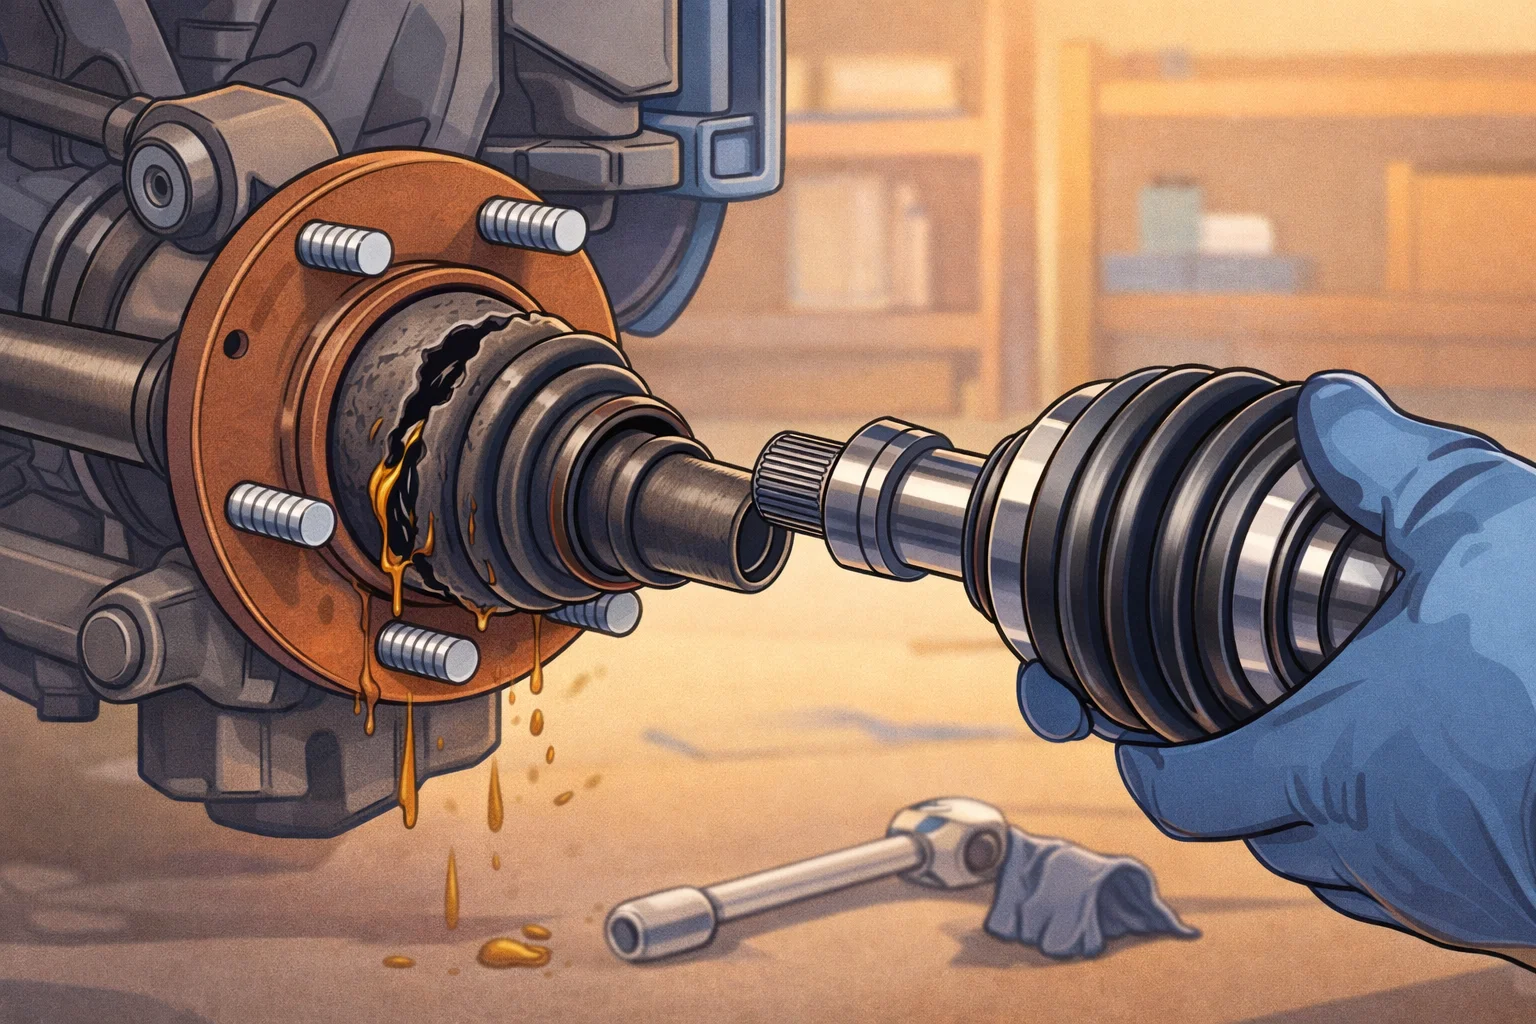
If your car clicks, pops, or clunks when you turn the steering wheel, especially at low speeds in parking lots, there is a very good chance your CV axle is failing. Constant velocity (CV) axles transfer power from the transmission to the wheels while allowing for the up-and-down movement of your suspension and the left-and-right movement of your steering. They are one of the hardest-working parts on your car, and they do eventually wear out.
Shops charge $300 to $700 per axle for replacement, depending on the vehicle. The part itself costs $50 to $150 for most cars and trucks. With about two hours of work and basic tools, you can save $200 to $500 by doing this job yourself. The process is straightforward once you understand the steps, and a complete replacement axle (with new joints and boots pre-assembled) makes the job much simpler than rebuilding individual joints.
This guide covers the symptoms of a bad CV axle, when to replace versus reboot, a complete step-by-step replacement, and how to avoid the most common mistakes.
A CV axle is a steel shaft with a joint at each end. The inner joint connects to the transmission or differential. The outer joint connects to the wheel hub. Each joint is packed with special grease and sealed inside a rubber boot held in place by clamps. The joints allow the axle to flex as the suspension moves up and down and as the wheels turn left and right, all while spinning at high speed to deliver power to the wheels.
Symptoms of a Failing CV Axle
CV axle failure usually follows a predictable pattern. It almost always starts with a torn boot, which leads to grease loss and contamination of the joint. Here are the signs to watch for, from earliest to most severe:
- Clicking or popping when turning: This is the signature symptom of a worn outer CV joint. The clicking gets louder during tight turns at low speed, like turning in a parking lot. It will be most noticeable on the side of the bad axle when you turn away from it (turning left stresses the right outer joint).
- Grease on the inner wheel or tire: A torn CV boot flings grease outward as the axle spins. If you see dark grease splattered on the inside of a wheel, rim, or tire sidewall, a boot has failed. At this stage, you may catch it before the joint is damaged.
- Vibration at highway speed: A worn inner CV joint can cause a vibration that feels similar to a wheel balance issue. It tends to be worse under acceleration and may improve when you let off the gas.
- Clunking when shifting from park to drive: A worn inner CV joint with excessive play can produce a noticeable clunk when the drivetrain loads up during gear changes.
- Humming or growling noise: In advanced cases, the joint bearings are so worn that they produce a constant noise that changes with vehicle speed. At this point, the axle needs immediate replacement.
DO NOT IGNORE CLICKING NOISES
A clicking CV joint will not get better on its own. Driving on a severely worn CV joint can cause it to seize or break apart while driving, which can lock the wheel or cause a complete loss of power to that side. If you hear clicking, plan the replacement soon. You typically have a few hundred to a few thousand miles before total failure, but waiting increases the risk of a breakdown.
Reboot vs. Full Axle Replacement
When a CV boot tears, you have two options: replace just the boot (reboot) or replace the entire axle assembly. Here is how to decide:
| Factor | Reboot Only | Full Axle Replacement |
|---|---|---|
| When to choose | Boot just tore, no clicking noise, joint is still smooth | Any clicking, grinding, or vibration present |
| Parts cost | $10-30 (boot kit) | $50-150 (complete axle) |
| Labor time | 3-4 hours (must disassemble joint) | 1.5-2 hours |
| Difficulty | More complex (joint disassembly, repacking grease) | Simpler (bolt-on swap) |
| Reliability | Good if joint is undamaged | Excellent (all-new components) |
For most DIYers, a complete axle replacement is the better choice. It is actually easier and faster than a reboot because you skip the joint disassembly and grease repacking steps. The price difference between a boot kit and a complete axle is small, and you get all-new joints, boots, and clamps. The only exception is if you catch a torn boot very early (within days) before any contamination reaches the joint.
Tools and Parts You Will Need
🔧 Tools
- Floor jack and jack stands
- Lug wrench or impact wrench
- Socket set (metric and SAE)
- Breaker bar
- Pry bar or large flat screwdriver
- Torque wrench
- Axle nut socket (30mm, 32mm, 34mm, or 36mm depending on vehicle)
- Dead blow or rubber mallet
- Pliers (for cotter pins)
- Drain pan
📦 Parts
- New CV axle assembly (complete with joints and boots)
- New axle nut (often included with axle)
- New cotter pin (if applicable)
- Transmission fluid (may need to top off after removal)
BUYING THE RIGHT AXLE
When ordering a replacement axle, match it to your exact year, make, model, and engine size. Front-wheel-drive cars have two CV axles. All-wheel-drive and 4WD vehicles may have four. The driver (left) and passenger (right) axles are different lengths on most vehicles, so order the correct side. Quality brands like GKN, Cardone Select, and TrakMotive offer reliable aftermarket axles at a fraction of dealer pricing.
Step-by-Step CV Axle Replacement
This procedure covers front CV axle replacement on a front-wheel-drive or all-wheel-drive vehicle, which is the most common scenario. Rear axles on AWD vehicles follow a similar process.
Prepare the Vehicle
Park on a flat, level surface. If replacing the driver-side axle, turn the steering wheel fully to the right to give yourself more room to work (turn left for the passenger side). With the car still on the ground and in park, use a breaker bar to loosen the axle nut. This nut is torqued extremely tight (150 to 250 ft-lbs on most vehicles) and is much easier to loosen while the wheel is on the ground. Remove the cotter pin first if equipped.
Lift and Secure the Vehicle
Loosen the lug nuts, jack up the vehicle, and place it securely on jack stands. Remove the wheel. Place a drain pan under the transmission where the inner CV joint connects, as some transmission fluid may leak out when the axle is removed.
Remove the Axle Nut
Finish removing the axle nut that you loosened in Step 1. On some vehicles, this nut is staked (the collar is crimped into a groove on the axle shaft). Use a chisel or punch to flatten the crimped section before turning the nut. Set the nut aside. Many manufacturers recommend using a new nut on reassembly.
Disconnect the Lower Ball Joint or Knuckle
To pull the outer CV joint out of the wheel hub, you need to swing the steering knuckle outward. The easiest method depends on your vehicle. On most cars, remove the lower ball joint pinch bolt and pry the ball joint out of the knuckle. On others, you may remove the lower strut bolts instead. Refer to your service manual for the recommended procedure. Once disconnected, swing the knuckle outward to expose the axle shaft splines in the hub.
Remove the Outer End from the Hub
Push the outer CV joint spline out of the wheel hub. If it does not slide out by hand, tap the end of the axle shaft with a dead blow mallet. Do not strike the threaded end directly. Some axles require a puller. Once free, let the outer end hang while you work on the inner joint.
Remove the Inner Joint from the Transmission
The inner CV joint is held in the transmission or differential by a snap ring (c-clip). Position a pry bar between the inner joint housing and the transmission case, and pry outward with a firm, steady push. You should feel the snap ring release. The axle will slide out. Some transmission fluid will drain out. Have your drain pan ready. On some vehicles with an intermediate shaft, you will need to unbolt a bearing bracket from the engine block first.
Compare Old and New Axles
Lay the old and new axles side by side. Verify they are the same length, the spline count matches on both ends, and the inner joint style (tripod or plunge) matches. Check that the snap ring on the inner end of the new axle is properly seated. If anything looks different, double-check your part number before installing.
Install the New Axle
Slide the inner end of the new axle into the transmission. Push it in firmly until you feel the snap ring click into the retaining groove. Verify it is seated by giving it a firm tug outward. It should not pull out. Then guide the outer spline into the wheel hub. Push it through by hand as far as possible.
Reassemble the Knuckle and Torque Everything
Reconnect the ball joint or strut bolts to the steering knuckle. Torque all fasteners to the specifications in your service manual. Install the new axle nut and torque it to spec (typically 150 to 250 ft-lbs). If your vehicle uses a cotter pin, install a new one. If the axle nut is the staking type, use a punch to crimp the collar into the groove.
Reinstall the Wheel and Test
Mount the wheel, hand-tighten the lug nuts in a star pattern, lower the vehicle, and torque the lugs to spec. Check and top off the transmission fluid if any leaked during removal. Start the engine and let it idle. Turn the steering wheel lock to lock a few times. Listen for any noises. Take a slow test drive with several tight turns in both directions. The clicking should be completely gone.
CHECK YOUR TRANSMISSION FLUID
After a CV axle replacement, always check the transmission fluid level. On manual transmissions, remove the fill plug and verify fluid is at the bottom of the fill hole. On automatics, check the dipstick with the engine running and the transmission in park. Low fluid after an axle swap is one of the most commonly overlooked steps and can cause transmission damage if ignored.
DIY vs. Mechanic Cost Comparison
| Cost Category | DIY | Shop |
|---|---|---|
| CV axle (one side) | $50-150 | $80-200 |
| Labor | $0 (your time) | $150-400 |
| Misc (fluid, cotter pin, nut) | $5-15 | $10-25 |
| Total per side | $55-165 | $240-625 |
If both sides need replacing (which is common once one fails, since both axles have the same mileage), the DIY savings double. Two axles at a shop can easily run $500 to $1,200, while the DIY parts cost is $100 to $300 total.
For more ways to keep repair costs down, check out our guide to saving money on car repairs. If you noticed the clicking during a turn and also feel looseness in the suspension, our suspension problems guide can help you diagnose whether additional work is needed.
Common Mistakes to Avoid
- Not loosening the axle nut on the ground: The axle nut is torqued to 150+ ft-lbs. Trying to loosen it with the car on jack stands will spin the hub or tip the car. Always crack it loose while the wheels are on the ground and the car is in park with the parking brake set.
- Forgetting to drain or catch transmission fluid: Pulling the inner joint out of the transmission releases fluid. Without a drain pan, you will have a mess on the floor and low fluid in the transmission.
- Reusing the old axle nut: Many axle nuts are one-time-use fasteners designed to deform when torqued. Reusing them risks the nut backing off while driving, which can cause the wheel to separate from the vehicle.
- Not verifying the snap ring seated: If the inner snap ring does not click into the transmission retaining groove, the axle can pull out under hard acceleration. Always tug-test before reassembling.
- Wrong axle length: Left and right axles are different lengths on most vehicles. Installing the wrong side creates binding, vibration, or joint failure. Always verify side-to-side before installing.
After replacing your CV axle, it is a good idea to check your transmission fluid condition. If the fluid is dark or smells burnt, a full fluid change is a smart preventive maintenance step while you are under the car.
What to Read Next
Frequently Asked Questions
Don't Miss Critical Car Care Tips
Get exclusive guides, money-saving maintenance tips, and early warning signs delivered straight to your inbox.