Serpentine Belt Replacement: Signs and DIY Guide
Quick Answer
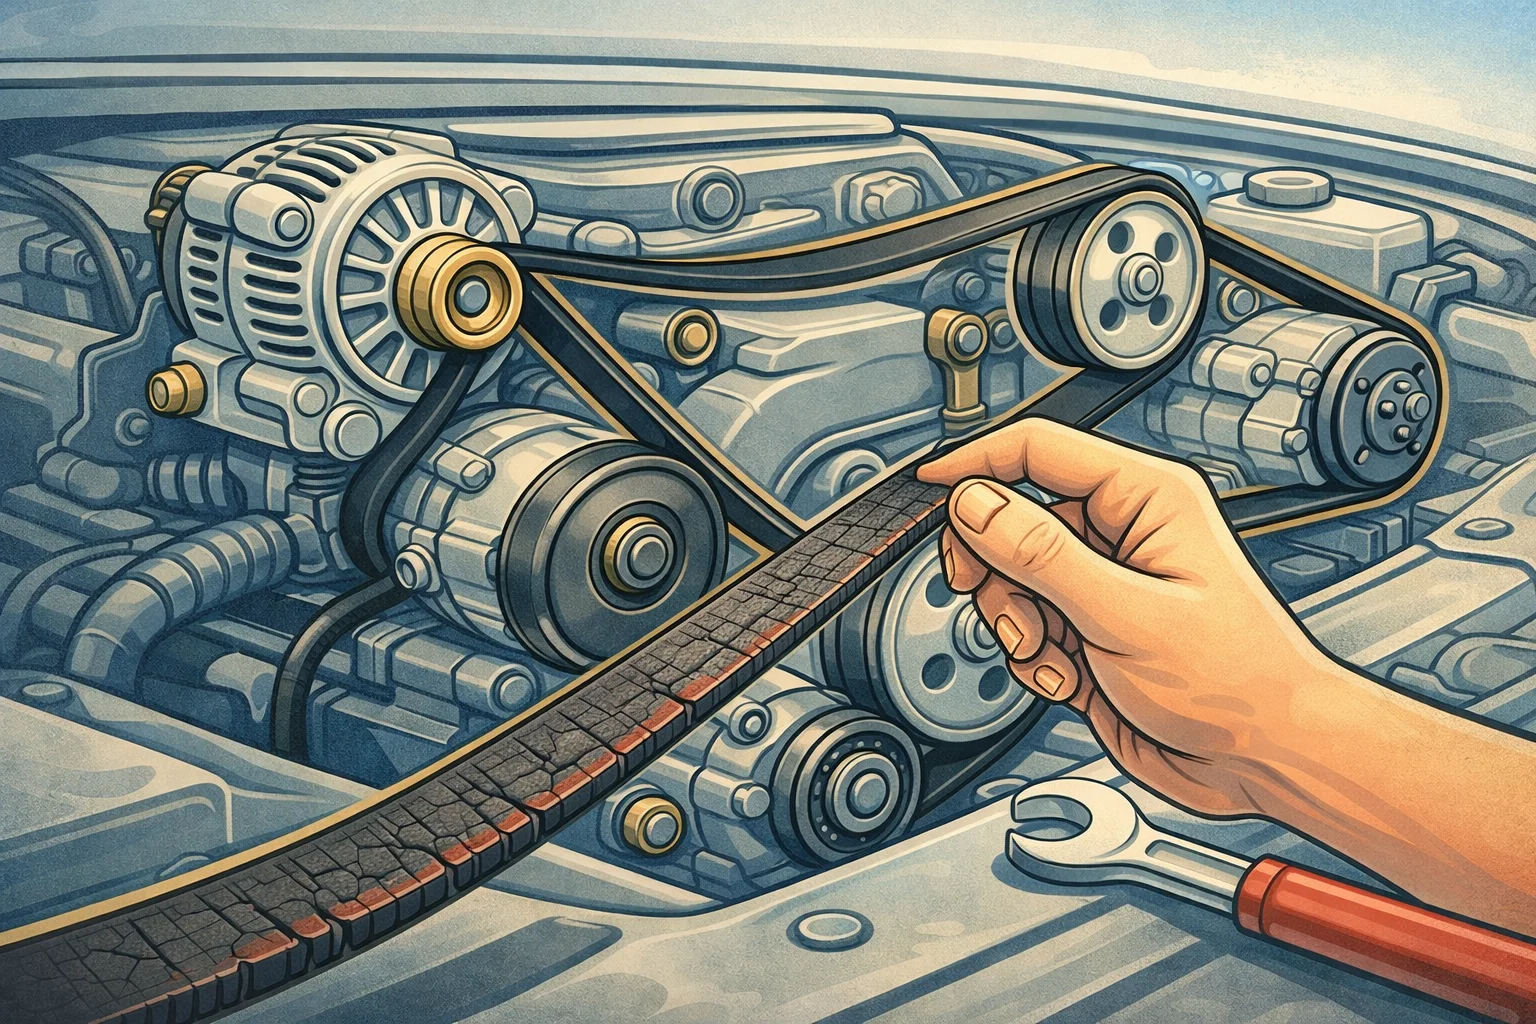
Replace your serpentine belt every 60,000 to 100,000 miles or when you see cracks, glazing, or hear squealing on startup. The belt costs $20 to $50 and takes 30 to 60 minutes to replace on most vehicles. A single wrench or socket to release the tensioner is usually all you need.
The One Belt That Powers Everything Under Your Hood
Your serpentine belt drives your alternator, power steering pump, water pump, and AC compressor using a single continuous loop of reinforced rubber. When it snaps, everything stops at once. No power steering. No charging. No cooling. You are stranded, and the tow truck is on its way.
The good news? A serpentine belt gives plenty of warning before it fails. Squealing on startup, visible cracks, and glazed rubber are all signs that replacement time is near. The belt itself costs $20 to $50, and on many vehicles, swapping it is a 30-minute job with a single wrench.
Summer heat accelerates belt wear significantly. Replacing your belt before temperatures climb is preventative maintenance that pays for itself many times over. According to belt manufacturer Gates, serpentine belts should be inspected every 60,000 miles and replaced at 90,000 miles, though heat and environmental factors can shorten that interval.
Here is how to inspect, diagnose, and replace your serpentine belt.
The serpentine belt is a single ribbed belt that drives your alternator, water pump, power steering pump, and AC compressor. Replace it every 60,000 to 100,000 miles, or sooner if you notice squealing, visible cracks, or fraying. A new belt costs $20 to $50, and DIY replacement takes 30 to 60 minutes on most vehicles, saving $100 to $200 in labor.
What Your Serpentine Belt Actually Powers
Unlike older vehicles that used multiple V-belts for different accessories, modern cars use a single serpentine belt that snakes around every accessory pulley. When this one belt fails, everything it drives fails simultaneously:
- Alternator: Generates electricity to charge your battery and power all electronics. Without it, your battery drains in minutes. See our alternator guide for more.
- Water pump: Circulates coolant through the engine. Without it, your engine overheats within minutes. Check our water pump guide for failure signs.
- Power steering pump: Provides hydraulic assist to your steering. Without it, steering becomes extremely heavy. Our power steering guide covers fluid maintenance.
- AC compressor: Compresses refrigerant for air conditioning. Without it, no cold air. See our AC diagnosis guide.
IF YOUR BELT SNAPS WHILE DRIVING
Pull over safely as soon as possible. You will lose power steering (steering becomes very heavy), the battery warning light will come on, and the engine will start to overheat. Do not continue driving. Call for a tow. Running an engine without coolant circulation can cause catastrophic damage within minutes.
5 Warning Signs Your Serpentine Belt Is Failing
- Squealing on startup: A high-pitched squeal that lasts a few seconds when you start the engine, especially on cold mornings. This indicates the belt is slipping on one or more pulleys due to wear, glazing, or improper tension.
- Visible cracks or fraying: Look at the ribbed side of the belt. If you see cracks running across the ribs, chunks missing, or frayed edges, the belt is deteriorating and could snap without warning.
- Glazed or shiny appearance: A healthy belt has a matte texture on the ribbed side. If it looks smooth and shiny, the rubber has hardened from heat exposure and can no longer grip the pulleys effectively.
- Chirping or squeaking while driving: Intermittent noise that changes with engine speed usually points to a misaligned pulley or a belt that is stretched beyond its tensioner's ability to compensate.
- Battery, power steering, or temperature warning lights: If the belt is slipping badly enough, the accessories it drives will underperform, triggering dashboard warning lights.
How to Inspect Your Serpentine Belt
You can inspect the belt yourself in under five minutes with the engine off and cool:
- Open the hood and locate the belt. It is the long, ribbed rubber belt looping around multiple pulleys at the front of the engine.
- Check the ribbed side for cracks. More than 3 cracks per inch means it is time for replacement.
- Check for missing chunks, fraying, or delamination (layers separating).
- Press the belt between two pulleys. It should have no more than half an inch of deflection. More indicates a worn tensioner or stretched belt.
- Check the tensioner pulley. Spin it by hand (engine off). It should spin smoothly with no wobble or grinding noise.
BELT WEAR GAUGE
Many auto parts stores offer free belt inspection. Some belt manufacturers like Gates provide a free belt wear gauge tool that measures rib depth. If your ribs have worn down past the wear indicator, the belt is due for replacement regardless of mileage.
Step-by-Step: Replace Your Serpentine Belt
This job requires basic hand tools and takes 30 to 60 minutes on most vehicles. The hardest part is routing the new belt correctly. Take a photo of the old belt's routing before you remove it.
Locate the Belt Routing Diagram
Most vehicles have a belt routing diagram on a sticker under the hood (usually on the radiator support or inner fender). If you can not find it, photograph the current belt routing with your phone before removing anything. Getting the routing wrong means the belt will not work or will fly off immediately.
Photograph the Current Belt Path
Take multiple clear photos from different angles showing exactly how the belt wraps around each pulley. This is your insurance policy. Some routing diagrams are faded or missing, and working from memory is a guaranteed way to get frustrated.
Release the Belt Tensioner
The automatic tensioner is a spring-loaded pulley that keeps the belt tight. Use a wrench, socket, or serpentine belt tool to rotate the tensioner against its spring. This releases tension on the belt. On most vehicles, you rotate the tensioner clockwise, but check your specific vehicle.
TENSIONER TOOL TIP
A dedicated serpentine belt tool ($15 to $25) makes this much easier than a standard wrench, especially in tight engine bays. The long handle provides more leverage, and the thin profile fits where a regular ratchet will not.
Remove the Old Belt
While holding the tensioner released, slide the belt off the easiest pulley (usually the smooth idler pulley or the alternator). Once it is off one pulley, release the tensioner and the belt will come off the rest of the pulleys easily. Pull it out from the engine bay.
Compare Old and New Belts
Lay the old and new belts side by side. They should be the same length, width, and have the same number of ribs. If they do not match, you have the wrong belt. Do not force a belt that does not match exactly.
Route and Install the New Belt
Using your photos and the routing diagram, thread the new belt around all pulleys except the tensioner pulley. Make sure the ribbed side contacts all grooved pulleys, and the smooth side contacts any flat (idler) pulleys. Once routed, rotate the tensioner again and slip the belt onto the final pulley.
Verify Routing and Test
Double-check that the belt is seated properly in all pulley grooves. It should sit flush with no ribs hanging off the edge. Start the engine and let it idle for 30 seconds. Listen for any squealing or unusual noise. Check that the belt is tracking straight on all pulleys. Turn the AC on to verify the compressor engages. Check that power steering is responsive.
Should You Replace the Tensioner Too?
The belt tensioner is a wear item with a limited lifespan. If you are replacing a belt on a high-mileage vehicle (100,000+ miles), replacing the tensioner at the same time is good preventive maintenance. A worn tensioner will not keep proper tension on the new belt, causing premature wear and slipping.
Signs of a bad tensioner:
- Tensioner arm bounces or oscillates visibly while the engine runs
- Grinding or rattling noise from the tensioner pulley area
- Belt keeps slipping despite being new and correctly installed
- Tensioner pulley wobbles when spun by hand
Cost Comparison: DIY vs. Shop
DIY Cost
$20 to $50
Belt only, 30 to 60 minutes
Shop Cost
$120 to $250
Belt + labor (+ tensioner if needed)
Related Maintenance
The serpentine belt connects to many critical systems. When servicing the belt area, consider checking:
- Timing belt: If your engine uses a timing belt (not a chain), it has a separate replacement schedule. See our timing belt guide.
- Coolant system: With the belt off, it is a good time to inspect hoses and check your cooling system for leaks.
- Summer prep: Belt replacement is a key item on your summer car prep checklist.
- Maintenance schedule: See where belt replacement fits in your overall maintenance schedule.
BOTTOM LINE
Your serpentine belt powers every major accessory under the hood. Inspect it at every oil change, and replace it at the first sign of cracks, glazing, or squealing. The $20 to $50 belt and 30 minutes of your time beats a $250 shop bill and a roadside breakdown. Replace it proactively before summer heat pushes it past its limit.
Frequently Asked Questions
Don't Miss Critical Car Care Tips
Get exclusive guides, money-saving maintenance tips, and early warning signs delivered straight to your inbox.