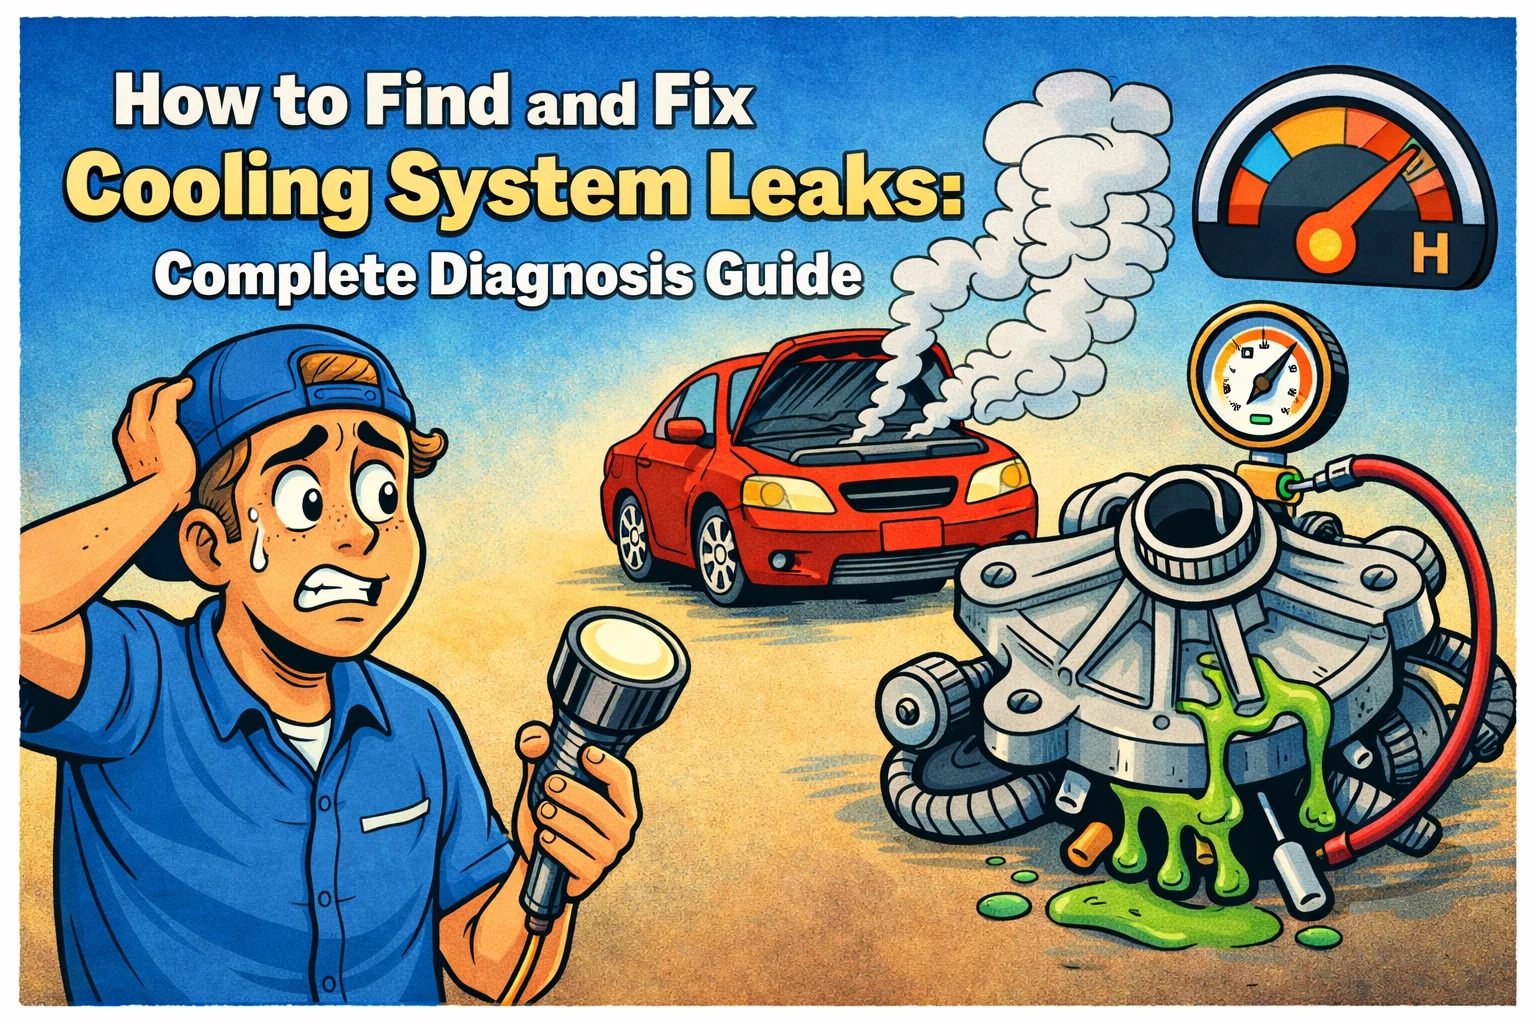
How to Find and Fix Cooling System Leaks: Complete Diagnosis Guide
Quick Answer
Look for puddles of green, orange, or pink fluid under your car. The most common leak sources are radiator hoses, the water pump, the radiator itself, and the heater core. A $15 pressure tester or UV dye kit pinpoints the exact location. Most hose and clamp leaks are DIY-fixable for under $30.
A cooling system leak can quickly escalate from a minor annoyance to a major engine failure. Even a small leak allows coolant to escape, reducing the system's ability to regulate engine temperature. Finding and fixing leaks early prevents overheating, saves money on repairs, and keeps your engine running reliably. This guide covers the most effective diagnostic methods and repair options for common cooling system leaks.
Tools You Will Need for This Job
The three pieces of gear that turn a guess-and-replace job into a 20-minute confirmed diagnosis.
tool
UV Coolant Leak Detection Kit
Find hidden cooling leaks fast.
Check pricetool
Cooling System Pressure Tester
Pressurize the system to expose leaks.
Check pricefluid
Premixed 50/50 Coolant (Universal)
Ready-to-pour, no mixing required.
Check priceAffiliate links. We may earn a small commission at no extra cost to you. Learn more.
Shopping for a kit?
See our 2026 cooling leak detection kit buyer's guide for pressure testers, UV dye kits, and spill-free funnels compared head-to-head.
Why Cooling System Leaks Are Dangerous
Your engine operates at temperatures between 195°F and 220°F. The cooling system maintains this range by circulating coolant through the engine block, cylinder head, and radiator. When coolant leaks out, the system loses its ability to transfer heat effectively.
A low coolant level can cause hot spots in the engine where metal temperatures exceed safe limits. This leads to warped cylinder heads, blown head gaskets, cracked blocks, and seized pistons. These repairs typically cost thousands of dollars, while most leak repairs cost a fraction of that amount.
Overheating Risk
Signs of a Cooling System Leak
Visible Symptoms
- • Puddles under the vehicle (green, orange, pink, or blue)
- • White residue or staining around hoses and connections
- • Steam coming from under the hood
- • Coolant reservoir level dropping over time
- • Wet spots on the engine or radiator
Performance Symptoms
- • Temperature gauge running higher than normal
- • Heater blowing cold air intermittently
- • Sweet smell from the engine compartment
- • Overheating in traffic or on hills
- • White exhaust smoke (internal leak)
Coolant Has a Distinctive Smell
Common Leak Locations
Knowing where leaks commonly occur helps you inspect your vehicle more effectively. Here are the most frequent leak sources, listed from most to least common:
Radiator Hoses
Upper and lower radiator hoses deteriorate over time. Look for cracks, soft spots, bulges, or wetness at the clamp connections. Hoses typically last 4 to 5 years before the rubber begins to break down.
Radiator
Radiators can develop leaks at the tanks (where plastic meets aluminum), through the core fins, or at the drain petcock. Corrosion, road debris impact, and age are common causes.
Water Pump
The water pump has a weep hole designed to leak when the internal seal fails. Look for coolant staining below the weep hole on the pump body. A failing water pump may also make a grinding or whining noise.
Heater Core
The heater core is located inside the dashboard. Leaks cause a sweet smell in the cabin, foggy windows, and wet carpet on the passenger side. Heater core replacement is labor intensive due to dashboard removal.
Thermostat Housing
The gasket between the thermostat housing and engine can leak. Look for coolant residue around the housing, which is usually located where the upper radiator hose connects to the engine.
Head Gasket
An internal leak at the head gasket allows coolant to enter the combustion chamber or mix with engine oil. Symptoms include white exhaust smoke, milky oil on the dipstick, and bubbles in the coolant reservoir.
Freeze Plugs
Also called core plugs or expansion plugs, these metal discs in the engine block can corrode and leak. They are often located in hard-to-reach areas, making repair challenging.
Diagnostic Methods for Finding Leaks
Method 1: Visual Inspection
Start with a careful visual inspection. Clean the engine bay with degreaser so fresh leaks are easier to spot. Look for wet areas, white or colored residue, and staining patterns that indicate coolant flow.
Tip: Inspect the vehicle after it has been sitting overnight. Small leaks may only be visible when the system is cold and not under pressure.
Method 2: Pressure Testing
A cooling system pressure tester attaches to the radiator or reservoir cap opening and pumps air into the system. This simulates the pressure created when the engine is running, forcing coolant out of any leak points.
Pump the tester to the pressure rating shown on your radiator cap (typically 13 to 16 psi). Watch the gauge for pressure drop and inspect all components for leaks.
Cost: Pressure tester kits range from $30 to $100. Many auto parts stores offer free loaner tools.
Method 3: UV Dye Testing
UV dye is added to the coolant and circulates through the system. After driving the vehicle, you inspect with a UV flashlight. The dye glows bright green or yellow at leak points, making even tiny leaks visible.
This method is especially useful for slow leaks or when pressure testing does not reveal the source. The dye remains in the system and will continue to highlight leaks for future inspections.
Cost: UV dye kits cost $15 to $30 and include dye, a UV light, and safety glasses.
Method 4: Combustion Leak Test
If you suspect an internal leak such as a blown head gasket, a combustion leak tester can confirm it. This tool uses a special fluid that changes color when exposed to combustion gases in the coolant.
With the engine running and the radiator cap removed, the tester is held over the filler neck. If the fluid changes from blue to yellow or green, combustion gases are entering the cooling system.
Cost: Combustion leak test kits cost $25 to $50.
DIY Repair Options
Many cooling system leaks can be repaired at home with basic tools. Here are common repairs sorted by difficulty:
| Repair | Difficulty | DIY Cost | Shop Cost |
|---|---|---|---|
| Radiator hose replacement | Easy | $15 to $40 | $100 to $200 |
| Hose clamp tightening | Easy | Free to $5 | $50 to $100 |
| Thermostat housing gasket | Easy to Moderate | $10 to $30 | $150 to $250 |
| Radiator replacement | Moderate | $100 to $300 | $400 to $700 |
| Water pump replacement | Moderate to Hard | $50 to $150 | $400 to $800 |
| Heater core replacement | Hard | $50 to $150 | $500 to $1,200 |
| Head gasket replacement | Very Hard | $100 to $300 | $1,500 to $3,000 |
Replace Both Hoses Together
Temporary Fixes: What Works and What Does Not
Can Work Temporarily
- • Stop leak additives for small radiator or heater core leaks
- • Radiator epoxy for plastic tank cracks
- • Hose repair tape for minor hose damage
- • Emergency clamps for hose connections
Not Recommended
- • Eggs or pepper in the radiator (can clog passages)
- • Stop leak for water pump or head gasket leaks
- • Duct tape on hot components
- • Driving with low coolant to "get by"
Stop Leak Products
When to Seek Professional Help
Some cooling system repairs require specialized knowledge, tools, or facilities. Consider professional help in these situations:
- Head gasket failure requires precise torque sequences and often involves machine shop work
- Timing cover leaks on engines with timing chains may require extensive disassembly
- Freeze plug replacement in hard-to-reach locations may need engine removal
- Heater core replacement typically involves extensive dashboard disassembly
- Water pump on timing belt engines often requires timing belt replacement at the same time
- Leak location is unclear despite pressure testing and visual inspection
Preventing Future Cooling System Leaks
Regular Maintenance
- • Check coolant level monthly
- • Flush and replace coolant on schedule
- • Inspect hoses during oil changes
- • Replace hoses every 4 to 5 years
Use Quality Parts
- • OEM or quality aftermarket hoses
- • Correct coolant type for your vehicle
- • Distilled water for mixing
- • New gaskets with component replacement
For related cooling system guides, see our thermostat replacement guide, water pump failure guide, and complete maintenance schedule.
Frequently Asked Questions About Cooling System Leaks
Don't Miss Critical Car Care Tips
Get exclusive guides, money-saving maintenance tips, and early warning signs delivered straight to your inbox.