How to Flush Your Radiator: Complete DIY Guide
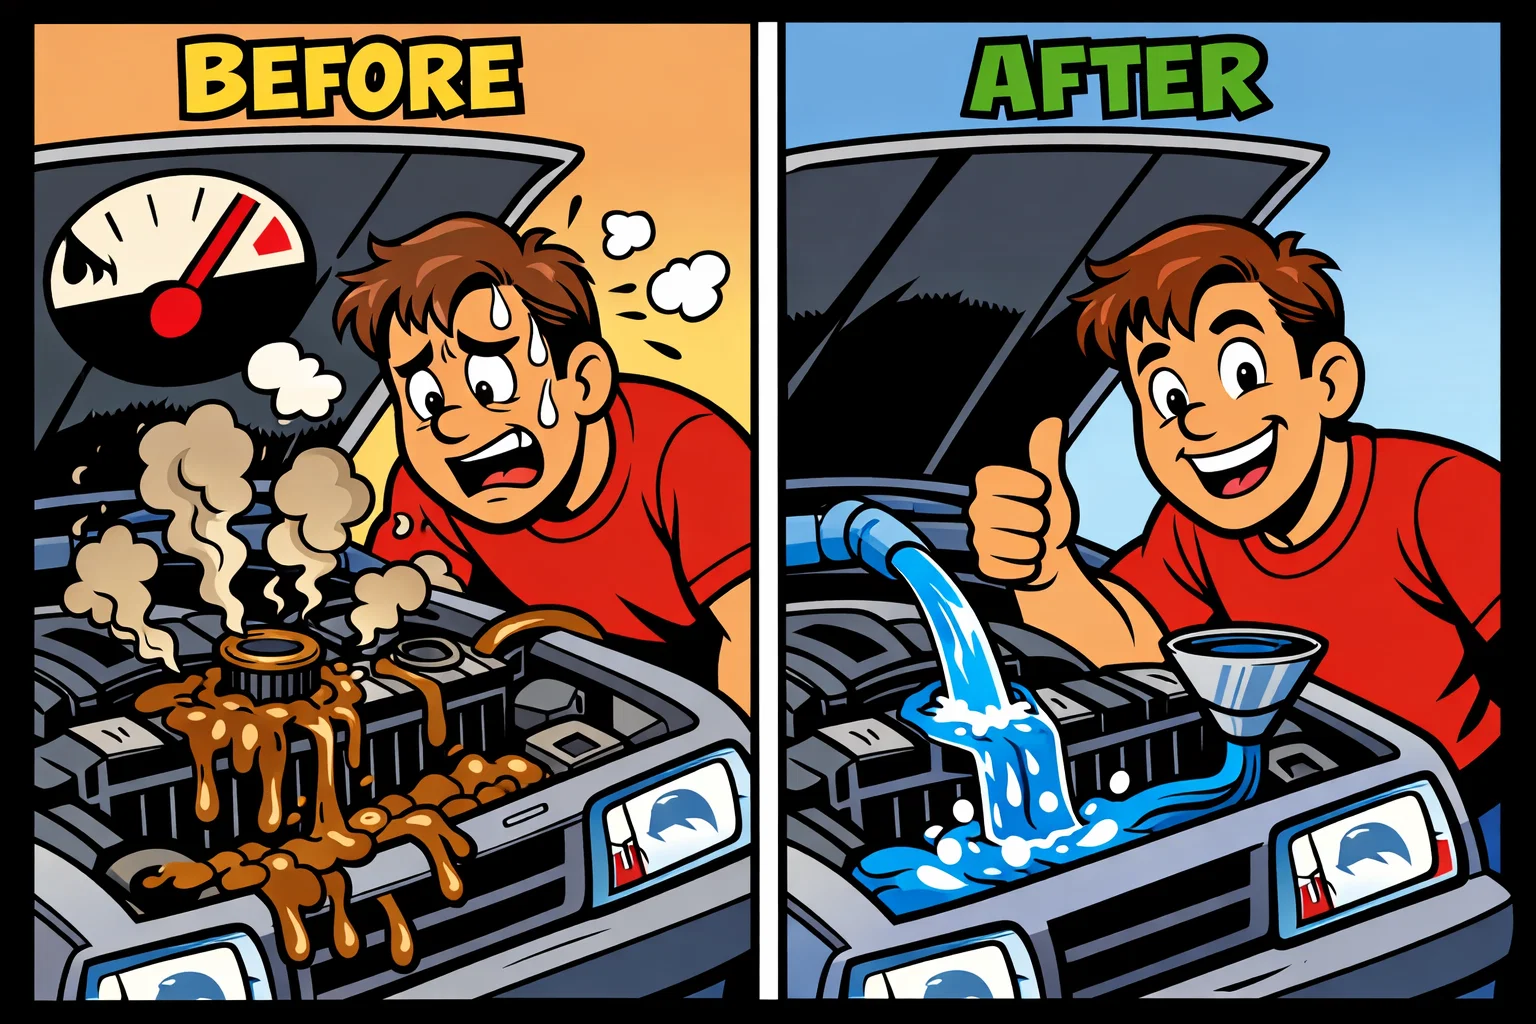
Quick Answer
A DIY radiator flush costs $15 to $30 in supplies (flush solution and new coolant) and takes about 1 hour. Shops charge $100 to $150. Flush your cooling system every 30,000 miles or every 2 years to remove rust, scale, and sediment that cause overheating and heater core clogs.
Your radiator is the heart of your engine's cooling system. Over time, rust, scale, and sediment build up inside, reducing cooling efficiency and putting your engine at risk of overheating. A radiator flush removes these contaminants and restores your cooling system's performance, and it's a job most car owners can tackle at home.
Why Flush Your Radiator?
Coolant doesn't last forever. Even the best antifreeze breaks down over time, losing its ability to prevent corrosion and transfer heat effectively. Meanwhile, rust from metal components, scale from hard water, and debris from deteriorating gaskets accumulate inside your cooling system.
Left unchecked, these contaminants restrict coolant flow, reduce heat transfer, and can eventually clog your radiator, heater core, or water pump. The result? Your engine runs hotter than it should, potentially leading to warped heads, blown gaskets, or complete engine failure.
Prevents Overheating
Clean coolant flows freely and absorbs heat efficiently
Extends Component Life
Reduces corrosion on water pump, thermostat, and hoses
Restores Heater Performance
Clears heater core passages for better cabin heat
When to Flush Your Radiator
Most manufacturers recommend a coolant flush every 30,000 to 50,000 miles, or every 3 to 5 years, whichever comes first. Signs you need a flush include discolored coolant, overheating, visible debris, sweet smell from the engine, or weak heater output.
- Discolored coolant: Fresh coolant is bright green, orange, pink, or blue. Brown, rusty, or murky coolant needs replacing.
- Overheating or running hot: Temperature gauge consistently higher than normal, especially in traffic or hot weather.
- Visible debris or particles: Sediment floating in the coolant reservoir or radiator.
- Sweet smell from the engine bay: Could indicate coolant leaking onto hot components. Check and flush to assess system health.
- Weak heater output: A clogged heater core restricts hot coolant flow, reducing cabin heat.
Pro Tip
Tools and Materials You'll Need
Essential Tools
- Drain pan (at least 2 gallons capacity)
- Garden hose with spray nozzle
- Funnel (wide-mouth preferred)
- Screwdriver or pliers for hose clamps
- Safety glasses and chemical-resistant gloves
- Jack and jack stands (if needed for access)
Required Materials
- Radiator flush solution
- Fresh coolant (check owner's manual for type)
- Distilled water
- Shop rags or towels
Cost Comparison: DIY vs Professional
| Item | DIY Cost | Shop Cost |
|---|---|---|
| Radiator flush solution | $5 - $15 | Included |
| Coolant (2 gallons) | $15 - $30 | Included |
| Distilled water | $3 - $5 | Included |
| Labor | $0 (your time) | $60 - $120 |
| Total | $25 - $50 | $100 - $200 |
Your potential savings: $75 - $150
Step-by-Step Radiator Flush Process
Safety Warning
Prepare Your Vehicle
Park on a level surface and let the engine cool completely. Open the hood and locate the radiator cap, drain petcock (usually at the bottom of the radiator), and the coolant overflow reservoir. Place your drain pan beneath the radiator.
Drain the Old Coolant
Remove the radiator cap to allow air in, then open the drain petcock at the bottom of the radiator. If there is no petcock, you may need to disconnect the lower radiator hose. Let the coolant drain completely into your catch pan.
Tip: Collect and measure the old coolant. This tells you how much new coolant you will need.
Add Flush Solution
Close the drain petcock. Add the radiator flush solution according to package directions, then fill the system with distilled water. Replace the radiator cap securely.
Run the Engine
Start the engine and let it idle until it reaches normal operating temperature. This circulates the flush solution throughout the entire cooling system. Run the heater on high to flush the heater core as well. Let it run for 10 to 15 minutes.
Drain and Rinse
Turn off the engine and let it cool again. Drain the flush solution, then fill the system with plain distilled water and drain again. Repeat this rinse cycle 2 to 3 times until the water runs clear.
Refill with Fresh Coolant
Close the drain petcock. Mix coolant and distilled water in a 50/50 ratio (unless using pre-mixed coolant). Slowly pour the mixture into the radiator, pausing to let air bubbles escape. Fill the overflow reservoir to the proper level.
Important: Check your owner's manual for the correct coolant type. Using the wrong coolant can cause problems. Learn more in our coolant types guide.
Bleed the System and Test
Start the engine with the radiator cap off and let it idle until the thermostat opens (you will see coolant begin to circulate). Top off as needed, replace the cap, and take a short test drive. Monitor your temperature gauge and check for leaks. Recheck coolant level after the engine cools.
Common Mistakes to Avoid
Opening the Cap While Hot
Pressurized coolant can spray and cause severe burns. Always wait for complete cooling.
Mixing Coolant Types
Different coolant chemistries can react and cause corrosion or gelling. Stick to one type.
Skipping the Rinse Cycles
Flush residue left in the system can contaminate new coolant. Always rinse until water runs clear.
Not Bleeding Air from the System
Trapped air pockets cause hot spots and erratic temperature readings. Bleed thoroughly.
DIY vs. Professional Service
Do It Yourself When:
- • You're comfortable with basic maintenance
- • Your cooling system has no existing problems
- • You have time and a safe workspace
- • You can properly dispose of old coolant
See a Professional When:
- • You notice oil in the coolant (head gasket issue)
- • There are visible leaks or damaged components
- • The engine is overheating frequently
- • You're unsure about the correct coolant type
Related Maintenance
Proper Coolant Disposal
Used coolant is toxic to pets and harmful to the environment, so it should never be poured down drains or onto the ground. Most auto parts stores accept used coolant for recycling free of charge. You can also check with your local hazardous waste facility for drop-off options.
Store used coolant in sealed, labeled containers until you can dispose of it properly. Keep it away from children and pets. The sweet taste of antifreeze makes it attractive, but it is highly poisonous. For detailed disposal guidelines, consult the EPA's hazardous waste disposal resources.
Planning Your Maintenance
Frequently Asked Questions
Don't Miss Critical Car Care Tips
Get exclusive guides, money-saving maintenance tips, and early warning signs delivered straight to your inbox.