Signs of a Failing Thermostat and How to Replace It
Quick Answer
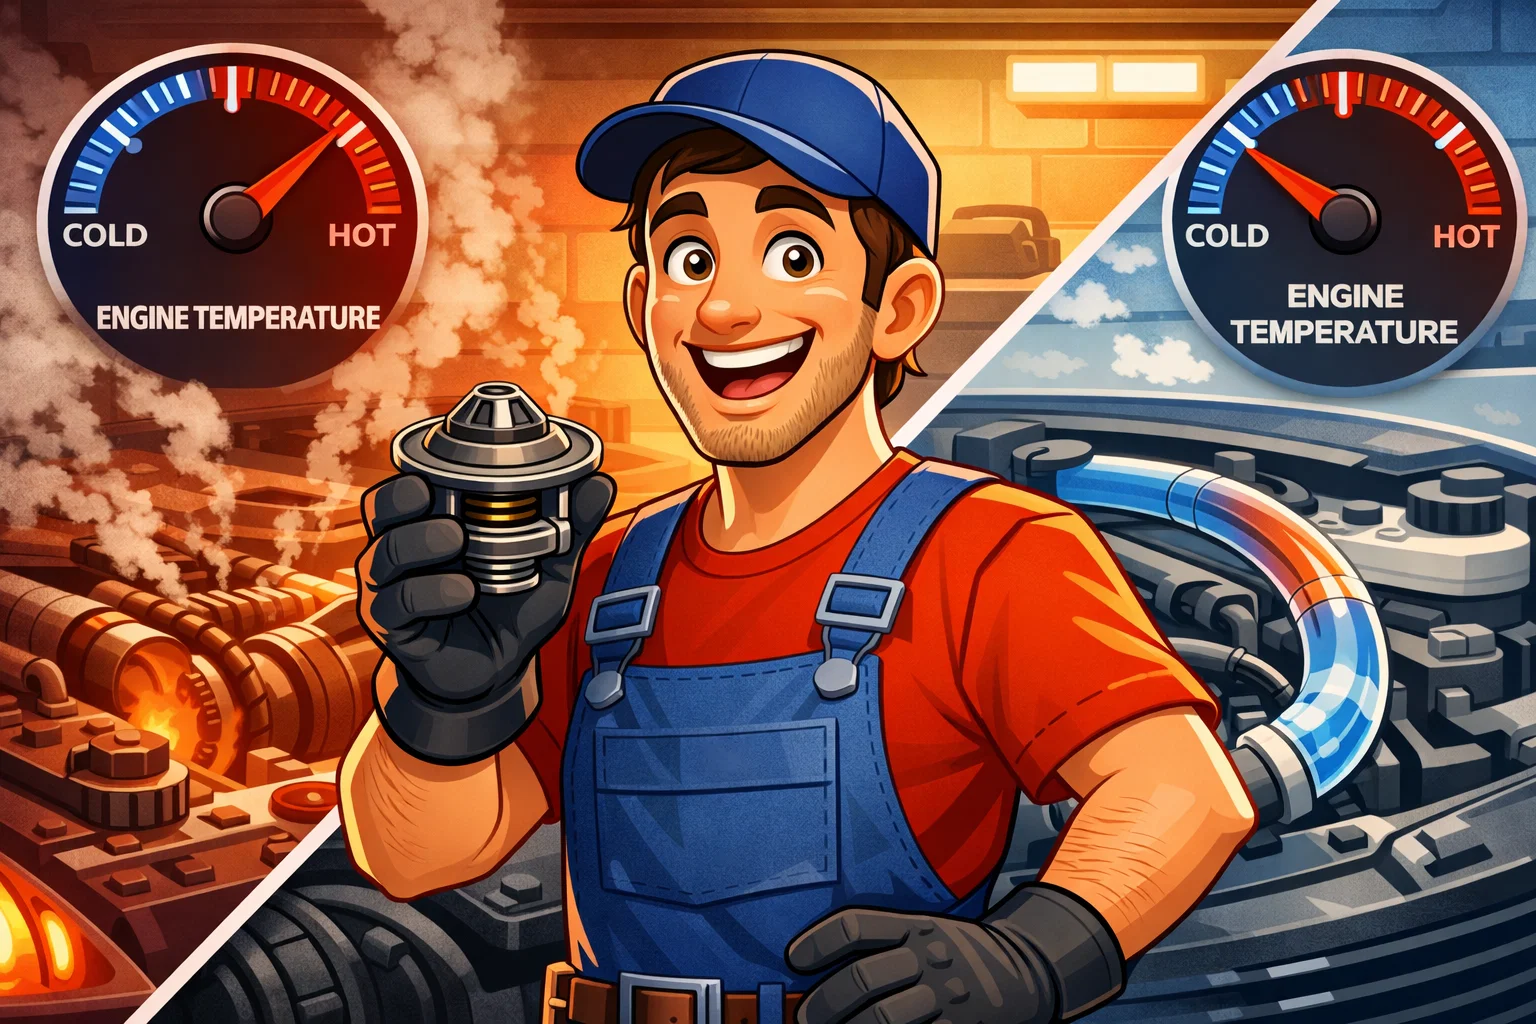
A failing thermostat causes overheating (stuck closed) or slow warm-up with no cabin heat (stuck open). The part costs $10 to $30, and DIY replacement takes 1 to 2 hours. Key signs include temperature gauge running high, heater blowing cold air, and coolant leaks near the thermostat housing.
Your car's thermostat is a small but critical component that regulates engine temperature. When it fails, you'll experience everything from overheating to poor fuel economy. The good news? It's one of the most affordable cooling system repairs, and many car owners can tackle the replacement themselves.
What Does a Thermostat Do?
The thermostat is essentially a temperature-controlled valve located between the engine and the radiator. Its job is simple but vital: keep coolant circulating within the engine until it reaches optimal operating temperature, then open to allow hot coolant to flow to the radiator for cooling.
When your engine is cold, the thermostat stays closed, allowing the engine to warm up quickly. This isn't just about comfort. Engines run most efficiently at their designed operating temperature, typically between 195°F and 220°F. Running too cold wastes fuel and increases wear, while running too hot causes serious damage.
How the Thermostat Works
Engine starts cold, and the thermostat is closed. Coolant stays in engine block.
Engine heats up, and the wax pellet inside the thermostat expands.
At target temp, the thermostat opens and coolant flows to the radiator.
Temperature regulated: the thermostat modulates to maintain optimal range.
Warning Signs of a Failing Thermostat
A thermostat typically fails in one of two ways: stuck open or stuck closed. Stuck closed causes rapid overheating, steam from under the hood, and potential engine damage. Stuck open means the engine never reaches operating temperature, resulting in poor fuel economy and weak heater performance.
Stuck Closed (Overheating)
- • Temperature gauge rises rapidly into red zone
- • Steam from under the hood
- • Coolant boiling over from reservoir
- • Engine warning light illuminates
- • Possible engine damage if not addressed
Stuck Open (Running Cold)
- • Temperature gauge stays low, never reaching normal
- • Poor cabin heater performance
- • Reduced fuel economy
- • Engine takes unusually long to warm up
- • Check engine light (in some vehicles)
Other Symptoms to Watch For
- Erratic temperature readings: Gauge fluctuates between hot and cold without stabilizing.
- Coolant leaks near thermostat housing: A failing gasket or housing can cause visible leaks.
- Strange engine noises: Rumbling or knocking from temperature-related stress.
Critical Warning
How to Test Your Thermostat
Before replacing your thermostat, you can perform a simple test to confirm it's the problem. This can save you time and money if the issue lies elsewhere in the cooling system.
Method 1: Upper Radiator Hose Test
Start with a cold engine. Feel the upper radiator hose while the engine warms up. It should remain cool until the thermostat opens (when the engine reaches operating temperature), then become hot quickly. If it gets hot immediately or never gets hot, the thermostat may be faulty.
Method 2: Kitchen Test (Removed Thermostat)
If you've already removed the thermostat, suspend it in a pot of water with a thermometer. Heat the water and observe. The thermostat should begin opening at its rated temperature (usually stamped on the unit) and fully open about 15-20°F higher.
Tools and Materials
Essential Tools
- Socket set and wrenches
- Screwdriver set
- Drain pan
- Gasket scraper or razor blade
- Pliers for hose clamps
- Funnel
Required Materials
- New thermostat (match to your vehicle)
- New thermostat gasket or O-ring
- RTV sealant (if required)
- Fresh coolant
- Shop rags
Cost Comparison: DIY vs Professional
| Item | DIY Cost | Shop Cost |
|---|---|---|
| Thermostat | $10 - $35 | Included |
| Gasket/sealant | $5 - $15 | Included |
| Coolant (if needed) | $10 - $25 | Included |
| Labor (1-2 hours) | $0 (your time) | $80 - $200 |
| Total | $25 - $75 | $150 - $300 |
Your potential savings: $100 - $225
Step-by-Step Replacement Guide
Before You Begin
Drain Coolant (Partial)
You don't need to drain the entire system. Just drain enough to lower the coolant level below the thermostat housing. Place a drain pan under the radiator petcock and drain 1-2 gallons. Save this coolant if it's still in good condition.
Remove the Thermostat Housing
Disconnect the upper radiator hose from the thermostat housing. Remove the bolts holding the housing in place (typically 2-3 bolts). Carefully lift the housing away, being prepared for some coolant spillage.
Remove Old Thermostat and Gasket
Note the thermostat's orientation. There's usually a jiggle valve or mark that should face up. Remove the old thermostat and completely clean both mating surfaces of all old gasket material. A razor blade or gasket scraper works well for this.
Install New Thermostat
Place the new thermostat in the housing recess with the spring side facing into the engine. Install the new gasket. Some use RTV sealant on both sides, while others use a dry gasket. Check your repair manual for the correct method.
Reassemble and Refill
Reinstall the housing, tightening bolts evenly to avoid warping. Reconnect the radiator hose. Close the drain petcock and refill the cooling system with fresh or saved coolant. Don't forget to check the overflow reservoir level.
Bleed Air and Test
Start the engine with the radiator cap off and let it run until the thermostat opens. Watch for air bubbles escaping and top off coolant as needed. Replace the cap, take a test drive, and monitor temperature. Check for leaks at the housing.
Common Mistakes to Avoid
Installing Backwards
The thermostat has a specific orientation. Installing it backwards will prevent proper cooling. Always note the position before removal.
Wrong Temperature Rating
Thermostats come in different temperature ratings. Using the wrong one affects engine efficiency and emissions. Match your OEM specification.
Inadequate Surface Prep
Leftover gasket material causes leaks. Take time to completely clean both surfaces before installing the new gasket.
Skipping the Bleed Process
Trapped air causes hot spots and erratic readings. Always bleed the system properly after refilling.
When to Call a Professional
DIY-Friendly Situations
- • Easy-access thermostat housing
- • Standard replacement with no complications
- • You have basic tools and mechanical experience
- • No other cooling system issues present
Seek Professional Help When
- • Thermostat is buried deep in the engine
- • Housing or intake manifold removal required
- • Suspected head gasket or other serious issues
- • Persistent overheating after replacement
Related Cooling System Guides
Planning Your Maintenance
Frequently Asked Questions
Don't Miss Critical Car Care Tips
Get exclusive guides, money-saving maintenance tips, and early warning signs delivered straight to your inbox.