Car AC Not Blowing Cold: How to Diagnose and Fix It
Quick Answer
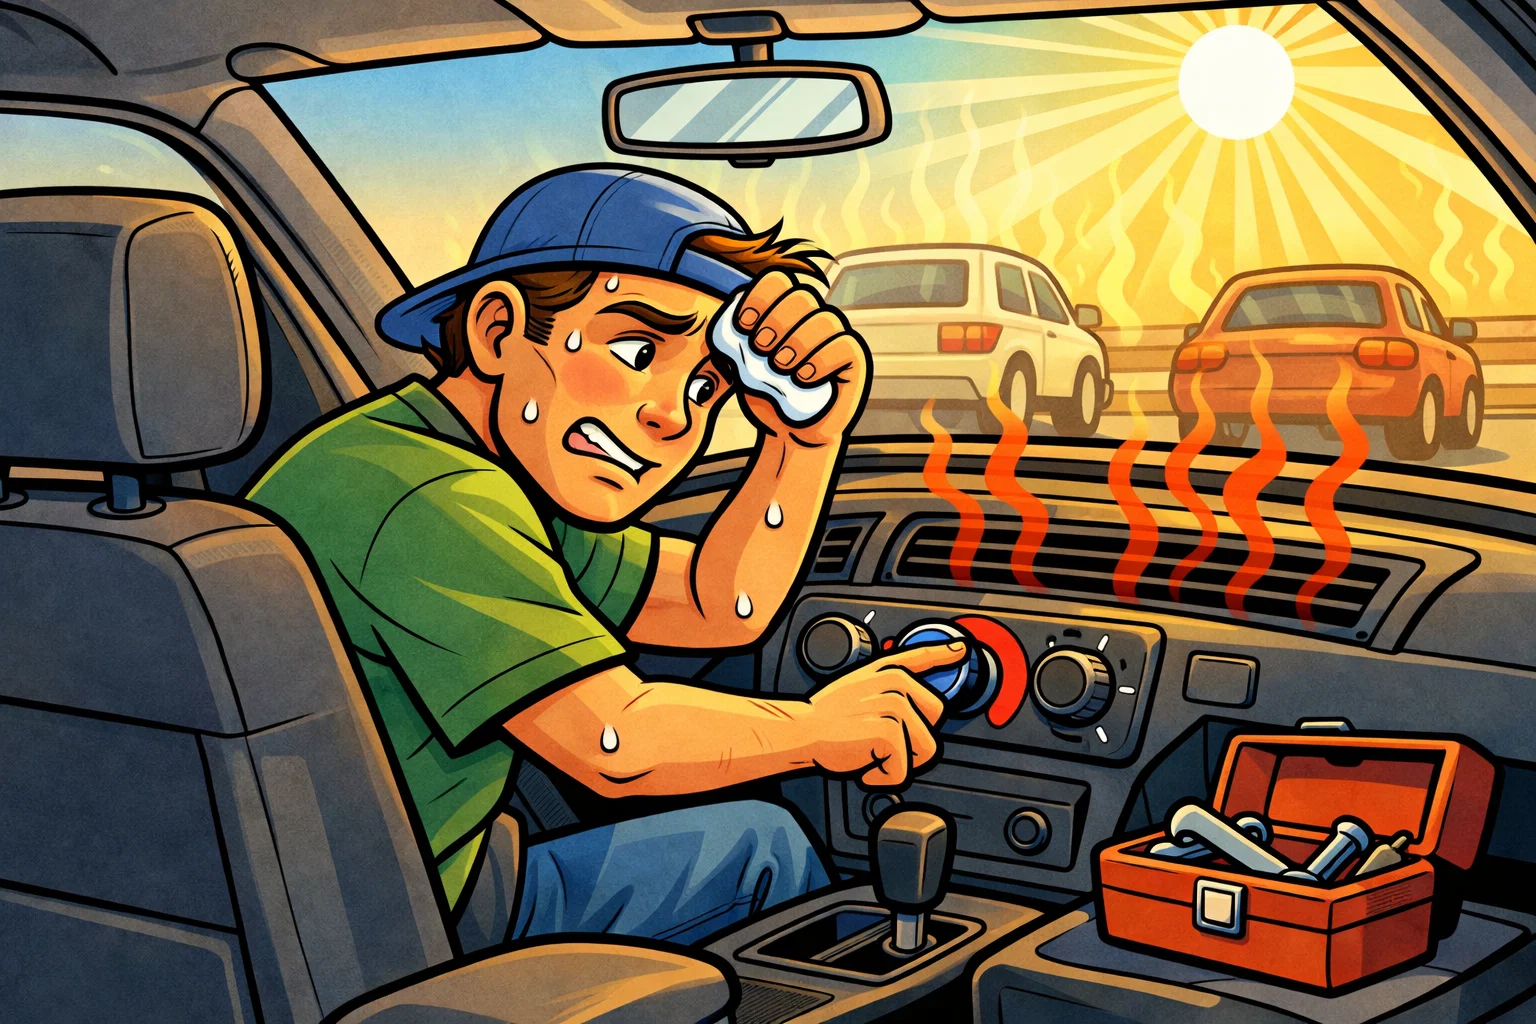
The most common cause of a car AC blowing warm air is low refrigerant from a leak. Other causes include a clogged cabin air filter, a failed compressor clutch, or a faulty blend door actuator. Start by checking the cabin filter and refrigerant pressure before spending money at a shop.
Nothing ruins a summer drive faster than an AC system blowing warm air. Before you hand a shop $100 to $150 just to diagnose the problem, try these systematic checks yourself. Most AC issues trace back to a handful of common causes, and several of them are DIY-fixable for under $50. This guide walks you through every diagnostic step, from the simplest overlooked cause (your cabin air filter) to checking refrigerant pressure and spotting leaks.
Quick Diagnosis: What Your AC Is Telling You
Before you start taking things apart, your AC symptoms point directly to the likely cause. Use this table to narrow down the problem in seconds:
| Symptom | Most Likely Cause | DIY Fixable? | Estimated Cost |
|---|---|---|---|
| Cool but not cold | Low refrigerant | Yes | $30-50 (recharge kit) |
| Warm air only | Compressor failure or major leak | Diagnosis only | $500-1,200 (pro repair) |
| Works then stops | Compressor clutch cycling or overcharge | Partial | $0-200 |
| Weak airflow | Clogged cabin air filter or blower motor | Yes | $15-30 (filter) |
| Bad smell | Mold on evaporator core | Yes | $10-15 (cleaning spray) |
| Clicking noise from dash | Blend door actuator failure | Intermediate DIY | $20-80 (part) |
How Your Car's AC System Works
Understanding the basics helps you diagnose faster. Your AC system circulates refrigerant through five main components in a continuous loop:
- Compressor: The engine-driven pump that pressurizes refrigerant gas. This is the most expensive component to replace.
- Condenser: Sits in front of the radiator. Converts hot, high-pressure gas into liquid by releasing heat to outside air.
- Expansion valve (or orifice tube): Restricts flow and drops pressure, causing the liquid to become very cold.
- Evaporator: Located inside the dashboard. Cold refrigerant absorbs cabin heat, cooling the air blown across it.
- Refrigerant: The working fluid (R-134a or R-1234yf) that carries heat from inside the cabin to outside.
A problem with any single component breaks the entire cycle. The diagnostic steps below check each part systematically, starting with the easiest and cheapest fixes.
DIY Diagnostic Steps
Work through these checks in order. Each step rules out a specific cause, and many drivers find the problem in the first two steps without needing any special tools.
Check the Cabin Air Filter
This is the single most overlooked cause of weak AC. A clogged cabin air filter restricts airflow through the evaporator, making the system seem like it is not cooling when it is actually just not moving enough air.
- Locate your cabin air filter (behind the glove box on most vehicles, or under the dashboard on the passenger side)
- Remove the filter and hold it up to a light source
- If you cannot see light through it, or if it is visibly dirty, gray, or covered in debris, replace it
- A new cabin filter costs $15 to $25 and takes 5 minutes to swap
Our air filter guide covers both engine and cabin filter replacement in detail.
Listen for Compressor Engagement
The compressor is the heart of the AC system. If it does not engage, nothing else matters.
- Start the engine and turn AC to maximum cold with the fan on high
- Open the hood and locate the AC compressor (belt-driven, usually at the bottom of the engine)
- Watch the center hub of the compressor clutch. It should spin when AC is on and stop when AC is off.
- If the clutch does not engage: check the AC fuse, compressor relay, and refrigerant level (the system will not engage if refrigerant is too low)
Quick Audio Test
Inspect the Condenser
The condenser needs unobstructed airflow to release heat. It sits right behind your front grille.
- Look through the grille for leaves, bugs, plastic bags, or other debris covering the condenser fins
- Carefully rinse with a garden hose (not a pressure washer, which can bend the delicate fins)
- With the engine running and AC on, verify the condenser fan is spinning. A dead fan means the condenser cannot shed heat.
- Check for bent or damaged fins that block more than 20% of the surface area
Condenser issues can mimic the symptoms of cooling system problems, since both the radiator and condenser share the same airflow path.
Check Refrigerant Pressure
This is where the real diagnosis happens. A manifold gauge set ($30 to $50, reusable) connects to the low-pressure service port and tells you exactly what is going on inside the system.
- Locate the low-pressure service port (usually on the larger AC line, has a blue or black cap marked "L")
- Connect the gauge with the engine off, note the static pressure
- Start the engine, turn AC to max cold, and read the gauge with the compressor running
- Compare readings to your vehicle's specifications (found in the service manual or on the underhood sticker)
General pressure guidelines (R-134a at 80°F ambient):
- • Low side: 25-35 PSI (normal)
- • Low side below 20 PSI: system is undercharged (leak likely)
- • Low side above 50 PSI: possible overcharge or compressor issue
- • Both sides equal: compressor is not pumping
Inspect for Visible Leaks
Refrigerant leaks leave oily residue because the oil that lubricates the compressor escapes with the refrigerant. Check these common leak points:
- • Compressor shaft seal (front of compressor)
- • Condenser (road debris damage)
- • AC line fittings and O-rings
- • Schrader valves on service ports
- • Evaporator (hardest to access, look for water dripping unevenly under the dashboard)
For small leaks, inject UV dye into the system through the low-pressure port. After running the AC for 15 to 20 minutes, scan all connections with a UV flashlight. Leaks will glow bright green or yellow.
Test Electrical Connections and Fuses
Electrical faults can prevent the compressor from engaging even when the rest of the system is fine.
- Check the AC compressor fuse in the under-hood fuse box (refer to the fuse box diagram on the lid)
- Locate and test the AC compressor relay. Swap it with an identical relay from another circuit to test.
- Inspect the wiring connector at the compressor clutch for corrosion or damage
- Check the AC pressure switch connector (if the pressure switch fails, the compressor will not engage)
For a deeper dive into fuse and relay troubleshooting, our fuses and relays guide covers testing techniques and replacement procedures.
DIY Refrigerant Recharge: When and How
If your diagnosis points to low refrigerant (low-pressure reading, compressor cycling on and off), a DIY recharge can restore cold air. But understand this: adding refrigerant does not fix the leak. If the system leaked down once, it will leak again. A recharge buys you time to plan a proper repair.
When to DIY Recharge
- • System is slightly low (cools but not cold enough)
- • Your vehicle uses R-134a refrigerant (check underhood sticker)
- • No visible oil leaks at AC components
- • Compressor engages but cycles frequently
When NOT to DIY Recharge
- • System is completely empty (indicates a major leak that needs professional repair)
- • Your vehicle uses R-1234yf (more complex, higher cost, different equipment)
- • Compressor makes grinding or squealing noises
- • You have already recharged within the past 6 months (recurring low charge = active leak)
Refrigerant Safety
Refrigerant is a controlled substance under EPA regulations. Intentionally venting refrigerant into the atmosphere is illegal and carries fines up to $44,539 per day per violation. Always use sealed containers and avoid overcharging, which can cause system damage and vent excess refrigerant. For detailed regulations, see the EPA Section 608 guidelines.
R-134a vs. R-1234yf: Which Does Your Car Use?
| Feature | R-134a | R-1234yf |
|---|---|---|
| Used in | 1994 to ~2015 vehicles | Most 2016+ vehicles |
| Cost per can | $10-15 | $50-80 |
| DIY recharge kits | Widely available | Available but less common |
| Service port fittings | Standard quick-connect | Different size (not interchangeable) |
| Environmental impact | GWP of 1,430 | GWP of 4 (99.7% less) |
Check the sticker under your hood or on the AC system components. It will clearly state which refrigerant your system uses. Never mix the two types. The fittings are intentionally different sizes to prevent cross-contamination.
When to Call a Professional
Some AC repairs require specialized equipment and certified technicians. Call a pro if you encounter any of these situations:
- •Compressor replacement: Requires system evacuation, oil measurement, and proper recharging with calibrated equipment. A failed compressor can send metal debris through the entire system.
- •Evaporator leaks: The evaporator is buried inside the dashboard, requiring 4 to 8 hours of disassembly. This is a $600 to $1,200 repair at a shop.
- •System contamination: If the wrong refrigerant type was added, or if moisture entered the system, the entire system needs to be flushed by a pro.
- •Electrical control issues: Modern climate control systems use electronic blend doors and sensors that require scan tool diagnosis. If your dashboard warning lights are triggered alongside AC problems, professional diagnosis is the smart move.
Cost Comparison: DIY vs. Professional AC Repair
| Repair | DIY Cost | Shop Cost | Your Savings |
|---|---|---|---|
| Cabin air filter | $15-25 | $50-75 | $35-50 |
| Refrigerant recharge | $30-50 | $100-150 | $70-100 |
| AC diagnosis | $0 (this guide) | $100-150 | $100-150 |
| Fuse/relay replacement | $5-15 | $50-100 | $45-85 |
| Compressor replacement | Professional recommended: $500-1,200 | ||
Prevent AC Problems: Seasonal Tips
A few simple habits keep your AC running strong year-round:
- • Run the AC for 10 minutes every 2 weeks in winter. This keeps compressor seals lubricated and prevents them from drying out and cracking.
- • Replace the cabin air filter every 12,000 to 15,000 miles. A clean filter means better airflow and less strain on the blower motor.
- • Park in shade when possible. Extreme cabin temperatures (150°F+) make the AC work much harder to cool down.
- • Crack windows for 30 seconds before turning on AC. This vents the hottest air and lets the system cool faster.
- • Include AC checks in your spring maintenance routine. Our spring car maintenance checklist covers this along with other seasonal items.
Related Cooling System Guides
Most AC problems are simpler than they seem. A $15 cabin air filter or a $30 recharge kit solves the majority of complaints. Even if your diagnosis points to a professional repair, knowing what is wrong before you walk into a shop gives you leverage against unnecessary upsells and puts you in control of the repair decision.
For more information on automotive AC systems and refrigerant handling requirements, the NHTSA vehicle safety database can help you check if your vehicle has any AC-related recalls.
Frequently Asked Questions
Don't Miss Critical Car Care Tips
Get exclusive guides, money-saving maintenance tips, and early warning signs delivered straight to your inbox.