How to Replace Your Fuel Filter: DIY Guide
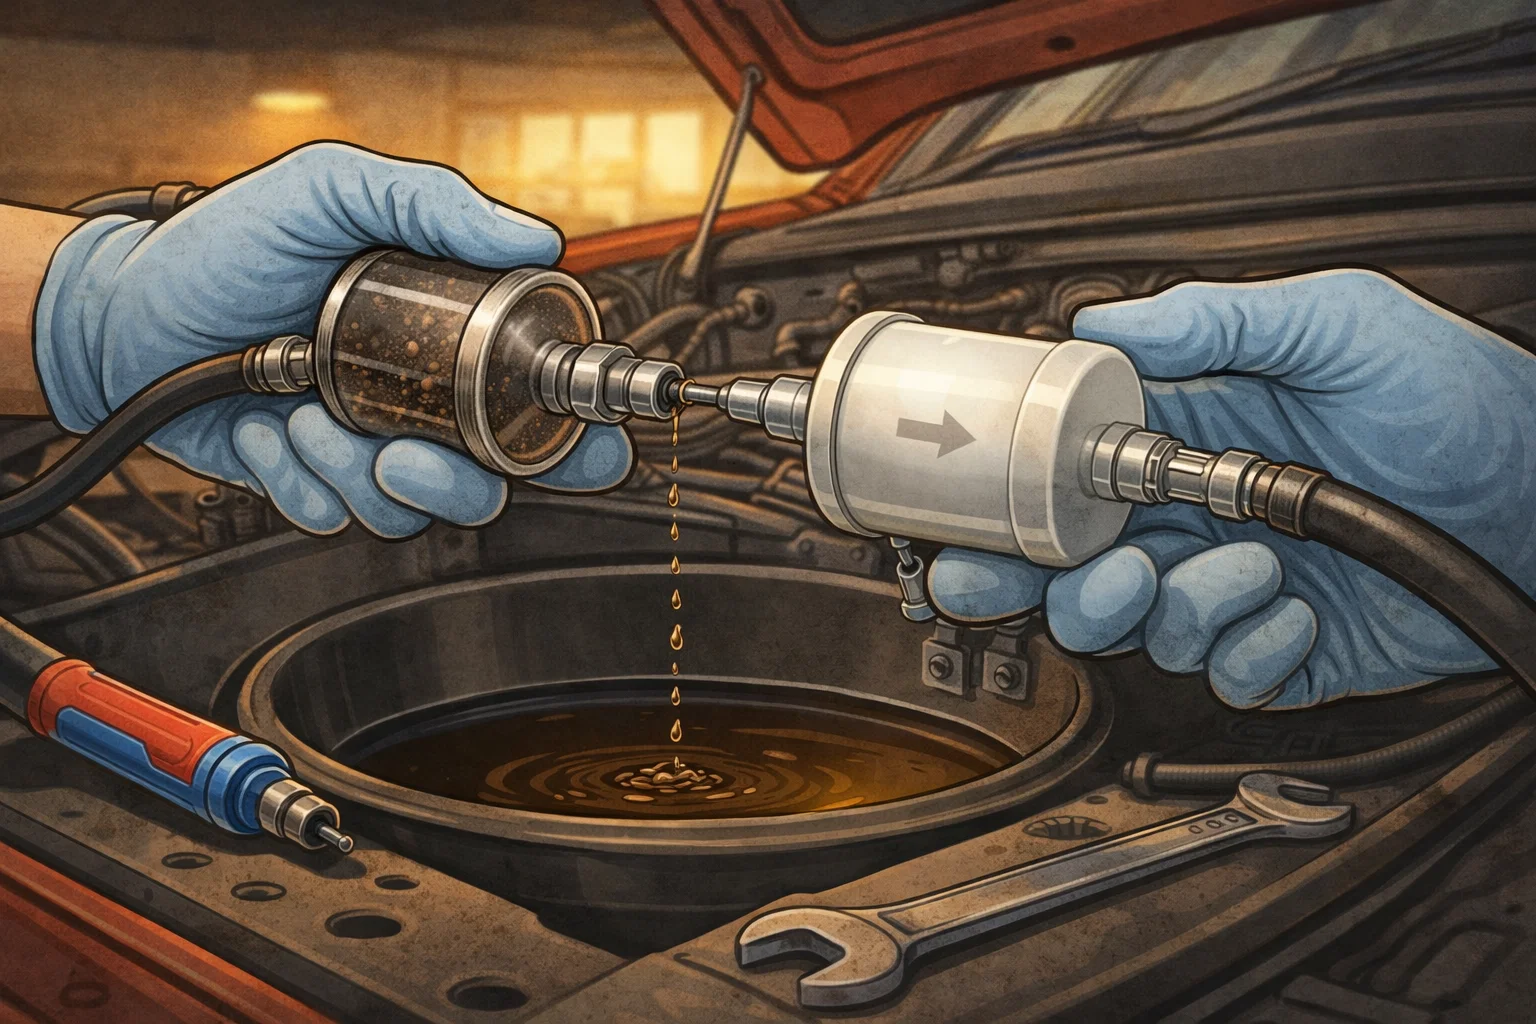
Quick Answer
On vehicles with an inline fuel filter (mounted under the car or in the engine bay), replacement takes 30 to 45 minutes and costs $10 to $30 in parts. Relieve fuel pressure first, disconnect the fuel lines, swap the old filter for the new one, and check for leaks. Many modern vehicles use an in-tank filter that is part of the fuel pump assembly and is not designed for standalone replacement. Check your owner's manual to confirm your filter type and location.
A $15 Filter That Prevents $500 in Fuel System Problems
Your fuel filter catches dirt, rust, and debris before they reach the fuel injectors and engine. Over time, the filter clogs and restricts fuel flow. The result is hard starting, stalling, hesitation during acceleration, and reduced fuel economy. Replacing a fuel filter is one of the cheapest and simplest maintenance tasks you can do, yet it is one of the most overlooked. Most inline filters should be replaced every 20,000 to 40,000 miles, though many drivers go the entire life of the car without touching them.
A shop charges $75 to $200 for this job. The filter itself costs $10 to $30. If your vehicle has an accessible inline filter, you can do this in your driveway with basic hand tools and save yourself a trip to the mechanic. This guide walks you through the entire process, from identifying your filter type to checking for leaks after installation.
This guide covers what a fuel filter does, symptoms of a clogged filter, the difference between inline and in-tank filters, and a complete step-by-step replacement for inline fuel filters.
Your engine needs a precise mix of air and fuel to run properly. Fuel injectors spray fuel in exact amounts, controlled by the engine computer. If dirt, rust flakes, or sediment from the fuel tank reach those injectors, they can clog the tiny spray nozzles and cause misfires, rough idling, and poor performance. The fuel filter sits between the fuel tank and the engine, catching contaminants before they cause problems.
Symptoms of a Clogged Fuel Filter
A fuel filter does not fail suddenly. It clogs gradually, and symptoms get worse over time. Here are the signs, from early to severe:
- Hard starting: The engine cranks longer than normal before catching, especially after the car has been sitting. The restricted fuel flow cannot prime the system quickly enough.
- Hesitation during acceleration: You press the gas pedal and the engine stumbles or hesitates before responding. This is most noticeable during hard acceleration or merging onto a highway.
- Stalling at idle or low speeds: The engine dies at stop signs or in traffic. A severely clogged filter cannot supply enough fuel to maintain idle speed, especially when other accessories like the air conditioner are running.
- Loss of power under load: The engine runs fine at low RPM but falls flat when climbing hills, towing, or passing at highway speeds. High fuel demand exposes the restriction.
- Misfires and rough running: The engine runs unevenly, and you may notice a check engine light with misfire codes (P0300 series). Lean fuel delivery from a clogged filter can mimic injector or ignition problems.
- Reduced fuel economy: The engine compensates for restricted fuel flow by running richer at other times, wasting fuel. A drop of 1 to 3 MPG is common with a partially clogged filter.
QUICK TEST FOR FUEL RESTRICTION
If you suspect a clogged fuel filter, listen to the fuel pump when you turn the key to the "on" position (without starting the engine). A healthy system makes a brief, quiet hum lasting 2 to 3 seconds. A strained pump fighting against a clogged filter may run longer, sound louder, or whine at a higher pitch. This is not definitive, but it is a useful clue.
How Often Should You Replace the Fuel Filter?
Replacement intervals vary by vehicle and filter type:
- Inline fuel filters (external): Every 20,000 to 40,000 miles, or every 2 to 4 years. Check your owner's manual for the manufacturer's recommendation. Older vehicles (pre-2005) and trucks commonly use this type.
- In-tank fuel filters: These are typically designed to last the life of the fuel pump assembly (100,000+ miles). They are not separately serviceable on most vehicles. When the pump eventually fails, you replace the entire assembly, including the filter and strainer.
- Diesel fuel filters: Every 10,000 to 15,000 miles. Diesel systems are more sensitive to contamination, and the fuel filter/water separator is a critical maintenance item.
If your car is on the maintenance schedule and the fuel filter has never been replaced past 40,000 miles, it is overdue.
Inline vs. In-Tank Filters
| Factor | Inline Filter | In-Tank Filter |
|---|---|---|
| Location | Along the fuel line, under car or in engine bay | Inside the fuel tank, attached to fuel pump |
| DIY replacement | Easy to moderate, 30-45 minutes | Difficult, requires dropping the fuel tank |
| Parts cost | $10-30 | $80-250 (full pump assembly) |
| Replacement interval | 20,000-40,000 miles | With pump replacement (100,000+ miles) |
| Common vehicles | Trucks, SUVs, older cars (pre-2005) | Most modern cars (2005+) |
This guide covers the inline filter replacement, which is the type most DIYers can handle at home. If your vehicle has an in-tank filter and you are experiencing fuel delivery symptoms, the job typically requires dropping the fuel tank and is better suited for a shop unless you have experience with fuel system work.
Tools and Parts You Will Need
🔧 Tools
- Fuel line disconnect tool set (spring-lock or quick-connect)
- Open-end wrenches (10mm, 14mm, 16mm common sizes)
- Ratchet and socket set
- Safety glasses
- Nitrile gloves
- Drain pan or container
- Shop rags or paper towels
- Jack and jack stands (if filter is underneath)
📦 Parts
- New fuel filter (match exact part number to your vehicle)
- New fuel line clips or O-rings (if applicable)
FUEL SAFETY IS CRITICAL
Gasoline is highly flammable and its vapors are explosive. Work outdoors or in a well-ventilated garage. Do not smoke, use open flames, or create sparks near the work area. Wear safety glasses and nitrile gloves. Have a fire extinguisher rated for flammable liquids (Class B) within reach. Relieve fuel pressure before disconnecting any fuel lines to minimize fuel spray.
Step-by-Step Inline Fuel Filter Replacement
This procedure applies to vehicles with an externally mounted inline fuel filter. Your owner's manual or a quick online search for your year, make, and model will confirm the filter location.
Locate the Fuel Filter
Inline fuel filters are typically found in one of three locations: along the frame rail underneath the car (common on trucks and SUVs), in the engine bay near the fuel rail, or near the fuel tank. The filter is a small cylindrical canister with a fuel line connected to each end. Check your owner's manual or look up your vehicle online for the exact location.
Relieve Fuel System Pressure
The fuel system is pressurized (35 to 65 PSI on most vehicles). You must relieve this pressure before disconnecting any lines. The safest method: locate the fuel pump fuse or relay in the fuse box (check your owner's manual for the location). Remove the fuse or relay, then start the engine. It will run for a few seconds and stall as fuel pressure drops. Crank it once more to confirm it will not restart. Turn the key off. Reinstall the fuse or relay after the job is done.
Access the Filter
If the filter is underneath the car, safely jack up the vehicle and support it on jack stands. Place a drain pan under the filter. Even after relieving pressure, some fuel will drain when you disconnect the lines. If the filter is in the engine bay, cover surrounding components with shop rags to catch any drips.
Disconnect the Fuel Lines
The connection type determines the tool you need. Quick-connect fittings (common on modern vehicles) require a fuel line disconnect tool, which is a small plastic or metal clip that releases the internal retainer. Push the tool into the fitting, then pull the line off. Threaded fittings (common on older vehicles) use a flare nut wrench. Place a rag around the connection to catch fuel spray. Remove both inlet and outlet lines from the filter.
Remove the Old Filter
Most inline filters are held in place by a bracket with a bolt or clamp. Remove the mounting hardware and slide the old filter out. Note the direction of fuel flow. The filter will have an arrow stamped on it showing the flow direction (toward the engine). The new filter must be installed in the same orientation.
Install the New Filter
Slide the new filter into the mounting bracket with the flow arrow pointing toward the engine. Tighten the mounting bolt or clamp. Connect the fuel lines to both ends. Push quick-connect fittings until they click into place. Tighten threaded fittings to the manufacturer's torque specification (typically 15 to 25 ft-lbs, but check your manual). Do not overtighten threaded connections as this can crack the filter housing or strip the fittings.
Check for Leaks and Test
Reinstall the fuel pump fuse or relay. Turn the key to the "on" position without starting the engine. The fuel pump will run for 2 to 3 seconds, pressurizing the system. Turn the key off, then on again two more times to fully pressurize. Inspect both connections and the filter body for any signs of leaking. Wipe the connections dry with a rag and check again after a minute. If dry, start the engine and let it idle for 2 to 3 minutes while watching for leaks.
Test Drive and Clean Up
Take a short test drive and verify normal acceleration, smooth idle, and no hesitation. Pay attention to the area around the filter location when you return. If everything is dry and the engine runs well, the job is done. Properly dispose of any fuel you collected in the drain pan. Do not pour it down a drain. Take it to a recycling center or auto parts store that accepts used fluids.
DIY vs. Shop Cost Comparison
| Cost Category | DIY | Shop |
|---|---|---|
| Inline fuel filter | $10-30 | $15-40 |
| Disconnect tool (if needed) | $5-15 (reusable) | Included |
| Labor | $0 (your time) | $50-150 |
| Total | $15-45 | $75-200 |
This is one of the highest savings-to-effort ratios in DIY car maintenance. The job is quick, the parts are cheap, and the tools are minimal. Even if you have never worked on your car before, an inline fuel filter replacement is a great starter project. For more ways to save on maintenance, check out our guide to saving money on car repairs.
If you are preparing for a road trip, a fuel filter replacement pairs perfectly with a road trip prep checklist. Fresh fuel delivery means better mileage and fewer chances of stalling in unfamiliar areas. Our complete car fluids guide covers all the other fluids to check before hitting the highway.
When to Leave It to a Mechanic
- Your filter is in-tank: Dropping a fuel tank is a significant job that requires specialized equipment and proper fuel handling. Unless you have experience, this one is worth paying a shop to do safely.
- Corroded or seized fittings: If the fuel line connections are rusted or will not release, forcing them risks cracking the fuel line and creating a dangerous leak. A shop has the tools and experience to handle corroded hardware without breaking things.
- Diesel fuel systems: Diesel fuel filter replacement often involves bleeding the fuel system and priming the injection pump. Incorrect bleeding introduces air into the system and prevents the engine from starting. If you are not familiar with diesel fuel system procedures, consult a diesel mechanic.
- No safe workspace: Fuel filter work requires good ventilation and a fire-safe environment. If you do not have an outdoor space or a well-ventilated garage, do not attempt this indoors.
If you are a first-time car owner trying to build basic maintenance skills, an inline fuel filter is a great confidence-building project. It teaches you fuel system safety, line disconnection techniques, and pressure relief procedures that apply to many other jobs.
What to Read Next
Frequently Asked Questions
Don't Miss Critical Car Care Tips
Get exclusive guides, money-saving maintenance tips, and early warning signs delivered straight to your inbox.