Tire Tread Depth: How to Check It and When to Replace
Quick Answer
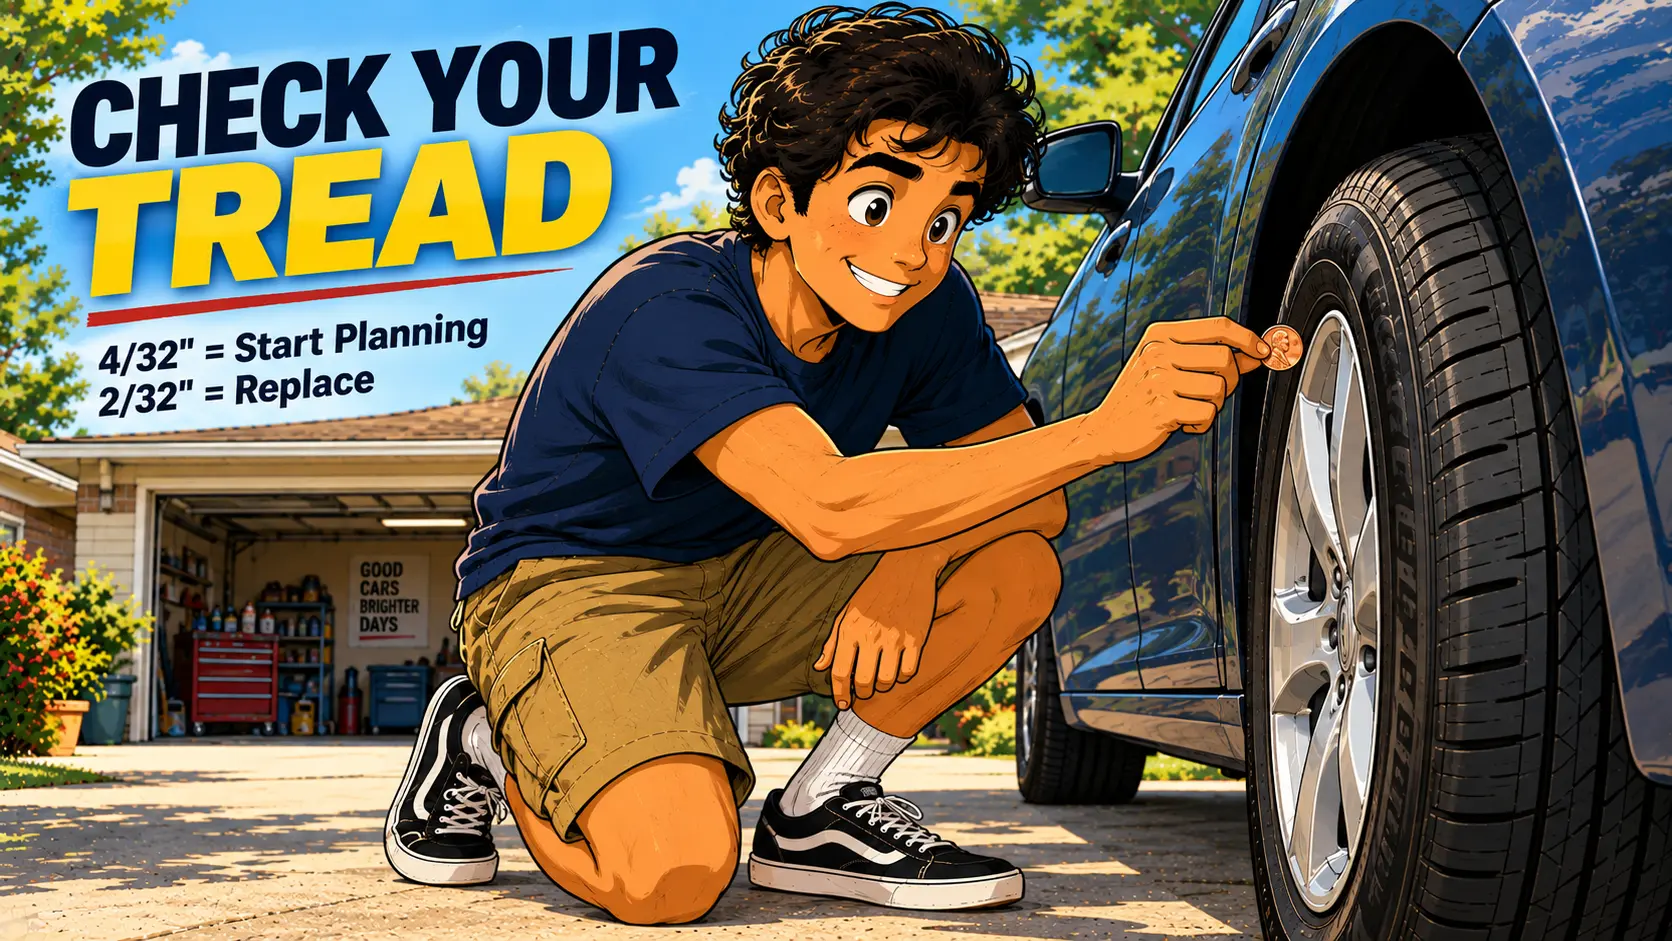
Push a penny into a tread groove with Lincoln's head upside down and facing you. If you can see the top of his head, the tread is down to 2/32 of an inch or less and the tire is legally worn out. Repeat with a quarter for an earlier warning: seeing Washington's head means you are at 4/32 of an inch, the point where wet-road grip falls off sharply. A tread depth gauge costing around $10 gives you an exact number. Check all four tires at the inner edge, centre, and outer edge, because uneven wear tells you something else is wrong.
The Only Part of Your Car That Touches the Road
Four patches of rubber roughly the size of your hand carry everything your car does. Acceleration, braking, steering, and every emergency manoeuvre you will ever make all happen through them. When the tread on those patches wears down, the physics change, and they change fastest in exactly the conditions where you need grip most.
Tread grooves exist to move water out from under the tire. A tire with deep tread pumps water away and keeps rubber on asphalt. A worn tire cannot shift the water fast enough, so it floats on top of it. That is hydroplaning, and it arrives without warning.
The good news is that checking tread depth is genuinely one of the easiest jobs in car ownership. You need a coin. That is it. And once you know what to look for, the wear pattern across each tire doubles as a free diagnosis of your tire pressure, your alignment, and your suspension.
Here is how to measure it three different ways, how to read what the wear is telling you, and exactly when a tire has run out of road.
Tools You Will Need for This Check
A coin does the job in a pinch. These three turn a rough check into an exact reading you can track over time.
tool
Tire Tread Depth Gauge (32nds and mm)
Exact tread readings in 32nds or millimetres. Pocket sized, under $12.
Check pricetool
AstroAI / JACO Digital Tire Pressure Gauge
Lit LCD readout, plus or minus 1 percent accuracy, 0-150 PSI.
Check pricetool
Cordless Tire Inflator (Ryobi / DeWalt 18-20V)
Battery-powered inflator with auto shut-off. Tops up four tires on one charge.
Check priceAffiliate links. We may earn a small commission at no extra cost to you. Learn more.
Tread depth is measured in 32nds of an inch in the United States and in millimetres almost everywhere else. A brand new passenger tire starts life with about 10/32 to 11/32 of an inch of tread. The legal minimum in most states is 2/32. That means by the time a tire is legally worn out, roughly 80 percent of its useful grip in the wet is already gone.
Dry braking barely changes as tread wears down. Wet braking falls off a cliff. Independent testing has repeatedly shown stopping distances on worn tires stretching by dozens of feet at highway speed compared to the same tire when new. That extra distance is the gap between stopping short and not stopping at all.
How to Check Tire Tread Depth: Step by Step
Set aside ten minutes. You need a penny, a quarter, and ideally a tread depth gauge. Do this on cold tires when the car has been parked, not immediately after a drive.
Park Safely on Level Ground
Flat ground, engine off, parking brake set. Turn the steering wheel fully to one side so you can see and reach the whole face of each front tire, including the inner shoulder that hides most alignment problems.
Run the Penny Test
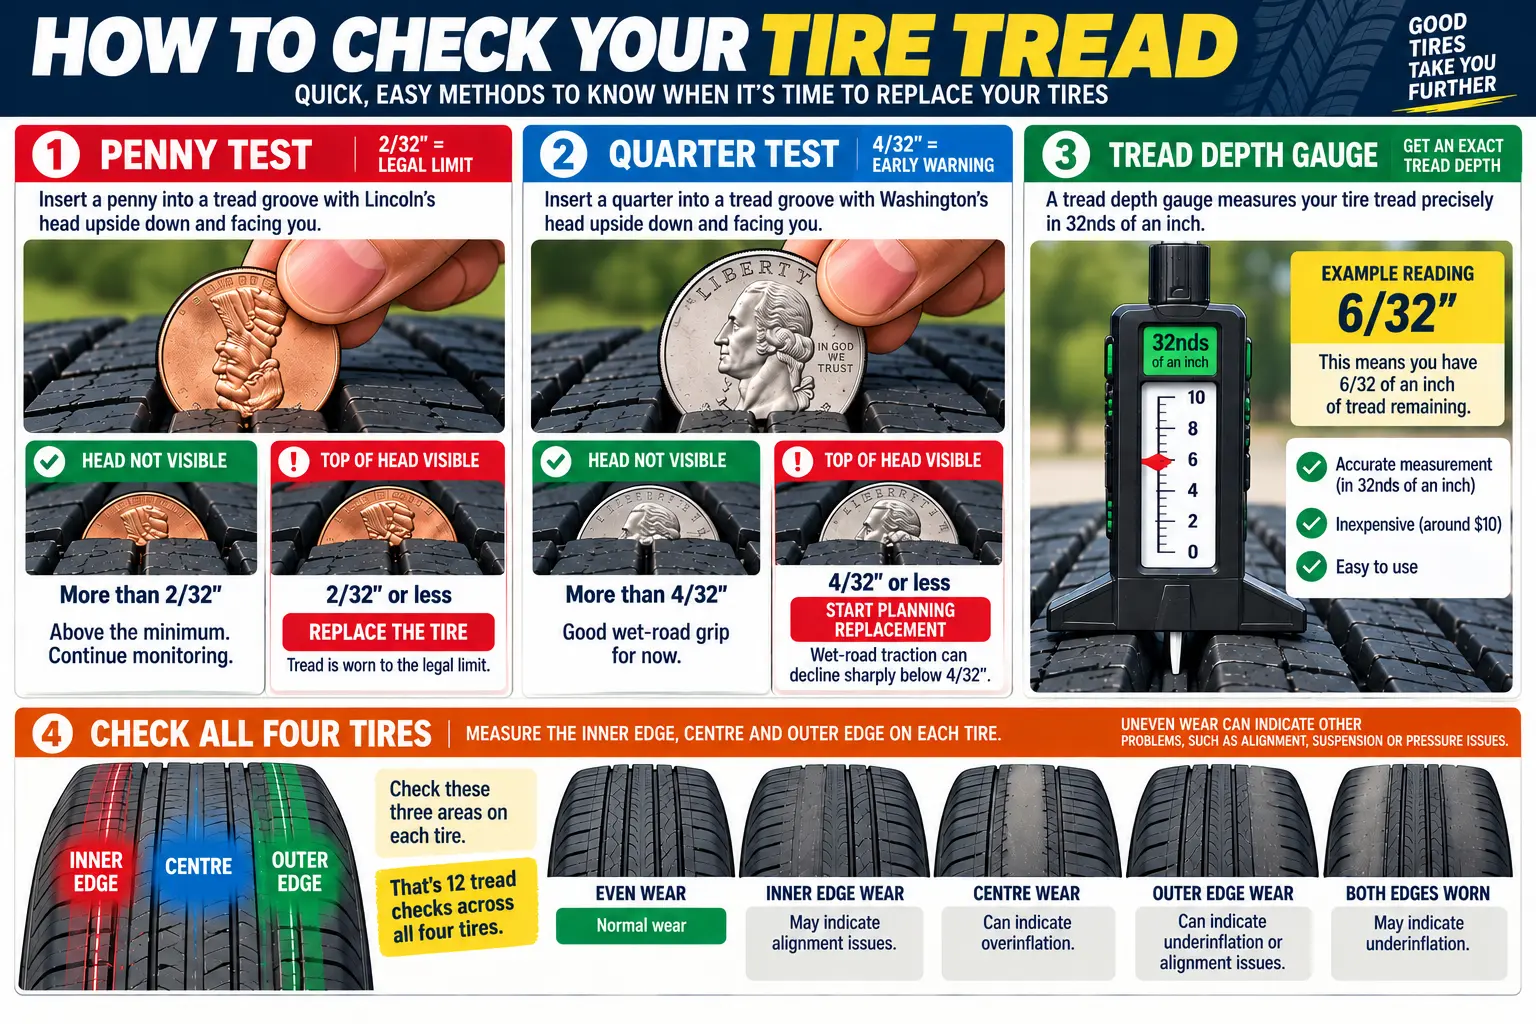
Insert a penny into a main tread groove with Lincoln upside down and facing you. If part of his head is always covered by rubber, you have more than 2/32 of an inch left. If the top of his head is fully visible, that tire is at or below the legal limit and needs replacing now.
Run the Quarter Test
Repeat with a quarter, Washington upside down. The top of his head sits at about 4/32 of an inch. If you can see it, your wet-weather grip is already compromised and you should start budgeting for tires rather than waiting for the penny to fail.
Measure with a Gauge for the Real Number
Press the gauge base flat against the tread blocks and push the probe down until it stops. Read the depth off the scale. A gauge turns a pass or fail into a number you can track, which is how you predict a replacement three months out instead of discovering it at inspection time.
Take Readings Across the Whole Tire
Measure the inner edge, the centre, and the outer edge of each tire, then repeat at three points around the circumference. Consistent numbers mean the tire is wearing evenly. Differences of more than about 2/32 between positions mean something needs attention.
Check the Wear Bars and the Date Code
Look into the grooves for the raised rubber wear bars. If the tread is flush with them, the tire is done. Then find the four-digit DOT code on the sidewall for the manufacture date. Old rubber is unsafe even with tread remaining.
The Penny Test vs the Quarter Test
Both coin tests work because US currency happens to have useful dimensions. The distinction matters:
Penny test
2/32 inch
Lincoln's head fully visible means the tire has reached the legal minimum. This is a replace-immediately signal, not a warning. Roughly 1.6 millimetres.
Quarter test
4/32 inch
Washington's head visible means wet grip is fading fast. This is the point most safety organisations treat as the practical replacement threshold. Roughly 3.2 millimetres.
USE THE QUARTER AS YOUR REAL LIMIT
The penny tells you when a tire is illegal. The quarter tells you when it stopped being safe in the rain. If you live anywhere with wet winters, treat 4/32 as your replacement point and the penny test as the emergency backstop you should never actually reach.
Using a Tread Depth Gauge
A tread depth gauge costs about $8 to $15 and takes the guesswork out entirely. There are three common types:
- Simple probe gauge: A sliding pin with a scale printed on it. Cheap, pocket sized, accurate enough for anything you need. The one most people should buy.
- Dial gauge: A spring-loaded probe with a needle readout. Easier to read in poor light and slightly more repeatable.
- Digital gauge: An LCD readout, usually switchable between 32nds and millimetres. Nice to have, not necessary.
Whichever you use, the technique is the same. Sit the base flat across the tread blocks so it bridges the groove, push the probe to the bottom, and read the number. Take the measurement in a main circumferential groove, not in a sipe or a wear bar, or you will read artificially shallow.
Record the numbers on your phone with the date. Two readings a few months apart tell you your wear rate, which tells you when you will need tires. That is the difference between planning a purchase and being ambushed by one.
How to Read Your Tire's Wear Bars
Every tire sold for road use has tread wear indicators moulded into the grooves. They are small raised bars of rubber running across the groove, positioned at 2/32 of an inch above the groove floor. Manufacturers mark their location on the sidewall, usually with a small triangle, the letters TWI, or the brand logo.
Reading them takes no tools at all:
- Bar sits well below the tread surface: plenty of tread left.
- Bar nearly level with the tread: you are close, start shopping.
- Bar completely flush, so the tire has a smooth band across it: the tire is legally worn out.
Run a fingertip across the groove. If you cannot feel a step down into the bar, you are done. Note that a tire can reach the bars in one area while looking fine elsewhere, which is exactly why you check multiple points.
Reading Wear Patterns: Free Diagnosis From Your Tires
A tire records everything your suspension and pressure have been doing. Learn these patterns and each check becomes a health report on the whole corner of the car.
Both shoulders worn, centre still good
Chronic underinflation. The tire is riding on its edges because the centre is collapsing under load. Fix your pressures with the tire pressure guide and check monthly.
Centre worn, shoulders still good
Overinflation. The tire is ballooning in the middle and only the centre band touches the road. Drop to the pressure listed on the driver's door placard, never the maximum on the sidewall.
One shoulder only
Camber or toe out of alignment. An alignment costs a fraction of a tire, and left alone this will destroy a nearly new tire in a few thousand miles.
Cupping or scalloped dips around the circumference
The tire is bouncing rather than staying planted, which usually means worn shocks or struts. See the shocks vs struts guide and the suspension problems guide.
Feathering, where tread blocks are sharp on one side and rounded on the other
A toe alignment problem. You often hear it before you see it, as a hum that changes when you steer slightly.
Flat spots or bald patches in one place
Hard braking with a locked wheel, or a tire that has sat parked under load for months. Either way that spot will thump at speed and the tire is compromised.
Rotating your tires on schedule is the single most effective way to keep wear even and stretch the life of a set. Our tire rotation guide covers the correct patterns for front-wheel, rear-wheel, and all-wheel drive.
When to Replace Your Tires
Tread depth is the headline number, but three other factors can retire a tire before it wears out.
By tread depth
- 6/32 inch or below: replace now if you drive in snow. Snow traction relies on tread blocks packing snow, and shallow tread cannot do it.
- 4/32 inch or below: replace if you regularly drive in rain. Hydroplaning risk rises steeply from here.
- 2/32 inch: legal minimum in most states. The tire is finished, full stop.
By age
Rubber hardens and cracks over time even on a car that barely moves. Find the DOT code on the sidewall: the last four digits are the week and year of manufacture, so 3122 means week 31 of 2022. Most manufacturers advise replacement at six years and treat ten years as the hard limit. The Tire Rack technical reference on tire aging goes deeper on how storage and climate affect this. Our tire sidewall guide explains every other code on that wall of rubber.
By damage
- Any bulge or bubble in the sidewall. This is a structural failure waiting to happen and there is no repair.
- Cuts or cracks deep enough to expose the cords.
- Punctures in the shoulder or sidewall, which cannot be safely repaired regardless of size.
- Persistent vibration that a balance does not cure.
ALL-WHEEL DRIVE NEEDS MATCHED TIRES
On many all-wheel-drive vehicles, mixing a new tire with three worn ones forces the differentials and transfer case to compensate for the difference in rolling circumference. That generates heat and can cause expensive drivetrain damage. Check your owner's manual for the maximum permitted difference before replacing fewer than four. When in doubt on an all-wheel-drive car, replace all four.
One more rule worth committing to memory: when you fit only two new tires, they go on the rear axle. It feels counterintuitive on a front-wheel-drive car, but better grip at the back keeps the car stable under braking in the wet instead of letting the rear step out.
Federal tire safety information from the National Highway Traffic Safety Administration is a good reference for maintenance and ratings if you want to read further before buying.
What to Read Next
Frequently Asked Questions
Don't Miss Critical Car Care Tips
Get exclusive guides, money-saving maintenance tips, and early warning signs delivered straight to your inbox.