Spark Plug Replacement: Complete DIY Guide to Save $80-150
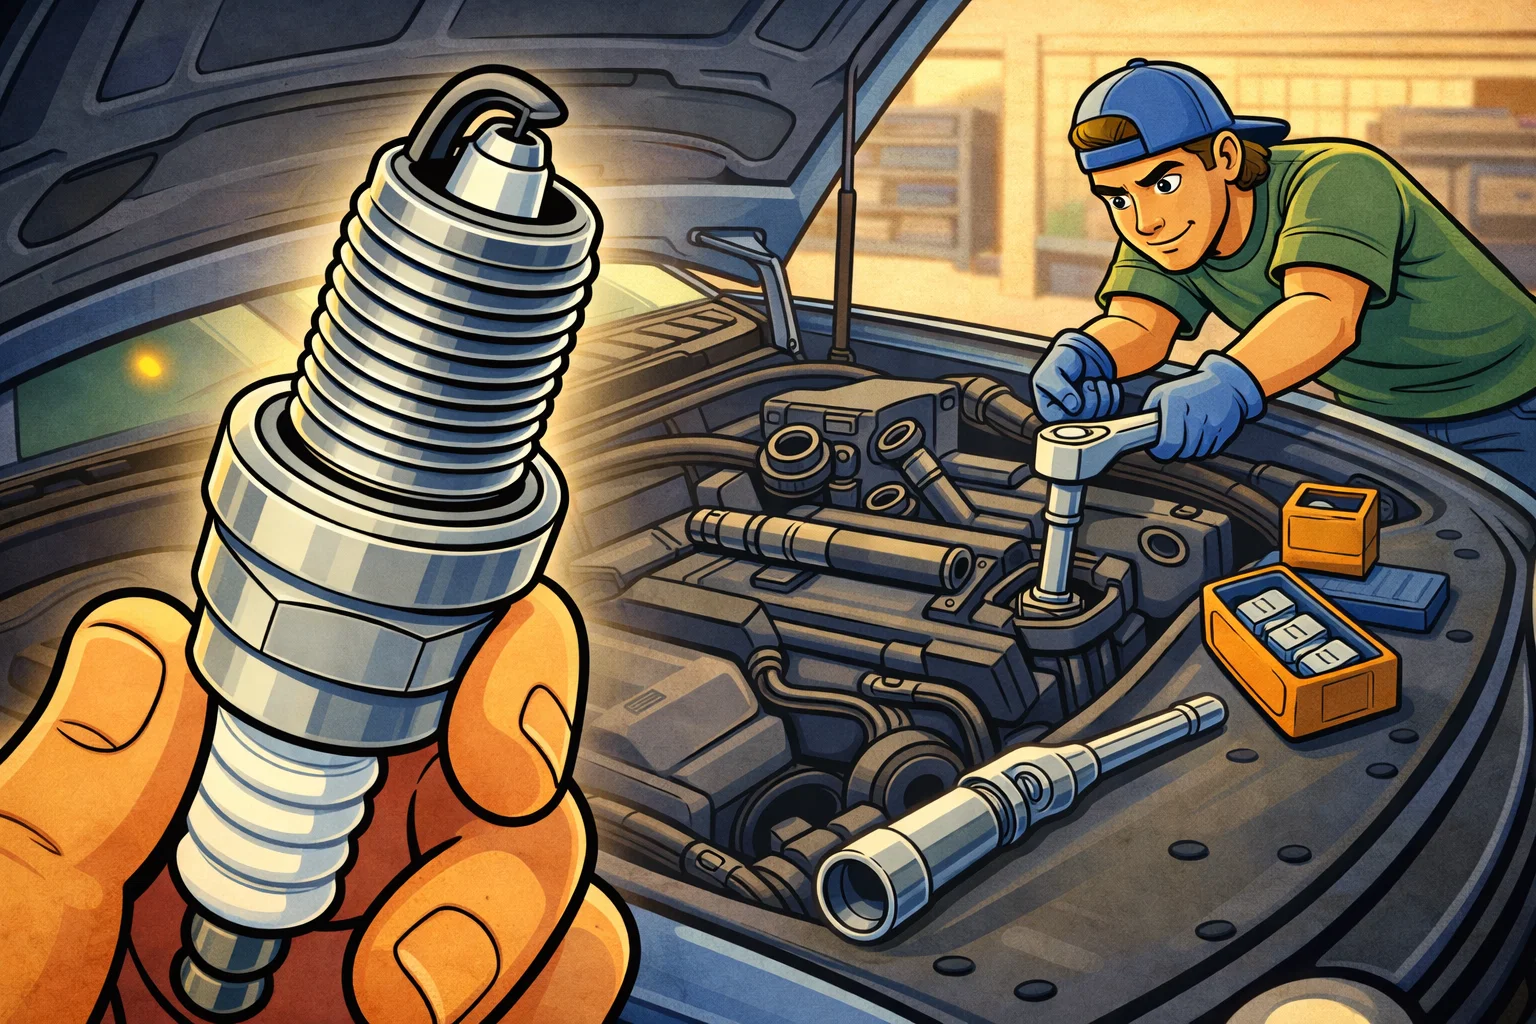
Quick Answer
Replace spark plugs every 30,000 miles (copper) or 60,000 to 100,000 miles (iridium/platinum). DIY cost is $15 to $60 in parts versus $100 to $200+ at a shop. You need a spark plug socket, torque wrench, and gap gauge. Always use the exact plug type and gap specified in your owner's manual.
Spark plugs are small, inexpensive, and often forgotten. But when they wear out, your engine feels the difference immediately. Rough idling, sluggish acceleration, poor fuel economy, and even check engine lights can all trace back to worn spark plugs. The good news? Replacing them yourself costs $15 to $60 in parts compared to $100 to $200+ at a shop. This guide covers everything from choosing the right plug type to proper torque specs, so you can get it done right the first time.
The Real Cost of Spark Plug Replacement
A typical shop charges $100 to $200+ for spark plug replacement on a 4-cylinder engine. V6 and V8 vehicles can run $200 to $400+ because of accessibility challenges. DIY cost? Just $15 to $60 for a full set of quality plugs.
Professional Shop Costs:
- • 4-cylinder engine: $100-200 (parts + labor)
- • V6 engine: $180-300 (parts + labor)
- • V8 engine: $200-400+ (parts + labor)
DIY Costs:
- • Copper plugs (full set): $8-16
- • Iridium plugs (full set): $32-60
- • Dielectric grease: $5-8
Your savings: $80-150 on a 4-cylinder, up to $340 on a V8.
The tools you need are basic and reusable. If you already own a ratchet set and torque wrench from other maintenance projects like oil changes or brake pad replacement, you only need to add a spark plug socket ($8-12) and a gap tool ($3-5).
Spark Plug Types: Which One Does Your Engine Need?
There are four main spark plug types, and choosing the right one matters more than most people realize. Using the wrong type can cause misfires, poor fuel economy, and even engine damage. Always match what your manufacturer recommends.
| Plug Type | Lifespan | Cost Per Plug | Best For |
|---|---|---|---|
| Copper | 20,000-30,000 miles | $2-4 | Older engines, high-performance tuned engines |
| Single Platinum | 60,000 miles | $5-8 | Distributor ignition systems |
| Double Platinum | 60,000-80,000 miles | $8-12 | Waste spark ignition systems |
| Iridium | 80,000-100,000 miles | $8-15 | Modern coil-on-plug engines (most 2005+ vehicles) |
Quick Selection Rule
Warning Signs Your Spark Plugs Need Replacement
Worn spark plugs rarely fail all at once. Instead, they degrade gradually, and the symptoms build over time. Here are the signals your engine is sending:
Rough or Unstable Idle
Your engine shakes or vibrates more than usual at stop lights. This happens because worn electrodes create inconsistent spark timing across cylinders.
Engine Misfires
You feel a stumble or hesitation during acceleration. Your check engine light may trigger with codes P0300 through P0308, indicating random or cylinder-specific misfires.
Poor Fuel Economy
Incomplete combustion from weak spark wastes fuel. Studies show worn plugs can reduce fuel efficiency by up to 30%, which adds up fast at the pump.
Hard Starting
Your engine cranks longer before catching, especially on cold mornings. Worn plugs struggle to ignite the fuel-air mixture when combustion chamber temperatures are low.
Sluggish Acceleration
The car feels slow to respond when you press the gas pedal. This "lazy" feeling comes from misfires under load that rob your engine of power.
If you notice multiple symptoms at once, spark plugs should be your first checkpoint. They are the cheapest and easiest component to rule out. For a complete overview of maintenance intervals and when spark plugs fit into the bigger picture, check our car maintenance schedule by mileage.
Tools and Materials You Will Need
Essential Tools
- • Spark plug socket (5/8" for most 14mm plugs, 13/16" for 18mm plugs)
- • Ratchet with 3" and 6" extension bars
- • Torque wrench (10-30 ft-lb range)
- • Spark plug gap tool or feeler gauge set
- • Compressed air canister or shop vacuum
- • Universal joint adapter (for hard-to-reach V-engine plugs)
Materials
- • Spark plugs (vehicle-specific, full set matching OEM specifications)
- • Dielectric grease (for coil boots, prevents boot seizure)
- • Anti-seize compound (only if your plug manufacturer recommends it)
- • Shop rags
Socket Tip
Step-by-Step Spark Plug Replacement
Work on one cylinder at a time. This prevents mixing up coil connections and makes the job more manageable. Total time for a 4-cylinder engine is about 45 to 90 minutes.
Locate Plugs and Prepare the Engine
Let the engine cool completely (at least 30 minutes after driving). Hot engines can cause aluminum threads to seize. Remove any engine covers or plastic trim blocking access to the spark plugs.
- • Inline 4-cylinder: plugs are along the top of the engine
- • V6/V8: plugs are on both sides, rear bank may require removing intake parts
- • Some engines (Ford 5.4L, certain BMW models) have plugs buried deep in long tubes
Remove Ignition Coils or Plug Wires
For coil-on-plug (COP) systems (most modern vehicles):
- Disconnect the electrical connector by pressing the release tab and pulling
- Remove the coil mounting bolt (typically 8mm or 10mm)
- Pull the coil straight up with a gentle twisting motion
- Set coils aside in order so they go back to the same cylinder
For older vehicles with plug wires, grip the boot (never the wire itself) and twist while pulling to release.
Clean the Spark Plug Wells
This step is critical and often skipped. Dirt, leaves, and debris sitting around the spark plug well will fall into the cylinder when you remove the plug, causing serious engine damage.
- Blow out each well with compressed air or vacuum around the base
- Inspect the well for moisture, oil, or coolant (which indicate separate problems)
- Wipe the surrounding area with a clean rag
Remove Old Plugs and Read Their Condition
- Insert the spark plug socket with extension into the well
- Loosen the plug counterclockwise. Initial break-loose may require firm pressure.
- Once loose, unthread by hand to prevent cross-threading on reinstallation
- Examine each plug. Light tan or gray is healthy. Black soot means rich mixture. White or blistered means overheating.
If a Plug Won't Budge
Gap and Install New Spark Plugs
- Check the gap on each new plug with a feeler gauge. Compare to your vehicle's spec (found on the underhood sticker or in the owner's manual).
- If adjustment is needed, gently bend only the ground electrode (the L-shaped piece). Never bend the center electrode.
- Thread each plug in by hand first. Turn at least 2 full rotations by hand before using a tool. If you feel resistance, back out and try again.
- Use a torque wrench to tighten to specification:
Common torque specifications:
- • 14mm plug in aluminum head: 18-22 ft-lbs
- • 14mm plug in cast iron head: 26-30 ft-lbs
- • 12mm plug: 10-12 ft-lbs
- • 18mm plug: 25-33 ft-lbs
Always verify against your specific vehicle's manual. These are general guidelines from NGK's torque specifications.
Reinstall Coils and Test
- Apply a thin coat of dielectric grease inside each coil boot (prevents sticking and moisture intrusion)
- Press each coil firmly down into the plug well until you feel it seat
- Reinstall the mounting bolt and torque to spec (typically 6-8 ft-lbs)
- Reconnect electrical connectors until they click
- Reinstall engine covers
- Start the engine and let it idle for 2 to 3 minutes. Listen for smooth, steady operation.
If the engine runs rough or a check engine light appears, turn it off and recheck your work on each cylinder. A loose coil connector is the most common post-installation issue.
Common Mistakes That Damage Engines
Spark plug replacement is straightforward, but these mistakes can turn a simple job into an expensive one:
1. Over-Torquing
The number one mistake. Over-tightened plugs stretch the metal shell, crack the ceramic insulator, or strip cylinder head threads. Always use a torque wrench. "A quarter turn past hand-tight" is not a reliable method.
2. Cross-Threading
Forcing a plug that is not aligned properly destroys the cylinder head threads. The fix requires a thread repair kit (HeliCoil) or cylinder head removal. Always start plugs by hand and turn at least two full rotations before using a ratchet.
3. Wrong Gap Setting
Too wide a gap causes misfires at high RPM. Too narrow a gap causes weak spark and incomplete combustion. Pre-gapped plugs are not always correct for your vehicle. Check every plug before installation.
4. Skipping the Cleaning Step
Debris in the plug well falls directly into the combustion chamber when you remove the old plug. Sand, dirt, and small pebbles cause cylinder wall scoring and piston damage. Thirty seconds with compressed air prevents thousands in repairs.
5. Anti-Seize Misuse
Applying anti-seize when the manufacturer says not to changes the friction coefficient, which means your torque wrench readings are inaccurate. The result is over-tightened plugs that seize worse than bare threads would. Check the plug packaging for guidance.
Reading Your Old Spark Plugs: A Diagnostic Guide
Your old spark plugs tell a story about your engine's health. Before tossing them, take a close look at the electrode and insulator:
| Appearance | What It Means | Action Needed |
|---|---|---|
| Light tan/gray | Normal, healthy combustion | None, routine replacement |
| Dry black soot | Rich fuel mixture or clogged air filter | Check air filter, inspect fuel system |
| Oily/wet black | Oil leaking into combustion chamber | Check valve seals, piston rings |
| White/blistered | Overheating, lean mixture, wrong heat range | Check cooling system, verify correct plug |
| Ash/chalky deposits | Leaking valve seals or poor fuel quality | Investigate oil consumption |
| Worn/rounded electrode | End of service life, normal wear | Replace with correct type |
Pro Diagnostic Tip
When to Leave It to a Professional
Most spark plug replacements are beginner-friendly, but some situations call for professional help:
- •Ford 5.4L 3-valve engines (2004-2010) are notorious for plugs seizing and breaking during removal. Special extraction tools and techniques are required.
- •Subaru boxer engines require significant disassembly to access plugs on the bottom bank, and working space is extremely tight.
- •Any engine with oil in the spark plug wells has a valve cover gasket leak that should be fixed first to prevent fouling new plugs immediately.
- •Vehicles over 100,000 miles that have never had plugs changed carry a higher risk of seized or broken plugs. A shop has better tools for extraction.
Spark Plugs in Your Maintenance Schedule
Spark plugs are one piece of the bigger maintenance puzzle. Here is how they connect to other routine services you should be tracking:
- • Every oil change: Quick visual check of coil connectors and wires. See our complete oil change guide.
- • Every 15,000-30,000 miles: Replace air filter, which directly affects spark plug life. Our air filter guide covers the details.
- • Every 30,000-100,000 miles: Replace spark plugs (interval depends on type).
- • At spark plug replacement: Inspect ignition coils and replace any showing cracks or carbon tracking.
- • Full schedule: Our maintenance schedule by mileage maps out every service from 3,000 to 100,000+ miles.
Money-Saving Combo
Spark plug replacement is one of the most satisfying DIY maintenance tasks. The parts are affordable, the tools are basic, and the improvement in engine performance is immediately noticeable. Take your time, follow the torque specs, and your engine will reward you with smoother power and better fuel economy for tens of thousands of miles.
For more information on spark plug specifications and heat ranges, refer to NGK's torque and installation guide or Denso's spark plug catalog.
Frequently Asked Questions
Don't Miss Critical Car Care Tips
Get exclusive guides, money-saving maintenance tips, and early warning signs delivered straight to your inbox.