How to Change Your Oil Like a Pro: The Complete Guide
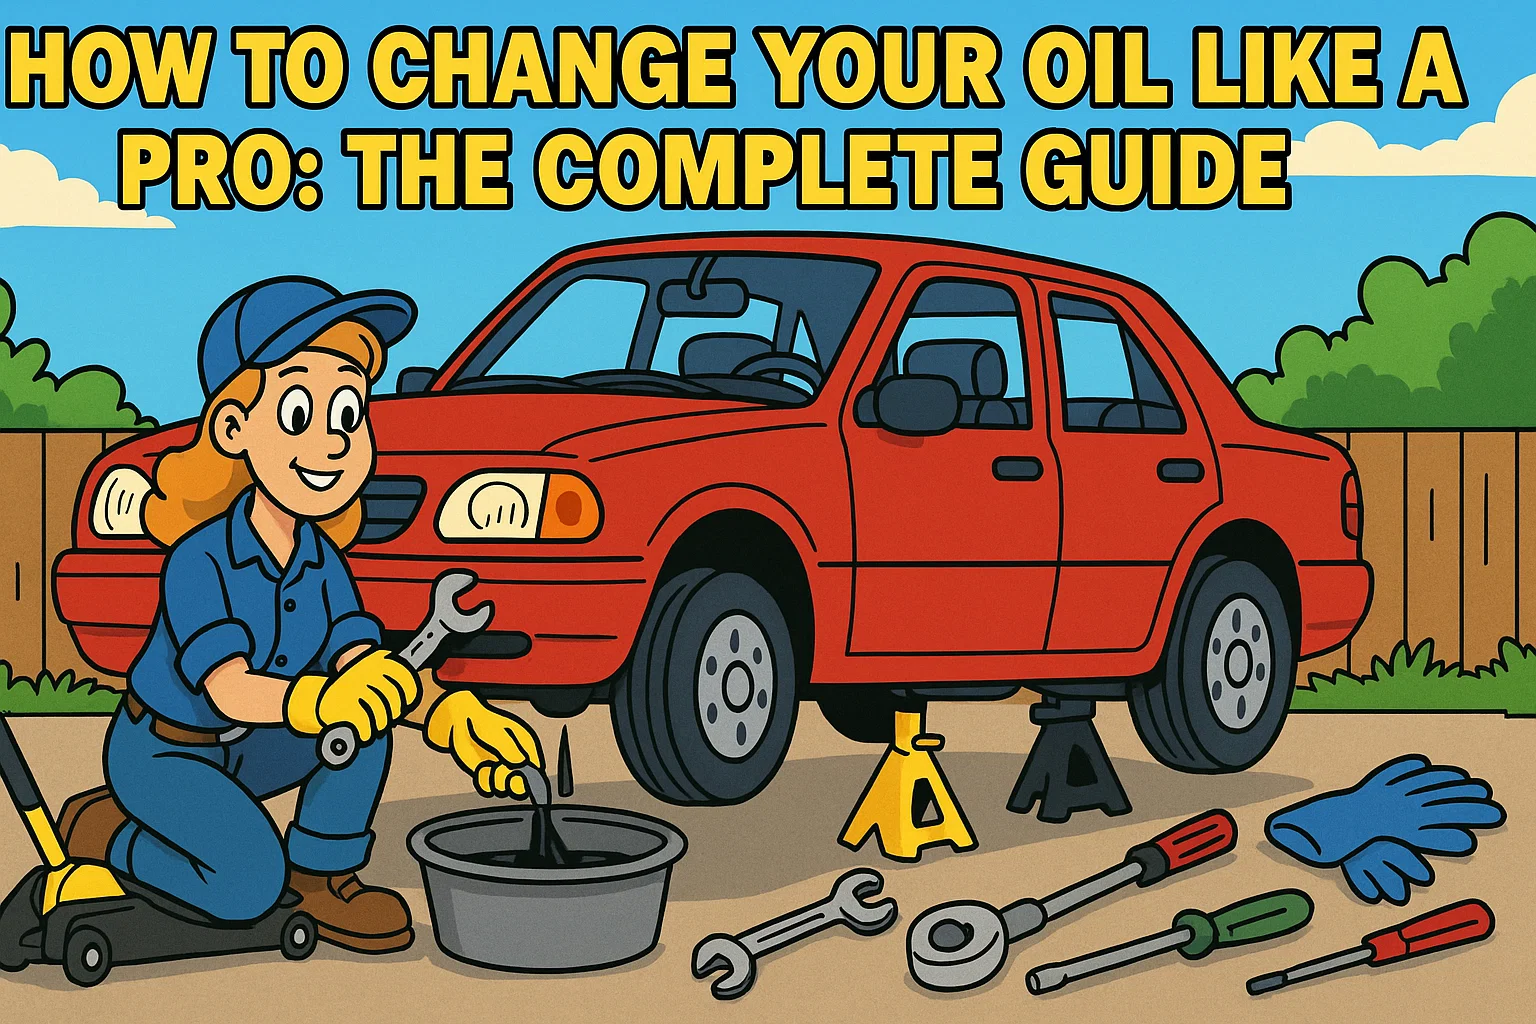
A mechanic kneels before a red car, ready to perform an oil change the professional way. This illustration represents the insider techniques that prevent catastrophic failures and put you in control of your car's health.
The Short Answer
A DIY oil change costs $25 to $40 in parts and takes about 30 minutes. You need a wrench, a drain pan, the correct oil filter, and the right oil weight listed in your owner's manual. Change it every 5,000 to 7,500 miles for conventional oil or 7,500 to 10,000 miles for synthetic.
Picture this: Sarah walks into her local quick-lube shop for a routine oil change. Thirty minutes and $89 later, she drives away thinking she's done the responsible thing.
What she doesn't know is that the teenager who worked on her car forgot to remove the old oil filter gasket before installing the new one.
Within 2 miles, her engine seizes completely.
Total repair cost: $3,847.
This isn't a horror story. It's Tuesday at most quick-lube chains across the country.
Here's What Most People Don't Realize:
THE SHOCKING TRUTH ABOUT ERROR RATES
- •Professional mechanics: 12% error rate
- •Quick-lube chains: 23% error rate
- •DIY with proper technique: Less than 3% error rate
The difference? Professional-grade knowledge and technique.
The Real Numbers That'll Shock You:
REAL MONEY SAVINGS BREAKDOWN
- •Annual professional cost: $400-600
- •Annual DIY cost: $120-180
- •5-year total savings: $1,400-2,400
But here's the kicker: Most DIY guides teach you amateur techniques that lead to expensive mistakes.
This guide is different.
You're about to learn the exact methods that certified master mechanics use in professional shops. The insider techniques that separate the pros from the disasters. The quality control steps that prevent catastrophic failures.
No shortcuts. No "good enough" methods. Just professional-grade results.
1. Professional Arsenal: Tools That Actually Matter
Core Professional Kit
The Big 4 Non-Negotiables:
- •High-quality motor oil matching your exact vehicle specifications
- •Precision oil filter designed for your specific make and model
- •Professional-grade drain pan (minimum 6-quart capacity)
- •Complete wrench/ratchet set with proper socket sizes
Here's what separates pros from amateurs: They never compromise on tool quality for essential equipment.
Pro-Level Differentiators
The Game-Changing Tools:
- •Oil filter wrench (not amateur pliers that crush filters)
- •Magnetic work lights because pros actually see what they're doing
- •Nitrile gloves (chemical-resistant, not flimsy latex)
- •Torque wrench - the tool most guides completely ignore
Why the torque wrench matters: Over-tightening drain plugs causes $200-400 in oil pan repairs. Under-tightening? Your oil drains onto the highway.
Safety Equipment That Pros Never Skip
The Life-Saving Trio:
- •Floor jack AND jack stands (never just a jack alone)
- •Creeper for comfort and efficiency under the vehicle
- •Brake cleaner for professional-grade cleanup
CRITICAL SAFETY WARNING
Any mechanic who works under a car supported only by a floor jack won't be a mechanic for long. Always use jack stands - your life depends on it.
2. Pre-Flight Intelligence: Vehicle Assessment Like a Mechanic
Specification Mastery
The 3-Step Pro Verification Process:
- •Check your owner's manual for exact oil capacity and weight
- •Verify oil weight on the oil fill cap under your hood
- •Cross-reference with manufacturer specifications online
Pro Tip: If your manual says 5W-30 but your cap says 0W-20, trust the cap. Manufacturers update specifications based on real-world testing. For help understanding oil grades, visit the American Petroleum Institute's oil certification page.
Capacity Precision: Why "Close Enough" Destroys Engines
Too Little Oil Results:
- •Unnecessary friction and heat buildup
- •Premature engine failure
- •Average repair cost: $4,000-8,000
Too Much Oil Causes:
- •Component functionality limits
- •Potential hydrolocking
- •Symptoms: Blue smoke, rough idling, power loss
Professional Preparation Protocol
The Temperature Sweet Spot:
- •Not stone cold (oil won't drain completely)
- •Not scalding hot (burns and safety hazards)
- •Perfect zone: Idle engine for 5 minutes, then shut off
Pre-Work Safety Checklist:
- •✓ Park on level ground
- •✓ Engage parking brake
- •✓ Inspect for existing leaks
- •✓ Locate all drain plugs and filters
- •✓ Plan your jack point strategy
3. The Professional Method: Step-by-Step Mastery
Phase 1: Drainage Excellence
Modern Car Reality Check: Most vehicles built after 2010 have plastic undertrays. These improve aerodynamics but complicate access.
Undertray Removal Strategy:
- •Locate fasteners (combination of bolts, screws, plastic clips)
- •Use proper tools for each fastener type
- •Inspect for damage during removal
- •Keep fasteners organized for easy reinstallation
The Professional Drain Technique:
- •Position drain pan to catch initial oil stream and the redirect flow
- •Remove drain plug counterclockwise while holding firmly
- •Don't drop the plug into the oil (you'll be fishing it out later)
- •Wait minimum 5 minutes for complete drainage
PRO SECRET: DRAIN PAN POSITIONING
Position drain pan slightly off-center initially. As oil flow decreases, it changes direction. This simple trick prevents messy spills and keeps you looking professional.
Phase 2: Filter Finesse
Locating Your Oil Filter: Common locations by vehicle type:
- •Sedans: Usually accessible from underneath
- •SUVs/Trucks: Often visible from above
- •European cars: Frequently hidden behind covers
The Professional Removal Method:
- •Loosen filter counterclockwise until oil begins flowing
- •Wait for drainage to subside before complete removal
- •Inspect mounting surface for cleanliness
- •Check for stuck gasket (the $3,000 mistake preventer)
PREVENT $3,000 ENGINE DAMAGE
Critical Checkpoint: The Old Gasket Hunt
This thin rubber O-ring MUST be completely removed. If left in place:
- •New filter won't seal properly
- •Complete oil loss within minutes of startup
- •Catastrophic engine damage guaranteed
How to verify: Run your finger around the mounting surface. It should be smooth metal, not rubber.
Phase 3: Installation Precision
QUICK REFERENCE: TORQUE SPECS
Most common drain plug torque specifications:
- •Honda/Toyota: 30 ft-lbs
- •Ford/GM: 25 ft-lbs
- •European brands: 22 ft-lbs
Without a torque wrench? Hand-tight plus 1/4 turn only.
Pro Technique for Filter Installation:
- •Apply thin layer of new oil to new filter gasket
- •Install hand-tight until gasket contacts mounting surface
- •Add 3/4 additional turn (NOT full turn like amateurs do)
- •Double-check for proper seating
Why oil on the gasket? It prevents binding during installation and ensures proper sealing.
Phase 4: Fill and Verify
The Professional Fill Process:
- •Replace oil cap and lower vehicle completely
- •Remove oil fill cap and insert funnel
- •Add oil slowly (75% of capacity initially)
- •Check level with dipstick after oil settles
- •Top off gradually until between MIN and MAX marks
First Start Protocol:
- •Start engine and monitor oil pressure gauge/light
- •Let idle for 2-3 minutes listening for unusual noises
- •Check underneath for leaks immediately
- •Shut off engine and wait 5 minutes for oil to settle
- •Recheck oil level and top off if needed
4. Pro Troubleshooting: When Things Go Sideways
Stripped Drain Plug Emergency
Professional Recovery Methods:
- •Oversized drain plug (temporary fix)
- •Thread repair kit (Helicoil insertion)
- •Magnetic drain plug (covers minor damage)
When to abort: If you can't remove the plug with reasonable force, stop. A professional extraction costs $150. A destroyed oil pan costs $600.
Stuck Filter Solutions: Beyond Brute Force
Pro techniques that actually work:
- •Filter pliers with better grip (not the slip-and-destroy method)
- •Punch screwdriver through filter for leverage
- •Heat application (carefully with heat gun)
Never attempt: Hammering or excessive force that damages mounting threads.
Leak Detection Protocol
Professional leak identification:
- •Clean all surfaces before installation
- •Start engine and inspect immediately
- •Look for drips, not just puddles
- •Check filter mounting area and drain plug
Common leak causes:
- •Double-gasket on filter
- •Cross-threaded drain plug
- •Incorrectly torqued components
- •Damaged sealing surfaces
5. Quality Control: Professional Verification Steps
Multi-Point Inspection Checklist
Before first start:
- •☐ Drain plug properly torqued
- •☐ Filter hand-tight plus 3/4 turn
- •☐ Oil level between MIN and MAX
- •☐ All tools and materials removed from engine bay
- •☐ Undertrays properly reinstalled
After first run:
- •☐ Oil pressure light extinguished
- •☐ No visible leaks underneath
- •☐ No unusual engine noises
- •☐ Oil level rechecked after settling
- •☐ Test drive completed successfully
Professional Documentation That Matters
Record these details:
- •Date and mileage of service
- •Oil type and viscosity used
- •Filter brand and part number
- •Next service due (date and mileage)
- •Any issues discovered during service
Professional shops track this data for warranty and diagnostic purposes. You should too.
6. Environmental Responsibility: Disposal Like a Pro
The Shocking Environmental Impact
ENVIRONMENTAL IMPACT
One liter of used oil contaminates one million liters of water. That's not hyperbole. That's environmental science.
Professional Disposal Methods
Where to take used oil and filters:
- •Auto parts stores (most accept for free)
- •Quick-lube shops (required by law to accept)
- •Municipal recycling centers
- •Some gas stations (call ahead)
What NOT to do:
- •Pour down drains or toilets
- •Dump in yard or storm drains
- •Mix with other automotive fluids
- •Put in regular trash
Pro Tip: Save your oil containers. Most recycling centers prefer oil in original containers rather than drain pans.
7. The Economics: Real Cost Analysis
Break-Even Calculator
Professional oil change costs (annual):
- •Basic service: $300-400
- •Full synthetic: $400-600
- •European vehicle service: $600-800
DIY costs with professional techniques:
- •Initial tool investment: $200-300
- •Annual oil and filter costs: $120-180
- •Amortized tool cost (5 years): $40-60
Year 1 savings: $80-220 5-year savings: $1,400-2,400
When Professional Service Makes Sense
Consider professional service if:
- •Vehicle is under warranty requiring dealer service
- •You lack safe workspace (apartment living)
- •Car has specialized requirements (exotic vehicles)
- •Physical limitations prevent safe DIY work
There's no shame in professional service when it makes financial or safety sense.
While you're under the vehicle, it's a great time to check your transmission fluid as well. If you're changing your oil, consider doing a transmission fluid change at the same time to maximize your DIY savings.
Your Professional Oil Change Journey Starts Now
You now possess the same knowledge that certified master mechanics use every day. The techniques that prevent catastrophic failures. The quality control steps that ensure professional results. The insider tips that save thousands in repairs.
Ready to save money while maintaining your vehicle like a pro? Your first professional-quality oil change awaits.
Frequently Asked Questions
Don't Miss Critical Car Care Tips
Get exclusive guides, money-saving maintenance tips, and early warning signs delivered straight to your inbox.