Car Detailing for Beginners: Complete DIY Guide
Quick Answer
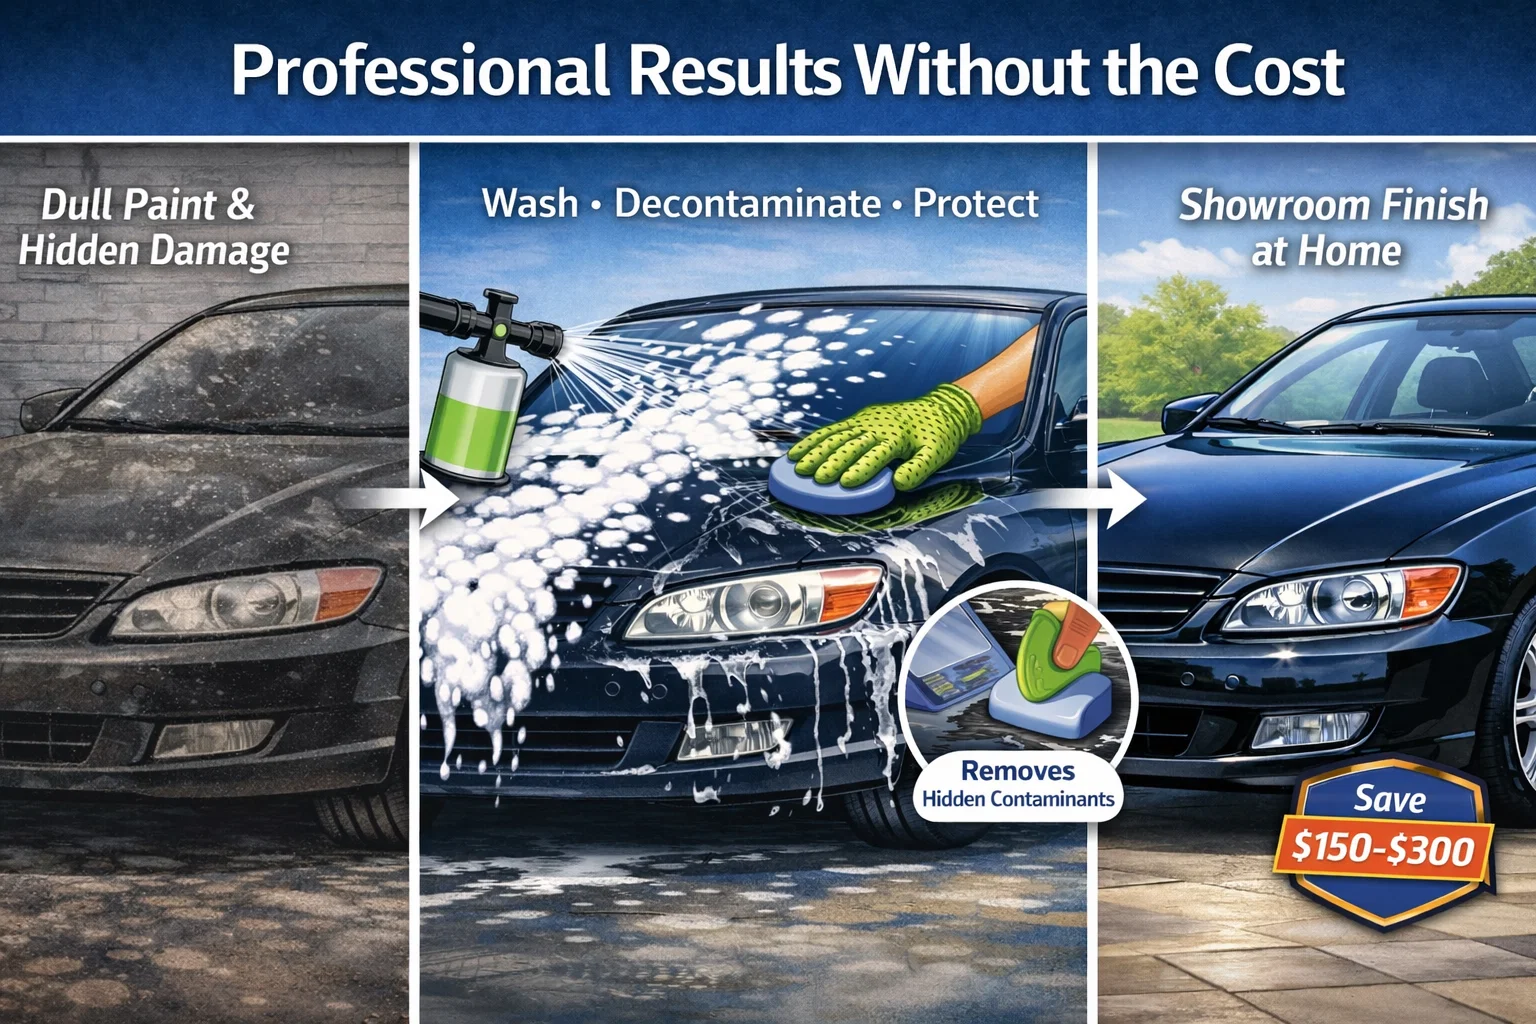
A full DIY car detail takes about 4 hours and costs under $50 in supplies. Professional detailing runs $150 to $300+. The process includes a two-bucket wash, clay bar decontamination, paint correction with polish, interior deep clean, and a protective wax or sealant that lasts 3 to 6 months.
A Professional Detail at Home for a Fraction of the Price
A professional car detail costs $150 to $300 or more. With the right products, technique, and about four hours of your time, you can achieve the same results in your own driveway. Detailing goes far beyond a basic wash. It means deep cleaning every surface inside and out, correcting paint imperfections, and applying protection that lasts for months.
Spring and early summer are the ideal time to detail your car. Winter road salt, tree sap, and accumulated grime have been sitting on your paint for months. The longer contamination sits, the harder it bonds to the clear coat. A thorough spring detail removes that buildup before it causes permanent damage.
This guide covers everything from basic washing to clay bar treatment, paint correction, interior cleaning, and engine bay detailing. Follow it start to finish for a showroom-quality result.
Car detailing is the art of thoroughly cleaning, restoring, and protecting a vehicle to produce a show-quality level of finish. Unlike a standard car wash that removes surface dirt, detailing addresses contamination embedded in the paint, swirl marks, stains on interior surfaces, and neglected areas like door jambs and the engine bay. A properly detailed car looks better, holds its resale value, and is more pleasant to drive every day.
What You Need to Get Started
You do not need hundreds of dollars in professional equipment to detail your car at home. Here is a practical starter kit that covers both exterior and interior:
Exterior Supplies
- Two-bucket wash setup (wash + rinse)
- pH-neutral car wash soap
- Microfiber wash mitt
- Clay bar kit or clay mitt
- Polish or compound (for swirl removal)
- Carnauba wax or ceramic spray sealant
- Microfiber drying towels (at least 3)
- Wheel cleaner and brush
- Glass cleaner (ammonia free)
Interior Supplies
- Vacuum with crevice attachment
- All-purpose interior cleaner
- Leather cleaner and conditioner (if applicable)
- Fabric or carpet cleaner
- Interior detailing brushes (soft bristle)
- Microfiber towels for interior
- UV protectant for dashboard and trim
Step 1: The Proper Exterior Wash
A proper wash is the foundation of every detail. Doing it wrong introduces swirl marks and scratches. The two-bucket method is the standard because it keeps dirt from your wash mitt out of the clean soap water. For a detailed walkthrough of proper washing technique, see our wash and wax guide.
Pre-Rinse and Foam
Rinse the entire car with a hose or pressure washer to remove loose dirt. If you have a foam cannon, apply a layer of snow foam and let it dwell for 3 to 5 minutes. This loosens bonded contamination so you do not grind it into the paint during the wash.
Two-Bucket Contact Wash
Fill one bucket with soapy water and the other with clean rinse water. Wash one panel at a time, starting at the top and working down. Rinse the mitt in the clean bucket after each panel. Use a separate wash mitt for the lower body and wheels, which carry the most abrasive dirt.
Wheels and Tires
Spray a non-acidic wheel cleaner on each wheel. Let it dwell for 2 minutes, then agitate with a wheel brush to remove brake dust from every spoke and behind the barrel. Rinse thoroughly. Clean tire sidewalls with an all-purpose cleaner and a stiff brush.
Rinse and Dry
Final rinse the entire car from top to bottom. Dry immediately with a large microfiber drying towel using a blotting motion instead of dragging. Pay special attention to mirrors, door handles, and trim pieces where water pools. Compressed air or a leaf blower helps clear water from crevices.
Step 2: Clay Bar Treatment
After washing, run your hand across the paint. If it feels rough or gritty, contamination is bonded to the surface. A clay bar (or clay mitt) removes what washing cannot: industrial fallout, overspray, tree sap residue, and embedded brake dust.
Spray clay lubricant on a small section of paint, then gently glide the clay bar back and forth. The clay picks up contamination as you go. Fold and re-knead the clay frequently to expose a clean surface. When the paint feels glass-smooth, you are done with that section.
THE PLASTIC BAG TEST
Put your hand inside a thin plastic sandwich bag and run it over the paint. The bag amplifies the texture, making it much easier to feel contamination. Compare a clayed panel to an untreated one. The difference is dramatic.
Step 3: Paint Correction Basics
Paint correction means removing swirl marks, light scratches, and oxidation from the clear coat using a polish or compound. For beginners, a one-step polish applied by hand or with a dual-action polisher delivers noticeable improvement without the risk of burning through the clear coat.
Apply a small amount of polish to a foam applicator pad or polishing pad. Work one 2-foot section at a time using overlapping motions. Wipe off the residue with a clean microfiber towel and inspect the results. For deeper scratches, our scratch removal guide covers compound techniques in detail.
LESS IS MORE
Polishing removes a thin layer of clear coat each time. Your car's clear coat is typically only 1 to 2 mils thick. Over-polishing can burn through to the base coat, which requires a professional repaint to fix. Start with the least aggressive product and only step up if needed.
Step 4: Wax or Sealant Protection
After polishing, the paint is clean but unprotected. Applying a wax or sealant creates a sacrificial barrier against UV rays, bird droppings, tree sap, and water spotting.
- Carnauba wax: Warm, deep shine. Lasts 4 to 8 weeks. Great for show cars and dark colors.
- Synthetic sealant: Glossy finish. Lasts 4 to 6 months. Better durability for daily drivers.
- Ceramic spray coating: Hydrophobic finish. Lasts 6 to 12 months. Easiest to apply and most durable consumer option.
Apply your chosen protection product following the manufacturer's instructions. Most involve spreading a thin, even layer, letting it haze, then buffing off with a clean microfiber towel. For a deep dive into waxing technique, read our wash and wax guide.
Step 5: Interior Deep Clean
The interior detail is where most people see the biggest transformation. Start by removing all personal items, floor mats, and trash. Then work through these areas:
Vacuum Everything
Vacuum seats, carpets, floor mats, trunk, and all crevices. Use a crevice tool to get between seats, in cup holders, and along door panel pockets. Move the seats fully forward and back to access hidden areas underneath.
Clean Hard Surfaces
Spray all-purpose cleaner on dashboard, center console, door panels, and steering wheel. Use a soft detailing brush to agitate textured surfaces and vents. Wipe clean with a microfiber towel. For stubborn grime in seams and buttons, wrap the brush in a microfiber cloth.
Clean Seats
For leather seats, use a dedicated leather cleaner followed by conditioner to prevent cracking. For fabric seats, spray fabric cleaner, agitate with a brush, and blot with a towel. For stubborn stains, consider a hot water extractor or steam cleaner.
Clean Glass Inside
Use an ammonia-free glass cleaner to avoid damaging tinted windows. Spray the towel, not the glass, to prevent overspray on other surfaces. Wipe in straight lines (not circles) for a streak-free finish. The inside of the windshield collects a film from outgassing dashboard materials that is only visible in certain light.
Protect and Dress
Apply UV protectant to the dashboard, door panels, and any plastic trim to prevent fading and cracking. Use a tire dressing on clean tire sidewalls for a finished look. Replace floor mats and do a final once-over with a lint roller on the seats.
Bonus: Restore Your Headlights
Hazy, yellowed headlights make even a freshly detailed car look neglected. Restoring them takes about 20 minutes per side and makes a huge visual difference. Our headlight restoration guide covers the wet-sanding and sealing process in full detail.
Bonus: Engine Bay Cleaning
A clean engine bay makes future maintenance easier and helps you spot leaks. Let the engine cool completely, cover sensitive electrical components (alternator, fuse box) with plastic bags, spray an all-purpose degreaser, agitate with a brush, and rinse gently with low-pressure water. Wipe down plastic covers and hoses with a protectant spray for a factory-fresh look.
AVOID HIGH-PRESSURE WATER
Never blast the engine bay with a pressure washer. High-pressure water can force past seals into electrical connectors, sensors, and the intake system. A gentle garden hose or a spray bottle for targeted rinsing is all you need.
What to Read Next
Frequently Asked Questions
Don't Miss Critical Car Care Tips
Get exclusive guides, money-saving maintenance tips, and early warning signs delivered straight to your inbox.