How to Restore Faded Headlights: Complete DIY Guide
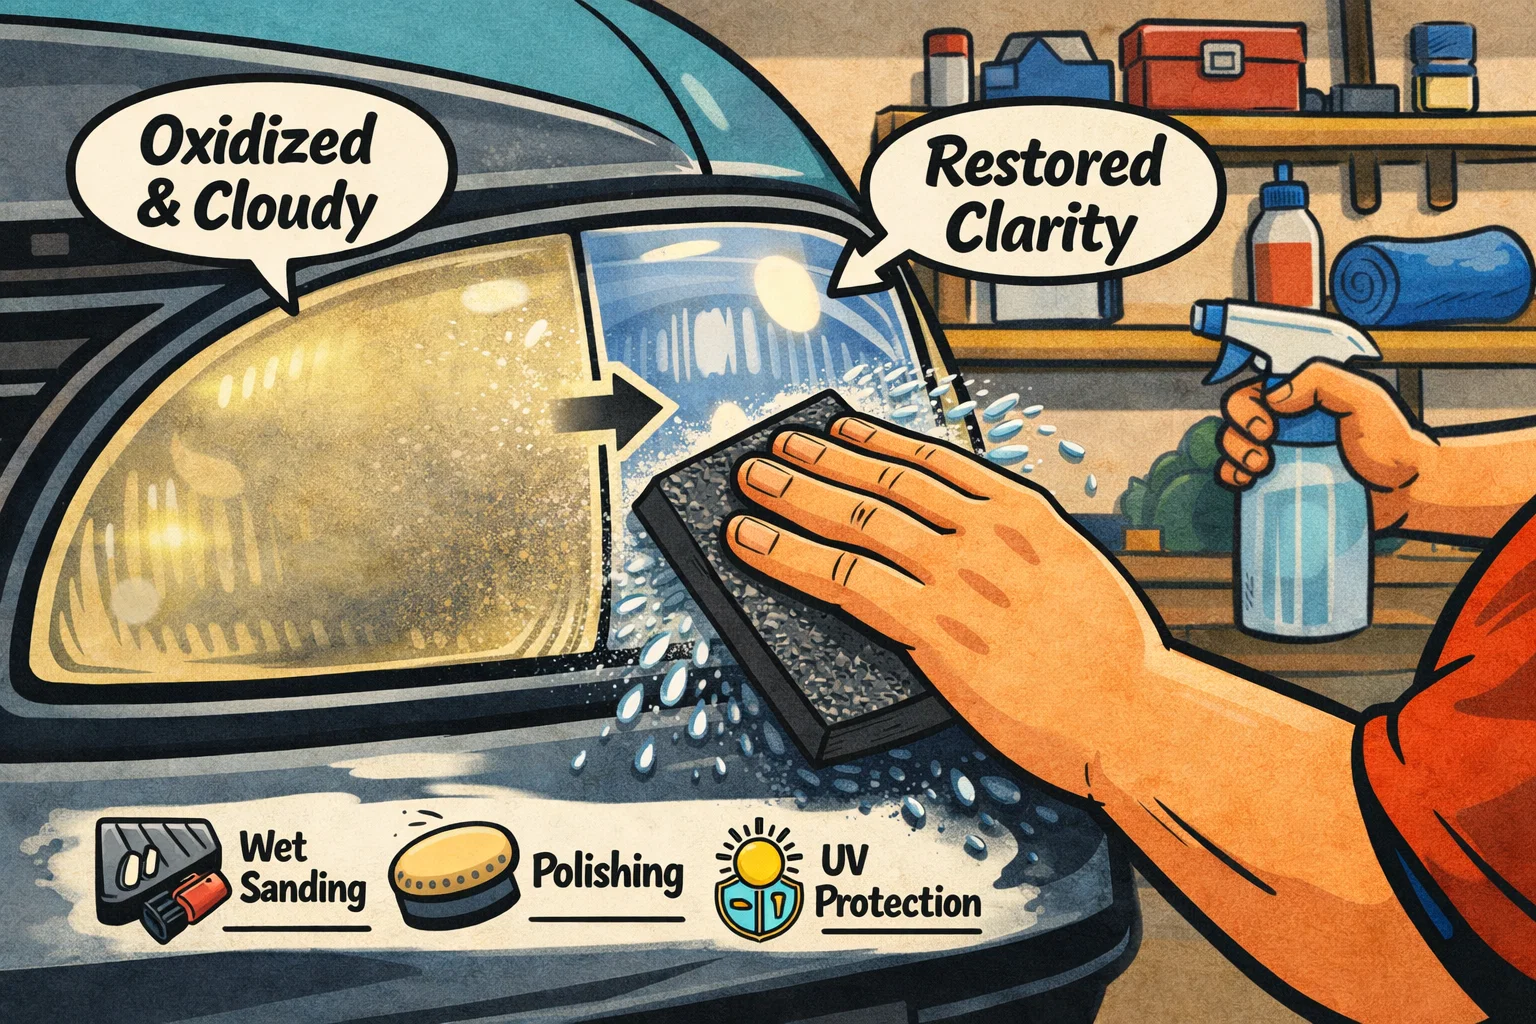
Cloudy headlights reduce visibility by up to 80%. Restoration takes about an hour and costs under $20 in materials.
Quick Answer
Restore foggy headlights at home for under $20 using wet sandpaper (800 to 2000 grit), polishing compound, and a UV sealant. The process takes about one hour per pair. Professional restoration costs $75 to $150, while new assemblies run $100 to $400 per side. DIY results last 1 to 3 years with proper UV coating.
Those yellowed, hazy headlights aren't just an eyesore. They're a genuine safety hazard. Oxidized headlight lenses can reduce your nighttime visibility by up to 80%, turning a routine evening drive into a guessing game. And if you've ever failed a vehicle inspection because of cloudy headlights, you already know the frustration.
New headlight assemblies cost $100 to $400 per side. Professional restoration services charge $75 to $150. But here's what the pros don't want you to know: you can restore headlights to crystal-clear condition at home for under $20 using wet sandpaper, polishing compound, and a UV sealant. The whole process takes about an hour.
The science is simple. Modern headlight lenses are made from polycarbonate plastic with a UV-resistant coating applied at the factory. After 3 to 5 years of sun exposure, that coating breaks down. UV radiation then attacks the plastic itself, creating the yellowed, chalky haze that blocks light output.
This guide walks you through the complete restoration process, from basic surface cleaning to full wet sanding and UV coating. You'll learn which method matches your headlight condition and how to make the results last for years instead of weeks.
Assessing Your Headlight Condition
Not every cloudy headlight needs the full wet sanding treatment. Before you grab sandpaper, take two minutes to figure out what level of restoration your headlights actually need. The wrong approach can waste time or, worse, damage lenses that only needed a light polish.
Light Haze
- Slight yellowing or dullness
- Still mostly transparent
- No rough texture when touched
- Fix: Polish only (15 min)
Moderate Oxidation
- Noticeable yellow or white haze
- Reduced light output at night
- Slightly rough to the touch
- Fix: Light sand + polish (30 min)
Severe Degradation
- Heavy yellow/brown discoloration
- Chalky or flaking surface
- Dramatically reduced visibility
- Fix: Full wet sand + UV coat (60 min)
Interior Moisture Check
What You'll Need
You have two options: buy a headlight restoration kit ($10 to $25) or assemble individual supplies. Kits from 3M, Sylvania, and Meguiar's include everything you need. If you already own some supplies, buying individually can save money. The Insurance Institute for Highway Safety (IIHS) rates headlight performance across vehicles and emphasizes that degraded lenses significantly reduce visibility.
Essential Supplies
- Wet/dry sandpaper: 800, 1000, 1500, 2000, 2500 grit
- Polishing compound (Meguiar's PlastX or similar)
- UV-resistant clear coat spray or wipe-on sealant
- Painter's tape (blue or green)
- Spray bottle with water
- Microfiber towels
Optional but Helpful
- Drill with polishing attachment (speeds up buffing)
- Isopropyl alcohol (for surface prep)
- Ceramic coating (longer-lasting than UV spray)
- Nitrile gloves
Full Restoration: Step-by-Step
This method works for moderate to severe oxidation. For light haze, skip to Step 4 (polishing) and go straight to the UV sealant step.
Mask the Surrounding Paint
Apply painter's tape generously around each headlight, covering at least 2 inches of paint, rubber trim, and any chrome accents. Wet sandpaper will damage automotive paint on contact. Take your time here. It's much easier to tape than to fix sanding marks on your hood or fender.
Wet Sand with 800 Grit
Soak 800-grit sandpaper in water for 5 minutes. Spray the headlight surface with water and begin sanding in horizontal strokes with light, consistent pressure. Keep the surface wet at all times. Sand until the entire lens has a uniform milky-white appearance with no shiny or yellow patches remaining. This step removes the failed UV coating and oxidized plastic.
Progress Through Finer Grits
Switch to 1000-grit sandpaper and sand with vertical strokes. The directional change helps you see when you've fully covered the surface. Continue with 1500-grit (horizontal again), then 2000-grit (vertical), and finally 2500-grit. Each step refines the surface scratches left by the previous grit. Keep the surface wet throughout. By 2500 grit, the lens should look hazy but smooth to the touch.
Polish to Crystal Clarity
Apply polishing compound to a microfiber towel or polishing pad. Buff the headlight using firm circular motions for 2 to 3 minutes. You'll see the haze disappear and clarity return in real time. If using a drill with a polishing attachment, keep it at low speed (1,500 RPM or less) and keep moving to avoid heat buildup on the polycarbonate.
Apply UV Protection
This is the step most people skip, and it's why their restoration fades within months. Clean the lens with isopropyl alcohol, then apply UV-resistant clear coat in 2 to 3 light, even coats with 5-minute drying time between each. Hold the spray 8 to 10 inches from the surface. Allow 24 hours to cure before driving in rain. For maximum longevity, apply a ceramic coating instead of spray clear coat. Ceramic coatings can protect headlights for 2 to 3 years versus 6 to 12 months for spray sealants.
Mistakes That Ruin Headlight Restorations
Skipping the UV Sealant
Result: Headlights re-oxidize within 1 to 3 months
Without UV protection, you've just exposed fresh polycarbonate to the same UV rays that caused the problem. Always seal after sanding.
Dry Sanding
Result: Deep scratches that won't polish out
Polycarbonate generates heat quickly when sanded dry. This melts the plastic, creating permanent gouges. Always keep the surface wet.
Too Much Pressure
Result: Uneven surface or warped lens
Let the sandpaper do the work. Heavy pressure removes too much material in one area and can create optical distortions in the lens.
Skipping Grits
Result: Visible scratch patterns that won't polish out
Jumping from 800 straight to 2000 grit leaves deep scratches that the finer paper can't remove. Work through every grit level for a flawless finish.
How Long Will the Results Last?
Restoration longevity depends almost entirely on UV protection quality. Here's what to expect from different sealant methods:
No sealant applied
1 to 3 months before re-oxidation
Spray UV clear coat
6 to 12 months
Wipe-on UV sealant (kit included)
8 to 14 months
Ceramic coating
2 to 3 years
For more exterior care tips, including paint protection and surface refinishing, take a look at our guide to painting plastic car parts. And if your dashboard warning lights are flagging issues, our dashboard warning lights guide helps you decode what each symbol means.
When to Replace Instead of Restore
Restoration works for surface oxidation, but some headlight damage goes beyond what sanding and polishing can fix. Consider replacement when:
- The lens has deep cracks or chips from road debris
- Internal moisture that returns after resealing attempts
- The reflector inside the housing is delaminating (silver flaking off)
- Previous restoration attempts have removed too much material, making the lens noticeably thinner
- The headlight aim is off due to a warped housing
Aftermarket headlight assemblies run $40 to $150 per side for most vehicles. OEM replacements cost $100 to $400+. If you're replacing the full assembly, our headlight bulb replacement guide covers the disassembly process you'll need to follow.
What to Read Next
Frequently Asked Questions: Headlight Restoration
Don't Miss Critical Car Care Tips
Get exclusive guides, money-saving maintenance tips, and early warning signs delivered straight to your inbox.