Cabin Air Filter Replacement: Quick DIY Guide
Quick Answer
Replace your cabin air filter every 15,000 to 25,000 miles or once a year. It takes under 5 minutes on most cars with no tools. The filter costs $10 to $25, while shops charge $40 to $80. A fresh filter improves AC airflow, reduces allergens, and eliminates musty smells.
The Hidden Filter That Controls Every Breath You Take While Driving
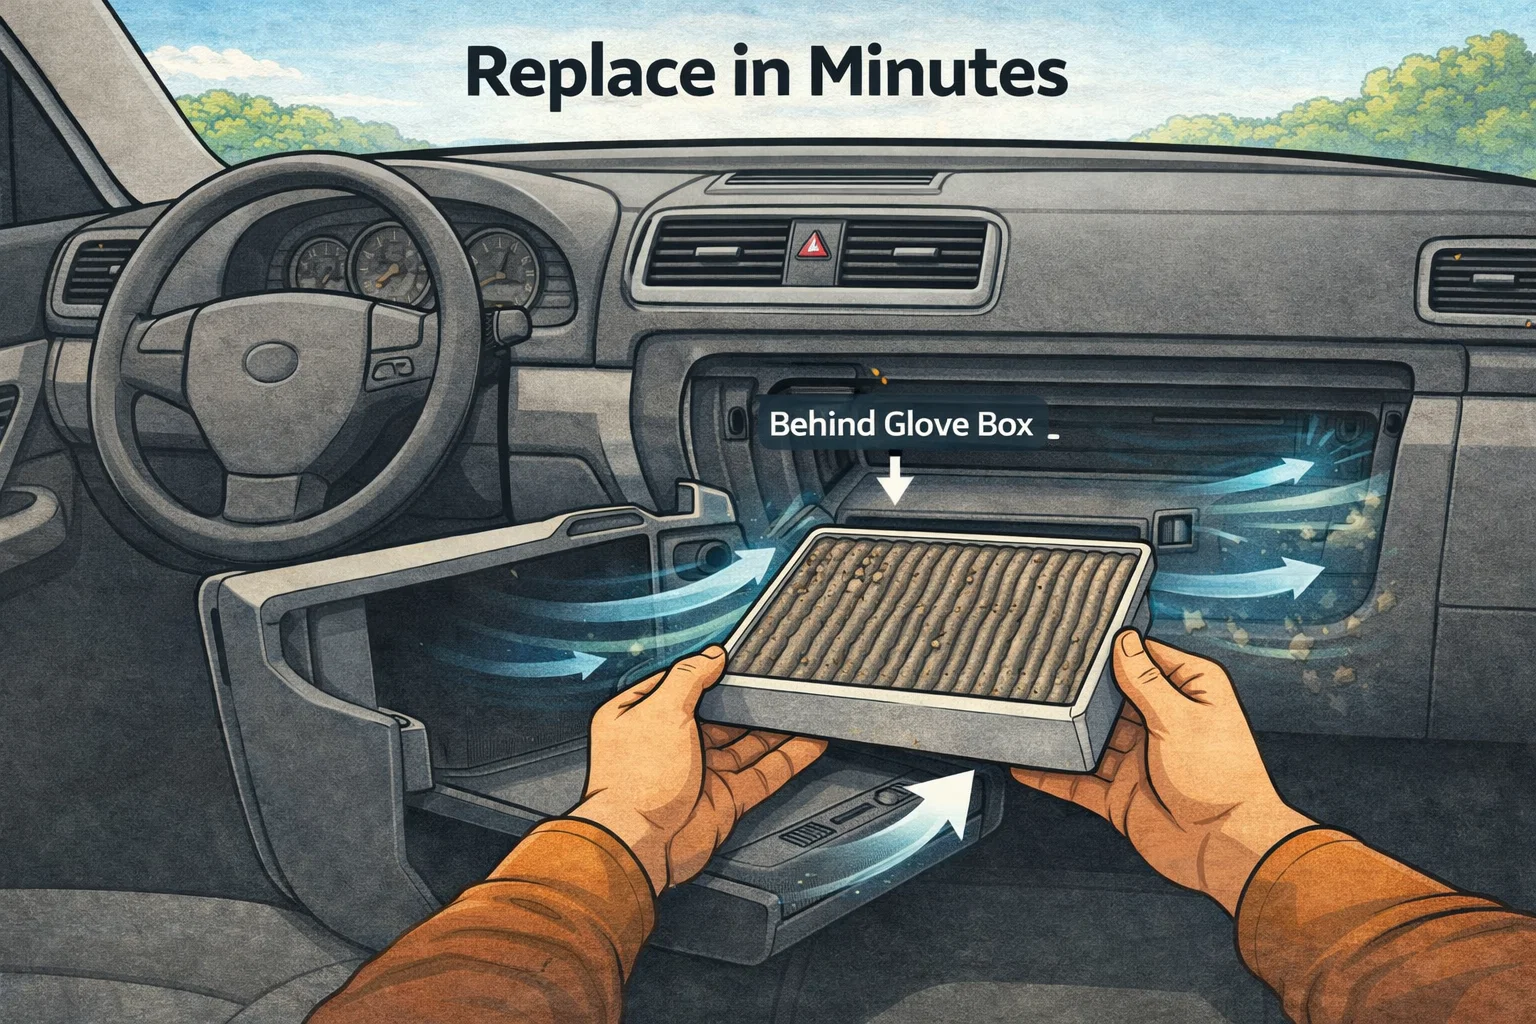
There is a filter inside your car that most people never think about. It sits behind your glove box, quietly trapping pollen, dust, exhaust fumes, and mold spores before they reach your lungs. If you have not replaced it in over a year, you are probably breathing through something that looks like a vacuum cleaner bag.
The good news? Replacing your cabin air filter is one of the easiest and cheapest DIY jobs on any vehicle. No tools required for most cars. Five minutes of your time. And the difference in air quality, AC performance, and that mysterious musty smell will be immediately noticeable.
Spring is the perfect time to swap yours out. Allergy season is ramping up, and a fresh cabin filter can trap up to 99% of pollen particles before they reach your sinuses. According to the Asthma and Allergy Foundation of America, seasonal pollen counts peak between March and June in most regions.
Let's get that filter swapped in under 10 minutes.
Your cabin air filter cleans the air flowing through your heating, ventilation, and air conditioning (HVAC) system. Most vehicles built after 2000 have one, and it should be replaced every 12,000 to 15,000 miles or once a year, whichever comes first. A clogged cabin filter reduces AC output by up to 20% and allows allergens, exhaust particles, and odors to enter the passenger compartment.
Why Your Cabin Air Filter Matters More Than You Think
Your engine air filter gets all the attention, but the cabin air filter is the one protecting you personally. It filters every breath you take while driving, which matters a lot when you consider that the air inside a moving car can be up to six times more polluted than the air outside, according to research from the EPA's indoor air quality guidelines.
A clean cabin filter does three critical jobs:
- Traps allergens: Pollen, dust mites, mold spores, and pet dander
- Blocks pollutants: Exhaust fumes, brake dust, and road debris from other vehicles
- Protects your HVAC: Prevents debris from clogging the evaporator core and blower motor
SPRING ALLERGY ALERT
If you suffer from seasonal allergies, a fresh cabin air filter can make a massive difference during spring and early summer. Activated carbon filters are especially effective at trapping pollen and reducing musty odors from winter moisture buildup.
5 Signs Your Cabin Air Filter Needs Replacing
Most people wait until their filter is completely clogged before replacing it. Here are the warning signs to watch for:
- Weak airflow from vents: The blower motor is working, but barely any air comes through, even on the highest fan setting.
- Musty or stale smell: A dirty filter traps moisture and becomes a breeding ground for mold and bacteria.
- Increased allergy symptoms: Sneezing, watery eyes, or congestion that only happens while driving.
- Foggy windows that won't clear: Restricted airflow makes your defroster less effective, especially in humid conditions.
- Excessive dust on dashboard: When the filter can not trap particles effectively, dust settles on every interior surface.
QUICK CHECK METHOD
Open your glove box and locate the cabin air filter (usually behind a small panel). Pull it out and hold it up to light. If you can not see any light through the filter media, it is time for a replacement. If it is visibly grey, brown, or has debris stuck in the pleats, replace it immediately.
Choosing the Right Cabin Air Filter
Not all cabin air filters are created equal. Here are your three main options:
Standard Particulate
Filters dust, pollen, and large particles.
$8 to $15
Best for: drivers without allergies
Activated Carbon
Adds odor and gas absorption to particulate filtering.
$15 to $25
Best for: city driving, allergy sufferers
HEPA-Type Premium
Captures 99%+ of particles down to 0.3 microns.
$20 to $40
Best for: severe allergies, asthma
For most drivers, an activated carbon filter hits the sweet spot between price and performance. If you commute in heavy traffic, the carbon layer absorbs exhaust fumes that a standard filter would let pass through. Check your owner's manual for the correct part number, or use the filter lookup tool on any auto parts store website by entering your year, make, and model.
Step-by-Step: Replace Your Cabin Air Filter
This is one of the simplest DIY jobs on any car. Most vehicles require zero tools. The entire process takes under 10 minutes.
Locate the Cabin Air Filter
In most vehicles, the cabin air filter sits behind the glove box. Some are under the dashboard on the passenger side, and a few older models place it under the hood near the windshield cowl. Check your owner's manual if you are not sure.
Open the Glove Box and Release It
Empty your glove box. On most cars, you can squeeze the sides inward to release the stops (small plastic tabs) that prevent the door from dropping all the way down. The glove box will swing down or come out completely, revealing the filter housing behind it.
Remove the Filter Housing Cover
You will see a rectangular plastic cover with clips or tabs. Press the clips and slide or lift the cover off. Some vehicles have a single latch, others have two. No screwdriver needed on most models.
Pull Out the Old Filter
Slide the old filter straight out. Take note of the airflow direction arrow printed on the side of the filter. Snap a photo if needed. The arrow should point toward the floor (indicating the direction of airflow into the blower motor).
PRO TIP
Inspect the old filter before tossing it. Leaves, bugs, and rodent nesting material are more common than you think. If you see nesting debris, clean the housing with a vacuum before inserting the new filter.
Insert the New Filter
Slide the new filter into the housing with the airflow arrow pointing in the same direction as the old one (typically toward the floor or toward the blower motor). Make sure it sits flush with no gaps around the edges.
Reassemble and Test
Snap the housing cover back on, push the glove box back into position, and reload your belongings. Start the car and run the fan on high for 30 seconds. You should notice stronger airflow and cleaner-smelling air immediately.
Replacement Intervals and Costs
Most manufacturers recommend replacing the cabin air filter every 12,000 to 15,000 miles, but several factors can shorten that interval:
- Dusty or rural roads: Replace every 10,000 miles
- Heavy city traffic: Replace every 10,000 miles (exhaust fume exposure)
- Allergy sufferers: Replace every spring before pollen season peaks
- Multiple pets in the car: Replace every 8,000 to 10,000 miles
Cost Comparison: DIY vs. Shop
DIY Cost
$10 to $25
Filter only, 5 to 10 minutes
Shop Cost
$40 to $80
Filter + labor
Related Maintenance to Do at the Same Time
While you have the glove box open, it is a great time to knock out related tasks:
- Engine air filter: If your cabin filter is due, your engine air filter probably is too. They are on similar replacement schedules.
- AC system check: A fresh cabin filter pairs well with checking your AC system performance before summer.
- Spring maintenance: This task is part of your spring car maintenance checklist.
- Dashboard warning lights: If your AC or ventilation warning light is on, check our dashboard warning lights guide.
BOTTOM LINE
Replacing your cabin air filter is a five-minute job that saves $30 to $60 over dealer service. Do it every spring for better air quality, stronger AC output, and fewer allergy symptoms while driving. It is the highest-impact, lowest-effort maintenance task you can do today.
Frequently Asked Questions
Don't Miss Critical Car Care Tips
Get exclusive guides, money-saving maintenance tips, and early warning signs delivered straight to your inbox.