Car Won't Start? How to Replace a Starter Motor
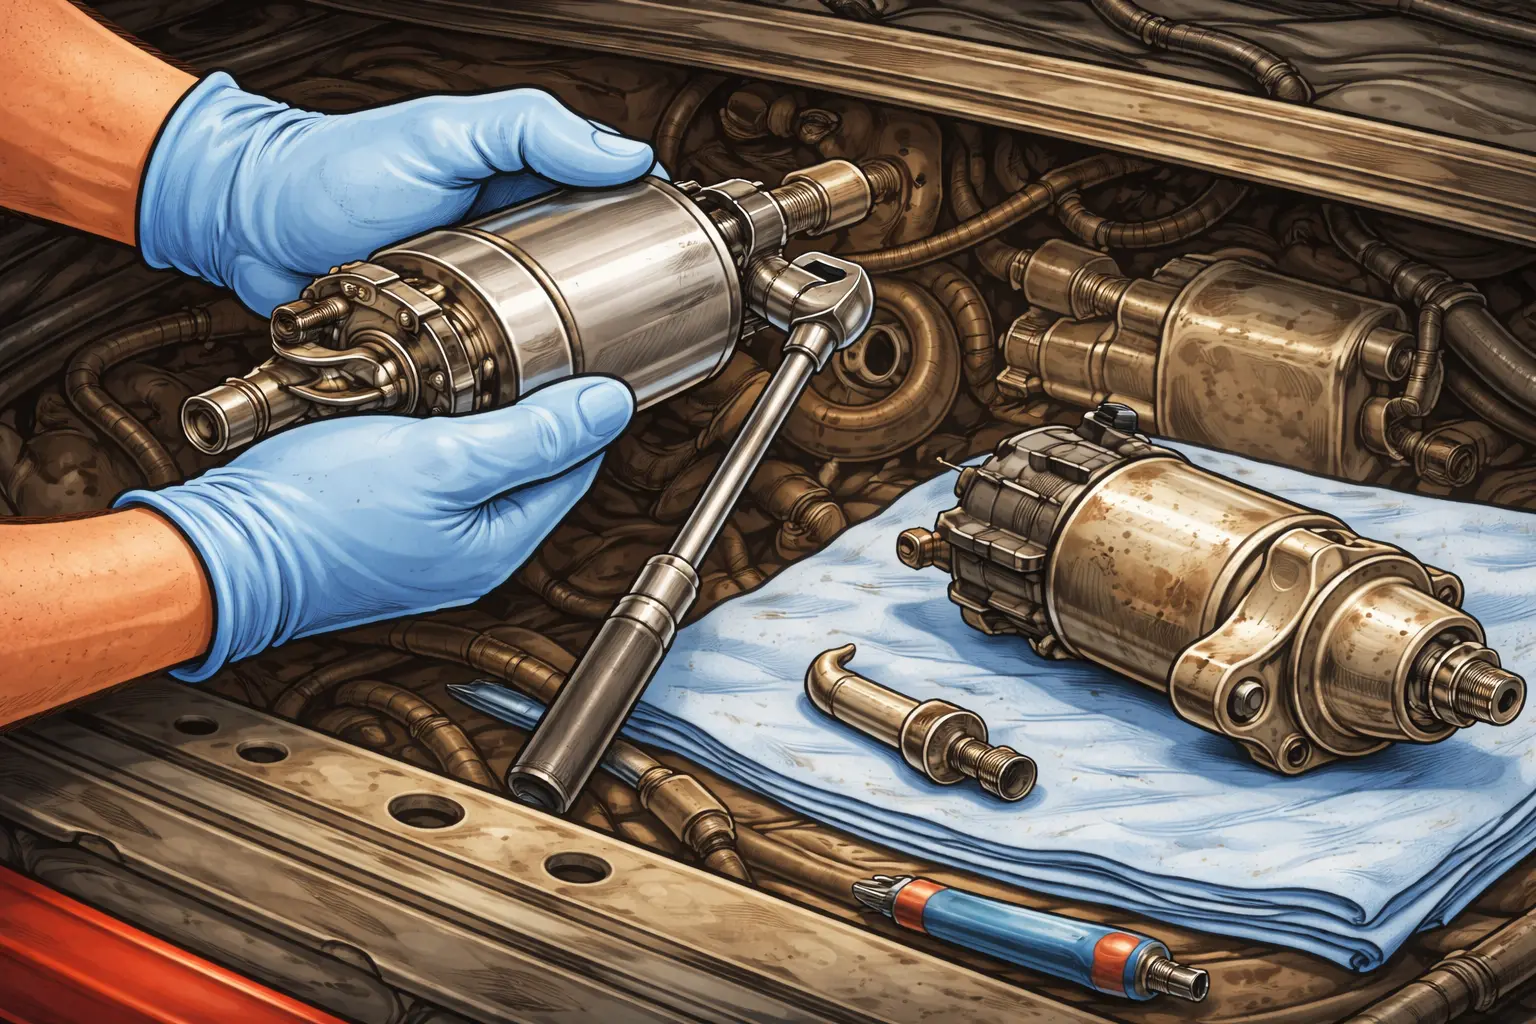
Quick Answer
Disconnect the negative battery cable, locate the starter (usually bolted to the bell housing where the engine meets the transmission), remove the wiring harness and solenoid wires, unbolt the two or three mounting bolts, drop the old starter out, and bolt the new one in place using a torque wrench. The job takes 1 to 3 hours and saves $300 to $600 over a shop. A new starter costs $90 to $300 depending on the vehicle.
That Click-Click-Click Sound? Here Is What to Do Next
You turn the key, and instead of the engine roaring to life, you hear a single loud click, a rapid clicking sound, or absolutely nothing at all. The lights work. The radio works. But the engine refuses to crank. In most cases, this is a starter motor that has reached the end of its life. The good news? Replacing a starter is one of the most rewarding DIY jobs you can tackle, and it saves a serious chunk of money compared to a shop visit.
Most starter motors last 100,000 to 150,000 miles, but heat, corrosion, and constant short trips can cut that lifespan in half. Before you rush out to buy a new one, this guide will help you confirm the starter is the actual culprit (not the battery or alternator), then walk you through the replacement step by step.
You will learn how to diagnose a bad starter, gather the right tools, safely access the unit, and bolt in a fresh one with confidence.
A starter motor is a small but powerful electric motor that spins the engine fast enough to fire the first combustion. When you turn the key or push start, battery power flows to the starter solenoid, which engages a small gear (the pinion) into the engine's flywheel. Once the engine starts, the pinion retracts. Most starters live for 100,000 to 150,000 miles. When they fail, the most common symptoms are a single loud click, rapid clicking, grinding noises, or complete silence with healthy lights and electronics.
How a Starter Motor Actually Works
Three components work together to start your engine: the battery supplies the high current, the starter solenoid acts like a heavy-duty switch and gear-engaging mechanism, and the starter motor spins the engine. When you turn the key to START, a small wire sends low-current signal to the solenoid. The solenoid closes a high-current circuit between the battery and starter motor while pushing the pinion gear into the flywheel teeth.
If any of these three parts fail, the engine will not crank. That is why diagnosis matters before throwing parts at the problem.
SAFETY FIRST
The starter sits close to the exhaust manifold and can stay hot for hours after driving. Always work on a cold engine. Disconnect the negative battery cable before touching any starter wiring. The battery cable on the starter is unfused and can deliver hundreds of amps that will weld a wrench to the chassis instantly.
5 Signs Your Starter Is Failing
Before swapping the starter, confirm these symptoms. Many no-start problems trace back to the battery, not the starter.
- Single loud click when turning the key: The solenoid is engaging, but the motor windings are dead. Classic starter failure.
- Rapid clicking: Usually a weak battery, but can also be a failing solenoid that cannot hold the high-current circuit closed.
- Grinding or whining noises: The pinion gear teeth are worn or the bendix mechanism is failing to retract properly.
- Intermittent starting: Sometimes it cranks fine, other times nothing. Often heat-related as worn brushes lose contact when hot.
- Smoke or burning smell from under the car: The starter is drawing too much current and overheating. Stop trying to start it and replace immediately.
QUICK BATTERY TEST FIRST
Turn on your headlights and try to start the car. If the headlights dim dramatically or go out, the battery is the issue, not the starter. If the headlights stay bright but you only hear a click, the starter is almost certainly the problem.
Confirm the Starter Is Actually Bad
Five-minute checks before you spend money on parts:
- Check battery voltage: A healthy battery reads 12.6 volts at rest. Below 12.4 volts, charge or replace the battery first. See our battery maintenance guide.
- Inspect battery terminals: Corroded or loose terminals can mimic starter failure. Clean with a wire brush and a baking soda paste.
- Tap the starter with a hammer: While someone turns the key, gently tap the starter housing with a small hammer. If it cranks, the brushes are stuck and the starter is on borrowed time.
- Check ground connections: A bad ground from engine to chassis causes identical symptoms. Look for clean, tight ground straps.
Parts and Tools You Need
Parts
- ✓ New or remanufactured starter motor ($90 to $300)
- ✓ Anti-seize compound (small tube)
- ✓ Dielectric grease for connectors
- ✓ Optional: new starter mounting bolts
Tools
- ✓ Socket set (8mm to 19mm) with extensions
- ✓ Torque wrench (10 to 80 ft-lb range)
- ✓ Wrench set
- ✓ Floor jack and jack stands (most jobs)
- ✓ Wheel chocks and safety glasses
REMAN VS. NEW
A quality remanufactured starter from a name-brand auto parts store typically costs half the price of new and carries a similar warranty (often lifetime). For most vehicles, a reman starter is the smart buy. Avoid the cheapest no-name units, since starter brushes and solenoid contacts wear out fast on low-quality builds.
Step-by-Step: Replace Your Starter Motor
Plan for 1 to 3 hours depending on access. Some starters are easy to reach from above, others require the vehicle on jack stands and accessing from below.
Disconnect the Negative Battery Cable
Always start here. Use a wrench to loosen the negative (black) battery terminal and tuck the cable away from the post. This prevents accidental shorts when you handle the starter cables.
Locate the Starter
The starter is bolted to the engine block or transmission bell housing on the side where the engine meets the transmission. On front-wheel drive cars, it is often on the back of the engine. On RWD cars and trucks, it is usually on the side. Consult your repair manual or a YouTube video for your specific vehicle.
Raise and Secure the Vehicle
If access is from below, chock the rear wheels, jack up the front, and place jack stands under the frame rails. Never work under a vehicle supported only by a jack. If you can reach the starter from above, skip this step.
JACK STAND RULE
Always use jack stands. A floor jack alone is for lifting, not holding. People die under cars every year because of this exact mistake.
Disconnect the Wiring
You will see two wires on the starter solenoid: a thick battery cable (usually held by a single nut) and a smaller signal wire (usually a push-on connector or small bolt). Take a photo first. Then remove the nut on the battery cable and the connector or nut on the signal wire. Tuck the cables aside.
Remove the Mounting Bolts
Most starters have two or three mounting bolts that thread into the bell housing. They are typically 13mm to 17mm. Loosen all bolts before fully removing any. Support the starter with one hand while removing the last bolt, since starters weigh 5 to 15 pounds and will fall.
Drop the Old Starter Out
Wiggle the starter free. Sometimes it is wedged in tight against heat shields or exhaust components. Note its orientation. Compare it side-by-side with your new starter to confirm correct match (mounting holes, wire stud positions, pinion gear size).
Install the New Starter
Apply a small amount of anti-seize to the mounting bolt threads. Position the new starter, hand-thread all bolts before tightening any, then torque to spec (usually 30 to 45 ft-lb, check your repair manual). Connect the small signal wire first, then the heavy battery cable. Apply dielectric grease to terminals before tightening.
Reconnect Battery and Test
Lower the vehicle, reconnect the negative battery cable (positive first if you removed both, then negative). Turn the key. The engine should crank quickly and start within seconds. If it cranks but does not start, your repair is done correctly but you may have a separate issue. If it still clicks, double-check your wiring connections.
DIY vs. Shop: The Real Savings
Cost Comparison: DIY vs. Shop
DIY Cost
$90 to $300
Starter only, 1 to 3 hours
Shop Cost
$400 to $900
Parts + 2 to 4 hours labor at $120/hr
WHEN TO SEE A PROFESSIONAL
Skip the DIY job if your starter is buried behind the intake manifold (some Ford 4.6L V8s, certain BMW models), if you do not have a safe place to lift the vehicle, or if the car is your only transportation and you cannot afford downtime. Some modern vehicles also require security relearns after disconnecting the battery, which need a dealer scan tool.
Related Electrical Maintenance
While you are working on the electrical system, knock out these related tasks:
- Test the alternator: A failing alternator strains the starter and battery. See our alternator replacement guide.
- Check battery health: Old batteries cause starter failures. Use our battery troubleshooting guide to test voltage and load.
- Clean terminals and grounds: Follow our battery maintenance guide to extend the life of your new starter.
- Keep jumper cables in the car: Learn proper technique with our jump start guide for the next time you get stranded.
For deeper diagnostic codes, learn how to use a scanner with our OBD2 scanner guide. According to AAA's 2024 roadside assistance report, AAA fielded over 27 million emergency calls in 2024, and battery-related failures alone accounted for roughly 7 million of them, making the starting and charging system the single most common roadside breakdown after towing.
BOTTOM LINE
Replacing a starter motor is one of the highest-payoff DIY jobs you can tackle. With $100 in parts, basic hand tools, and 2 hours of your time, you save $300 to $600 over shop labor. Confirm the starter is actually bad first, take photos before disconnecting wires, and torque those mounting bolts to spec.
What to Read Next
Alternator Replacement Guide
Diagnose and replace a dying alternator before it leaves you stranded.
Battery Troubleshooting
Voltage tests, load tests, and how to know when to replace.
Battery Maintenance
Extend battery life by 1 to 2 years with simple monthly checks.
How to Jump Start a Car
Safe technique to get you back on the road in 10 minutes.
Frequently Asked Questions
Don't Miss Critical Car Care Tips
Get exclusive guides, money-saving maintenance tips, and early warning signs delivered straight to your inbox.